Chapter 3 Functions for Master Making
88
4
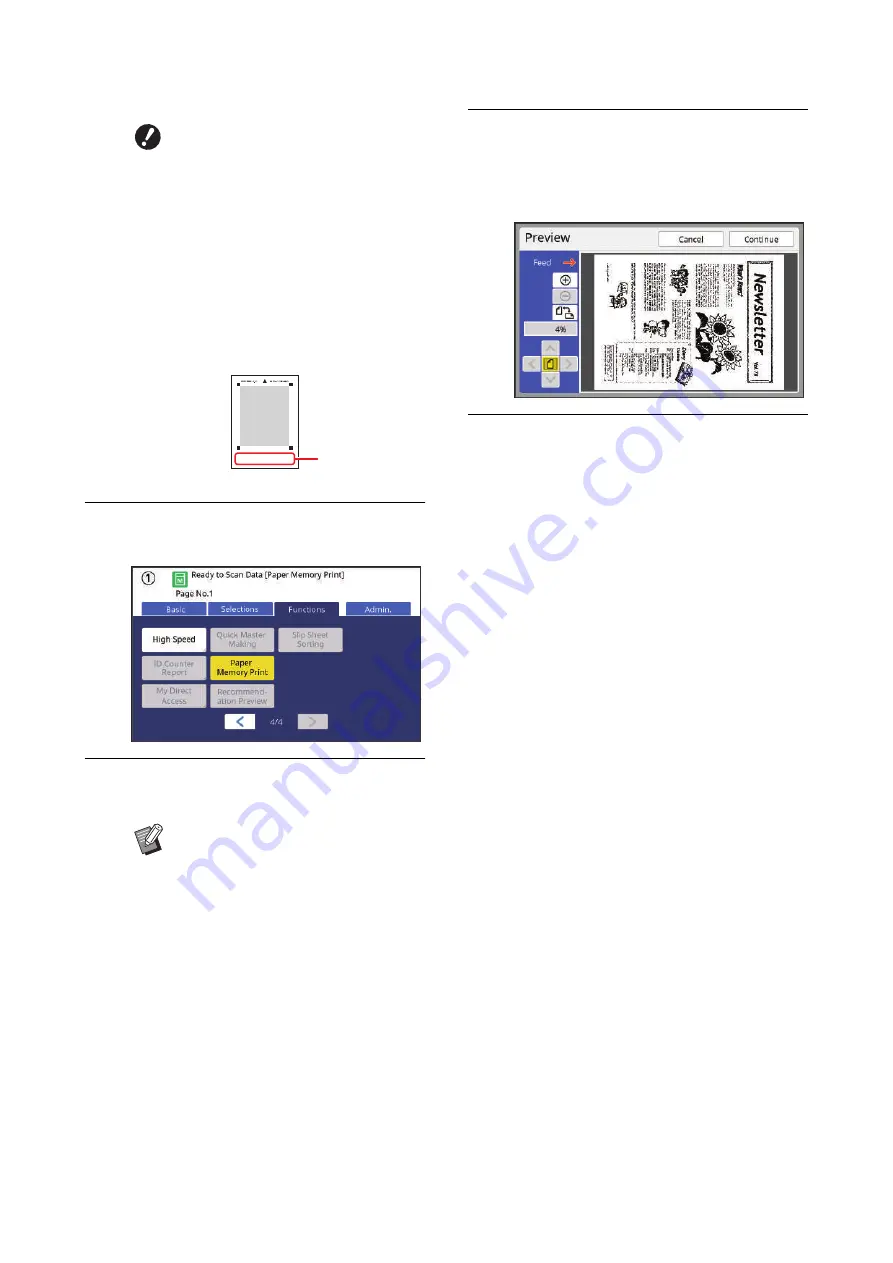
Touch [Paper Memory Print] in the
[Functions] tab screen.
5
Press the [START] key.
The Paper Memory Original is scanned.
6
Confirm the original information.
When scanning of the Paper Memory Original
is complete, the [Preview] screen (
played. Confirm that the displayed original is
the one that you want to print.
7
Touch [Continue].
Master making starts.
The rest of the procedure is the same as the
normal printing operation of paper originals.
(
35 “Printing of Paper Originals”)
B
This machine may not be able to
scan the Paper Memory Original
properly in the following cases:
C
The glass platen or platen
cover pad is stained.
C
The Paper Memory Original is
stained, wrinkled, or creased.
B
Use the margin as shown below
to write notes on the Paper Mem-
ory Original. If anything is written
in other areas of the Paper Mem-
ory Original, this machine may
not be able to scan the Paper
Memory Original properly.
B
When you have multiple pages of
the Paper Memory Original, after the
scanning of the original is complete,
replace the original with the next
page number and press the
[START] key.
Margin
Содержание MH 9350
Страница 21: ...Chapter 1 19 1 About This Machine ...
Страница 31: ...29 2 Chapter 2 Basic Operations ...
Страница 53: ...51 3 Chapter 3 Functions for Master Making ...
Страница 97: ...95 4 Chapter 4 Functions for Printing ...
Страница 109: ...107 5 Chapter 5 Useful Functions ...
Страница 130: ...Chapter 5 Useful Functions 128 ...
Страница 131: ...129 6 Chapter 6 Functions for Scanning ...
Страница 137: ...135 7 Chapter 7 Setting the Operation Conditions ...
Страница 159: ...157 8 Chapter 8 RISO Console ...
Страница 165: ...163 9 Chapter 9 Replacing Consumables ...
Страница 177: ...175 10 Chapter 10 Maintenance ...
Страница 181: ...179 11 Chapter 11 Troubleshooting ...
Страница 205: ...203 12 Chapter 12 Appendix ...
Страница 215: ...Chapter 12 Appendix 213 12 V View edit 48 W WAKE UP key 23 Z Zoom 71 ...


