background image


2902359 (1)


Installation, use and maintenance instructions

Installatie-, gebruiks- en onderhoudsvoorschriften

Manuel d’entretien


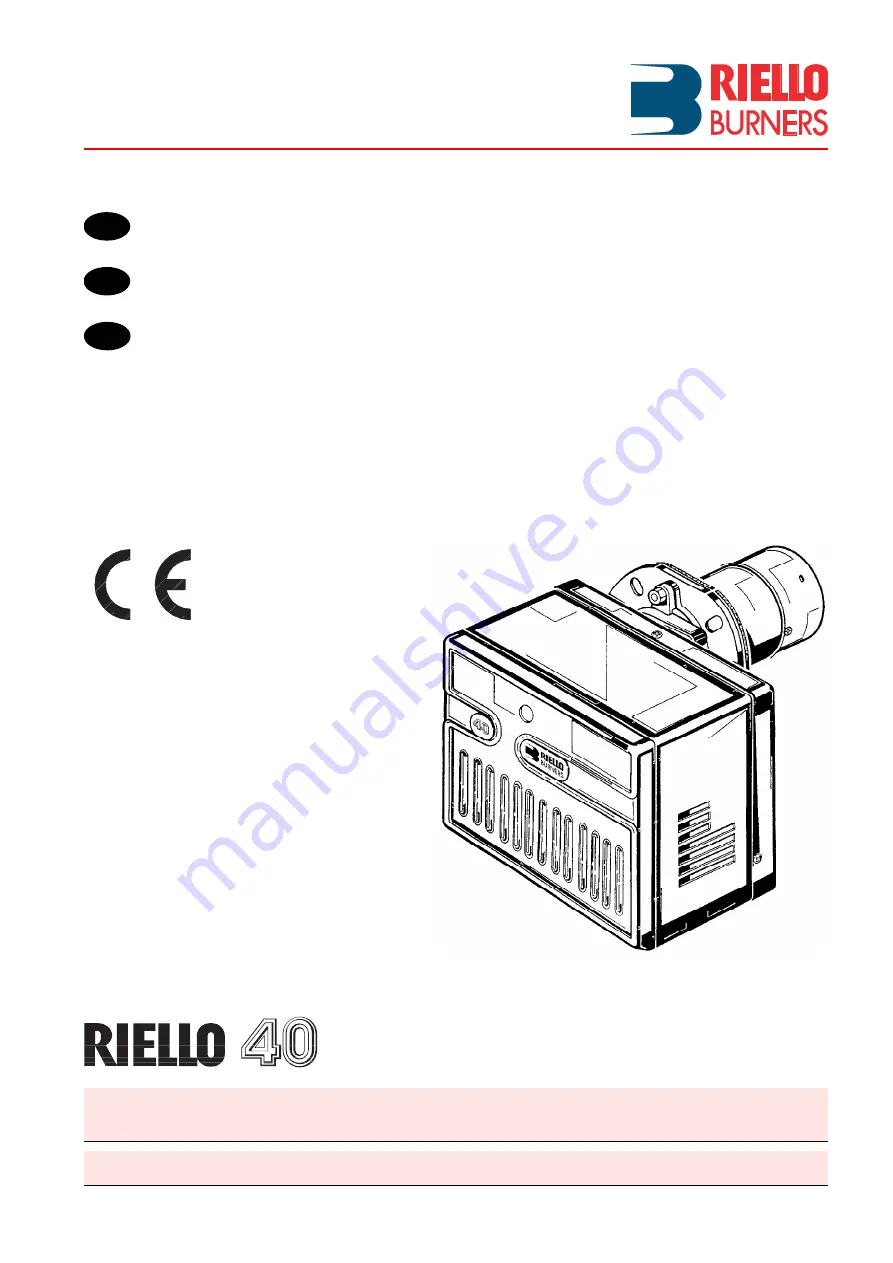
Brûleur fioul

Oil burner

Stookoliebrander  


CODE

MODELE - MODEL

TYPE


3452083

F10

463M

F

GB

NL

Fonctionnement à 1 allure
One stage operation
Eentrapsbranders

Содержание 3452083

Страница 1: ...nance instructions Installatie gebruiks en onderhoudsvoorschriften Manuel d entretien Brûleur fioul Oil burner Stookoliebrander CODE MODELE MODEL TYPE 3452083 F10 463M F GB NL Fonctionnement à 1 allure One stage operation Eentrapsbranders ...

Страница 2: ......

Страница 3: ...min 292 rad s Condensateur 4 mF Transformateur d allumage Enroulement secondaire 8 kV 16 mA Pompe Pression 7 15 bar Puissance électrique absorbée 0 17 kW 5 D5396 Fig 1 1 2 3 4 9 6 6 7 10 8 1 Raccord de retour 2 Raccord d aspiration 3 Prise manomètre 4 Régulateur pression pompe 5 Prise vacuomètre 6 Vis blocage volet d air 7 Volet d air 8 Vis réglage tête combustion 9 Bouton de réarmement avec signa...

Страница 4: ...a bride du brû leur soient interposés les joints isolants 10 fig 1 Ces joints isolants ont six trous qui peu vent être éventuellement modifies suivant la figure ci contre D5242 Fig 2 Le brûleur une fois installé doit être un peu incliné Voir figure 2 Le brûleur est prévu pour recevoir les tubes d alimen tation du fuel d un côté ou de l autre D5572 FIXATION BRULEUR ET MONTAGE CHARNIERE S7385 ...

Страница 5: ...a précédente à cause d un éven tuel défaut d étanchéité de la vanne AMORÇAGE POMPE Faire démarrer le brûleur et attendre l amorçage En cas de mise en sécurité avant l arrivée du combustible attendre au moins 20 secondes après quoi répé ter l opération Il est nécessaire d installer un filtre sur la ligne d alimentation du combustible H mètres L mètres ø i 8 mm ø i 10 mm 0 5 1 1 5 2 10 20 40 60 20 4...

Страница 6: ...ellule photorésistance est montée directe ment sur la boîte de contrôle au dessous du transformateur d allumage sur un support à embrochage rapide CONTROLE Vérifier l arrêt du brûleur en ouvrant les circuits des thermostats 230V 50Hz N L 1 2 3 4 5 6 7 8 9 Bleu Marron Vanne T T TRAJET DU CABLE ELECTRIQUE 1 Presse étoupe N Neutre 2 Blocage câbles L Phase 3 Bornier Terre brûleur D5228 Noir ATTENTION ...

Страница 7: ... que le plan terminal du gueulard concorde avec l encoche indiquée dans le tableau REGLAGE VOLET D AIR Les valeurs portées sur le tableau de la notice technique servent au préréglage du brûler lors de la mise en route Ce préréglage s entend avec capot du brûleur monté et chambre de combustion avec dépression zéro Ces valeurs seront éventuellement retouchées selon les besoins de l installation de f...

Страница 8: ...ustion Afin de s en assurer réaliser un smoke test indice de noircissement des fumées portes et fenêtres du local fermées Si le local dans lequel le brûleur fonctionne est pourvu d aspirateurs d air s assurer qu il existe des ouvertures entrées d air de dimensions suffisantes pour garantir un renouvellement d air correct Il y a donc lieu de s assurer qu à l arrêt du brûleur les fumées chaudes ne s...

Страница 9: ... current 0 85 A 2785 rpm 292 rad s Capacitor 4 mF Ignition transformer Secondary 8 kV 16 mA Pump Pressure 7 15 bar Absorbed electrical power 0 17 kW 1 Return line 2 Suction line 3 Gauge connection 4 Pump pressure regulator 5 Vacuum gauge connection 6 Screws fixing air damper 7 Air damper 8 Combustion head adjustment screw 9 Lock out lamp and reset button 10 Flange with insulating gaskets 5 D5396 F...

Страница 10: ...between the boiler door and the burner flange These insulating gaskets have six holes which if necessary can be modified as shown on the drawing on the right D5242 Fig 2 Verify that the installed burner is lightly leaned towards the button See figure 2 The burner is designed to allow entry of the flexible oil lines on either side of the burner D5572 BURNER FIXING AND HINGE ASSEMBLY S7385 ...

Страница 11: ...kage of the valve PRIMING THE PUMP Start the burner and wait for the priming Should lock out occur prior to the arrival of the fuel await at least 20 seconds before repeating the operation A filter must be installed on the suction fuel line H meters L meters I D 8 mm I D 10 mm 0 5 1 1 5 2 10 20 40 60 20 40 80 100 WARNING The pump is supplied for use with a two pipe system For use on a one pipe sys...

Страница 12: ...rds the arrow The photoresistance is fitted directly into the con trol box underneath the ignition transformer on a plug in support TESTING Check the shut down of the burner by opening the thermostats CARRIED OUT IN THE FACTORY WARNING DO NOT EXCHANGE THE 230V 50Hz N L Limit thermostat with manual resetting Remote lock out lamp 230V 0 5A max if required 1 2 3 4 5 6 7 8 9 Blue Brown Terminal block ...

Страница 13: ...er and is carried out by rotating the regulating rod till the terminal plane of the blast tube is level with the set point as indicated in the schedule AIR DAMPER ADJUSTMENT The values stated in the table are necessary for the first setting of air damper They are relevant to a burner with mounted cowling and combustion chamber with depression zero These values can be adjusted if necessary till rea...

Страница 14: ...on To be sure about this you have to control the smoke number of exhaust gas with all the windows and doors closed If in the place where the burner works there are air breathings check the existence of air input openings with dimensions suitable for the necessary air exchange In any case check that when the burner is stopped the air breathings do not draw warm smokes from pipes through the burner ...

Страница 15: ...Opgenomen stroom 0 85A 2785 t min 292 rad s Condensator 4 mF Ontstekingstransfo Secundair 8 kV 16 mA Pomp Druk 7 15 bar Opgenomen vermogen 0 17 kW BIJHOREND MATERIAAL Hoeveelheid Benaming 2 1 2 1 1 1 Flexibels met nippels Flens met twee isolerende dichtingen Schroeven moeren voor flens Zwenkarm Schroef met 2 moeren voor flens Wartel 1 Terugloopleiding 2 Aanzuigleiding 3 Manometeraansluiting 4 Druk...

Страница 16: ...rende dichtingen tussen de frontplaat en de flens wordt aangebracht Fig 1 nr 10 De flensdichtingen hebben zes gaten die eventueel kunnen worden aangepast Zie fig hiernaast D5242 Fig 2 Als de brander geplaatst is moet hij lichtjes overhellen Zie fig 2 De toevoer van stookolie is langs beide kanten van de brander mogelijk D5572 BEVESTIGING BRANDER EN MONTAGE ZWENKARM S7385 ...

Страница 17: ...ZUIGING VAN DE POMP De brander in werking stellen en de aanzuiging afwachten Als de brander in veiligheid gaat voor er brandstof wordt toegevoerd moet men minstens 20 seconden wachten vooraleer de hele operatie te herhalen Het is noodzakelijk een filter te plaatsen op de voedingslijn van de brandstof H meter L meter ø i 8 mm ø i 10 mm 0 5 1 1 5 2 10 20 40 60 20 40 80 100 OPGELET De pomp is voorzie...

Страница 18: ...ing van de pijl trekken De fotoweerstand is rechtstreeks op de controle doos gemonteerd onder de ontstekingstransfo op een houder met stekkerkoppeling CONTROLE De stilstand van de brander nagaan door de thermostaten te openen 230V 50Hz N L 1 2 3 4 5 6 7 8 9 Blauw Bruin Klep T T TRAJECT VAN DE LEIDINGEN 1 Wartel N Nulleider 2 Vasthechting kabels L Fase 3 Klemmenbord Aarding brander D5228 Zwart OPGE...

Страница 19: ...e regelstang tot het uiteinde van het kanon overeenkomt met de inkeping die in de tabel is aangegeven REGELING VAN DE LUCHTKLEP De regelwaarden in de tabel van de technische handleiding dienen als regeling bij de inbedrijfsstel ling van de brander Deze voorregeling is van toepassing op een brander met gemonteerde kap en met een onderdruk nul in de verbrandingskamer In functie van de werkingsvoorwa...

Страница 20: ...d voldoende ventilatie zijn Doe daarom een smoke test aanduiding Bacharach terwijl deuren en vensters van het lokaal gesloten zijn Als in het lokaal waarin de brander geïnstalleerd staat ventilatoren voorzien zijn kijk na of de ope ningen waarlangs de lucht aangezogen wordt groot genoeg zijn zodat een goede luchtversing gewaarborgd is Ga ook zeker en vast na of de warme rookgassen bij stillstand v...

Отзывы: