


Encryption Key Exchange Settings Configuration Flow
This section explains the procedure for specifying encryption key exchange settings.
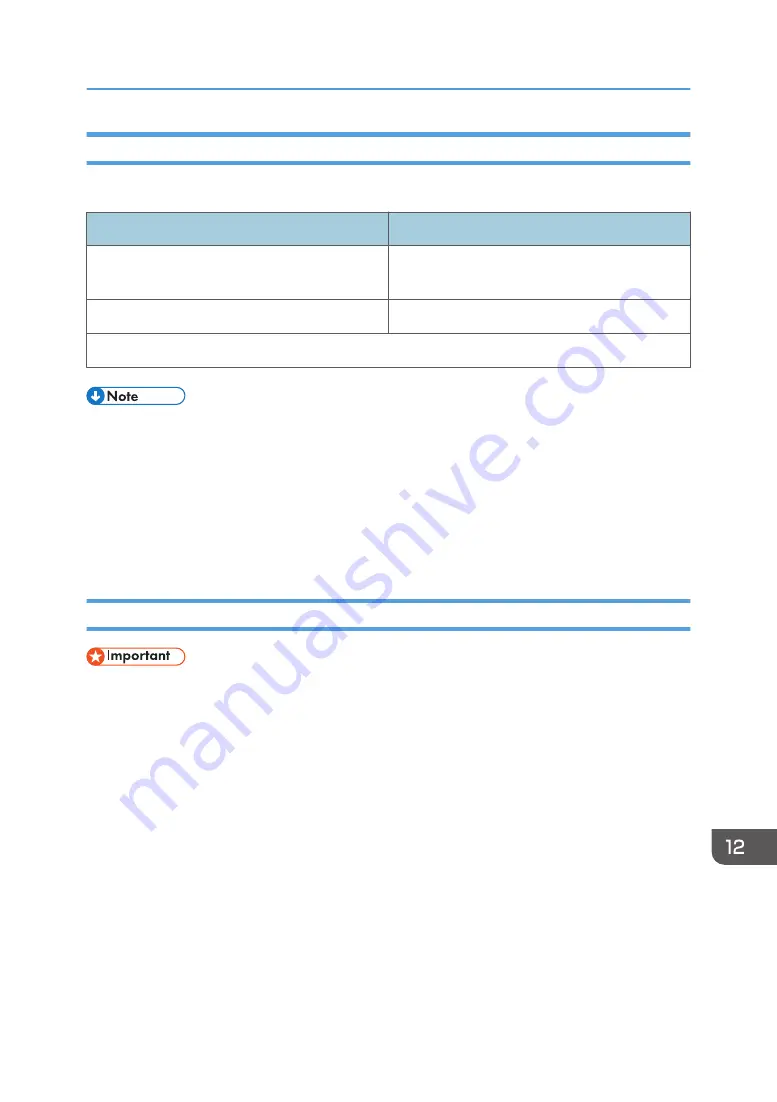
Machine
PC
1. Set the IPsec settings on Web Image Monitor.
1. Set the same IPsec settings as the machine on
PC.
2. Enable IPsec settings.
2. Enable IPsec settings.
3. Confirm IPsec transmission.
• After configuring IPsec, you can use "ping" command to check if the connection is established
correctly. Because the response is slow during initial key exchange, it may take some time to
confirm that transmission has been established.
• If you cannot access Web Image Monitor due to IPsec configuration problems, disable IPsec under
[Administrator Tools] on the control panel, and then access Web Image Monitor.
• For details about disabling IPsec using the control panel, see page 255 "Administrator Tools
Specifying Encryption Key Exchange Settings
• This function is available only when an administrator password is specified.
1.
Start the web browser and access the machine by entering its IP address.
2.
Click [IPsec Settings].
3.
Click the [IPsec Policy List] tab.
4.
Select the number of the setting you want to modify in the list, and then click [Change].
5.
Modify the IPsec related settings as necessary.
6.
Enter the administrator password, and then click [Apply].
7.
Click the [IPsec Global Settings] tab, and then select [Active] in [IPsec Function].
8.
If necessary, specify [Default Policy], [Broadcast and Multicast Bypass], and [All ICMP
Bypass] also.
9.
Enter the administrator password, and then click [Apply].
Transmission Using IPsec
403
Содержание SP C260SFNw
Страница 2: ......
Страница 14: ...5 Click the manual you want to refer to The PDF file manual opens 12...
Страница 23: ...DUE207 2 1 3 Interior 1 2 3 4 5 DUE212 Guide to Components 21...
Страница 46: ...Deleting characters 1 Press or C to delete characters 1 Guide to the Machine 44...
Страница 126: ...4 Copying Originals 124...
Страница 176: ...5 Scanning Originals 174...
Страница 294: ...9 Close the Web browser 8 Configuring the Machine Using Utilities 292...
Страница 340: ...5 Clean the parts indicated below DUE322 6 Close the ADF cover 9 Maintaining the Machine 338...
Страница 354: ...Main unit DUE292 1 3 2 1 DUE288 2 DUE289 10 Troubleshooting 352...
Страница 355: ...3 DUE290 Paper feed unit DUE320 1 1 DUE291 Removing Paper Jams 353...
Страница 363: ...DUE253 5 Close the ADF Removing Paper Jams 361...
Страница 397: ...26 Turn off the machine and then turn it back on Setup is completed Connecting the Machine to a Wired Network 395...
Страница 419: ...Weight Less than 4 kg 8 9 lb Specifications of the Machine 417...
Страница 436: ...12 Appendix 434...
Страница 441: ...MEMO 439...
Страница 442: ...MEMO 440 EN GB EN US EN AU M0AX 8604C...
Страница 443: ...2017 2020...
Страница 444: ...M0AX 8604C AU EN US EN GB EN...