Clearing Misfeeds
• Jammed paper may be covered in toner. Be careful not to get toner on your hands or clothes.
• Toner on prints made immediately after clearing a paper jam may be insufficiently fused and can
smudge. Make test prints until smudges no longer appear.
• Do not forcefully remove jammed paper, as it may tear. Torn pieces remaining inside the machine
will cause further jams and possibly damage the machine.
• Paper jams can cause pages to be lost. Check your print job for missing pages and reprint any
pages that did not print out.
• If the alert indicator lights up continuously or flashes, switch to copier mode and check the
displayed message.
Removing Jammed Paper from Tray 1
If "Internal Misfeed" or "Misfeed: Tray 1" appears on the display, follow the procedure below to remove
it.
1.
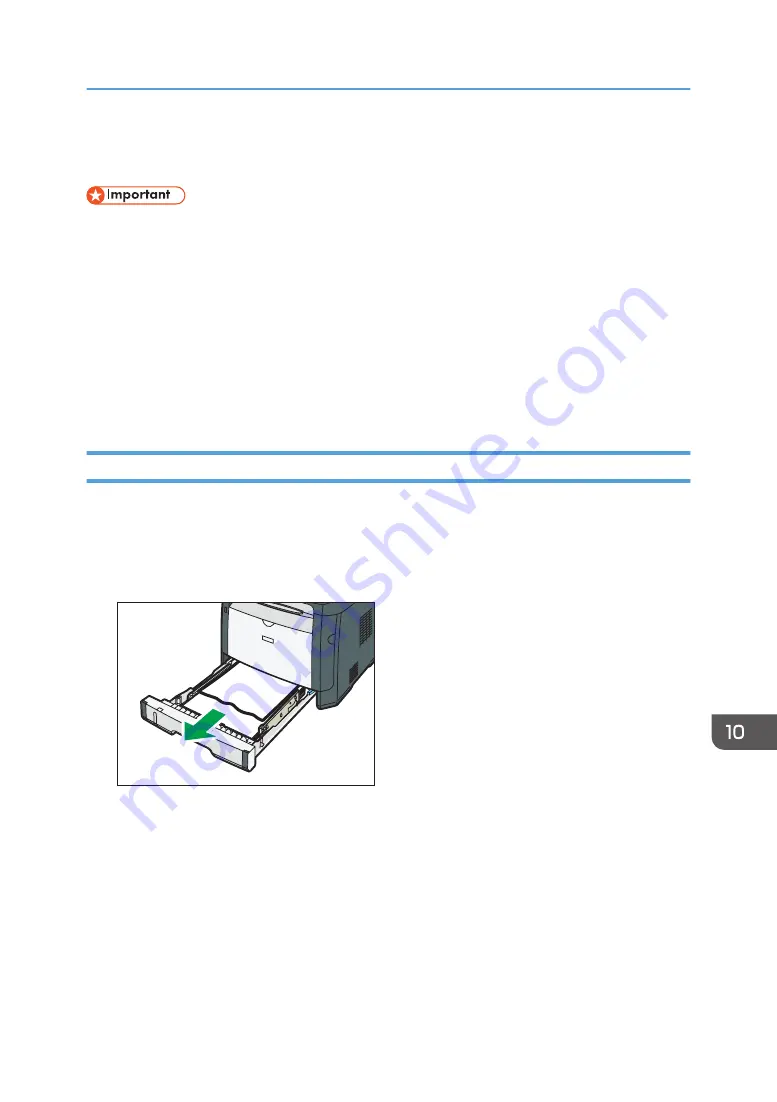
Pull tray 1 halfway out, and check for jammed paper. If there is jammed paper, remove it
carefully.
DSG176
2.
Carefully slide tray 1 back in until it stops.
3.
If paper is loaded in the bypass tray, remove the paper.
4.
Close the bypass tray.
Clearing Misfeeds
281
Содержание SP 320SFN
Страница 2: ......
Страница 14: ...Smart Organizing Monitor 1 Click Help on the Printer Configuration screen DSG253 12 ...
Страница 18: ...16 ...
Страница 36: ...1 Guide to the Machine 34 ...
Страница 81: ...2 Press the Clear Stop key DSG129 Basic Operation of Copying 79 ...
Страница 136: ...5 Scanning Originals 134 ...
Страница 138: ...DSG273 6 Sending and Receiving a Fax 136 ...
Страница 222: ...7 Configuring the Machine Using the Control Panel 220 ...
Страница 293: ...DSG187 5 Lower the ADF Clearing Misfeeds 291 ...
Страница 320: ...11 Configuring Network Settings Using OS X 318 ...
Страница 376: ...MEMO 374 ...
Страница 377: ...MEMO 375 ...
Страница 378: ...MEMO 376 EN GB EN US EN AU M289 8616A ...
Страница 379: ... 2016 ...
Страница 380: ...M289 8616A AU EN US EN GB EN ...


