8.
Select whether or not to open the Status Monitor automatically, and then click [Next >].
9.
If you want to make initial settings for the printer, click [Set Now].
10.
Make initial settings, and then click [OK].
11.
Click [Finish].
The printer driver is now installed.
• When you insert the CD-ROM, the installer launches. Auto Run might not work automatically with
certain OS settings. If this is the case, double-click "SETUP.EXE", located on the CD-ROM root
directory, or click [Run SETUP.EXE] in the [AutoPlay] dialog box.
• If a message prompting you to restart the computer appears, restart the computer.
• In order to confirm that the printer driver is correctly installed, check that the power lamp is lit, and
then perform a test print. To perform a test print, open the properties of the printer driver and click
[Print Test Page] under the [General] tab. If the test page does not print properly, see page 204 "If
Test Print Fails".
Installing the printer driver manually using a USB cable
This section explains how to install the printer driver manually by connecting the machine to a computer
using a USB cable.
If you installed the printer driver by performing Quick Install for USB, there is no need to install it again.
• Only administrators can perform this installation. Log on as a member of the Administrators group.
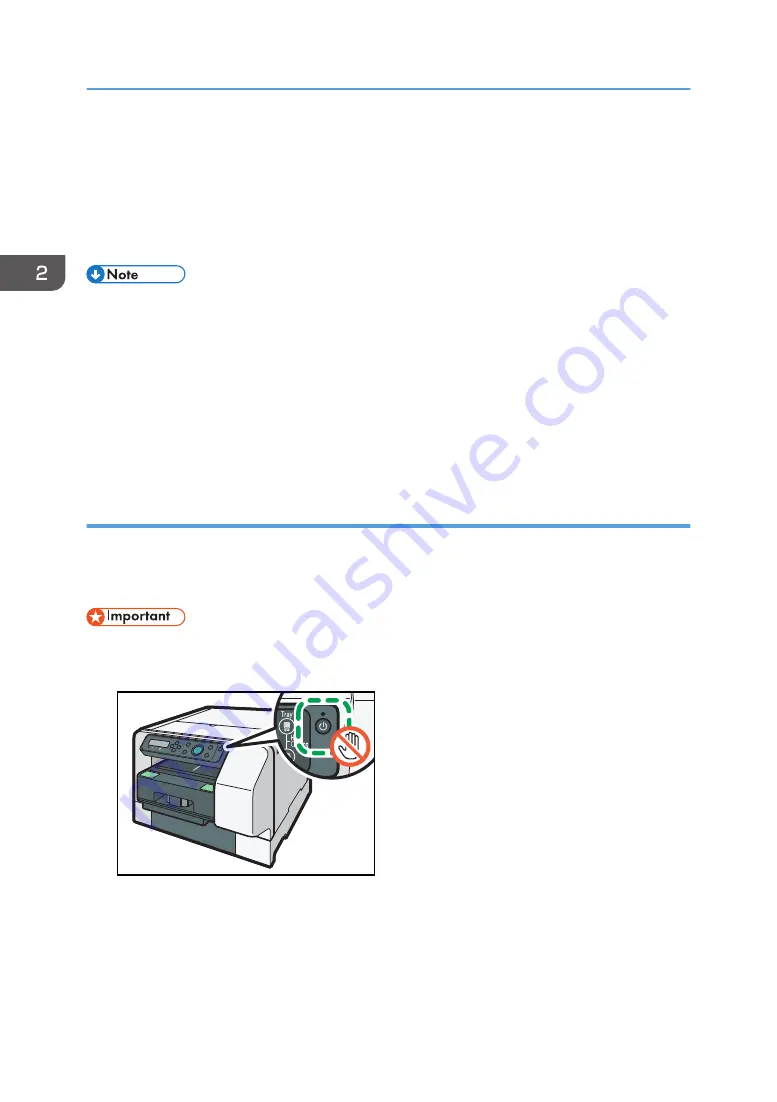
• Do not turn the machine on until you have read how to do so.
DSB271
1.
Insert the CD-ROM in the CD-ROM drive.
Quit all other applications currently running.
If the "Add New Hardware Wizard" appears, click [Cancel], and then turn the machine off.
2. Preparing for Printing
46
Содержание Ri 100
Страница 2: ......
Страница 16: ...14 ...
Страница 28: ...1 About This Product 26 ...
Страница 39: ...6 Close the right front cover DSA161 Installing the Ink Cartridges 37 ...
Страница 82: ...2 Preparing for Printing 80 ...
Страница 93: ...3 Click Print DSB022 Configuring the Layout Settings 91 ...
Страница 104: ...3 Printing on T shirts 102 ...
Страница 110: ...4 Printing via the Printer Driver 108 ...
Страница 145: ...6 Press the Enter key 7 Press the Escape key Using the System Menu 143 ...
Страница 170: ...6 Monitoring and Configuring the Machine 168 ...
Страница 182: ...7 Using the Machine with a Macintosh 180 ...
Страница 202: ...8 Maintenance 200 ...
Страница 240: ...9 Troubleshooting 238 ...
Страница 249: ...Where to Inquire For inquiries contact your sales or service representative Where to Inquire 247 ...
Страница 254: ...10 Appendix 252 ...
Страница 257: ...MEMO 255 ...
Страница 258: ...MEMO 256 EN GB EN US EN AU J088 6622B ...
Страница 259: ......
Страница 260: ...EN GB EN US EN AU J088 6622B 2017 Ricoh Co Ltd ...


