


Operation
18
1
Adjusting the Print Image Position
After master making, you can adjust
the print image position to suit your
needs. There are two ways to do this:
❖
❖
❖
❖
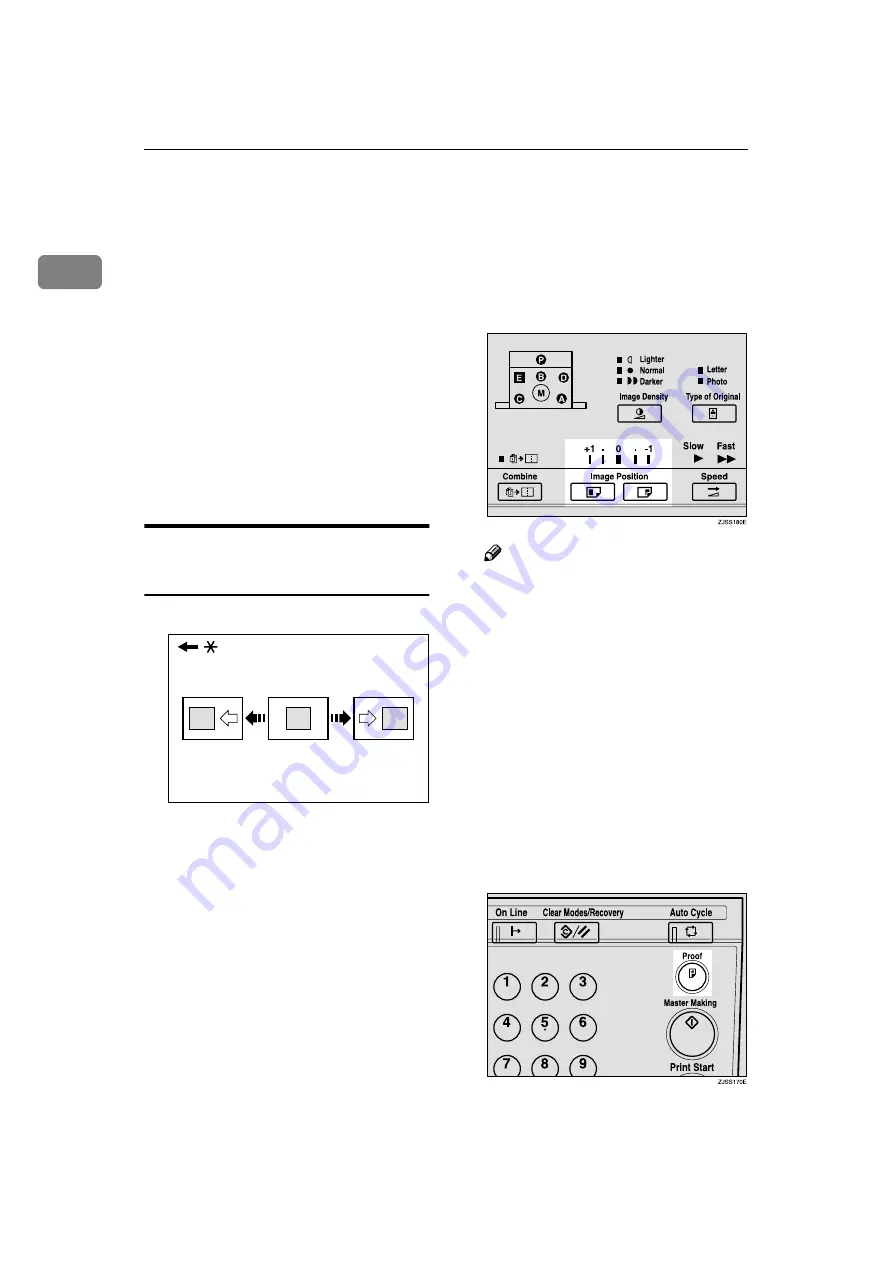
Shifting the Image Position Forwards
or Backwards
Adjust the image position using
the
{{{{
Image Position
}}}}
keys.
❖
❖
❖
❖
Shifting the Image Position to the
Right or Left
Adjust the image position by shift-
ing the paper in the paper feed
tray.
Shifting the Print Image Position
Forwards or Backwards
* Paper feed direction
AAAA
Press the left
{{{{
Image Position
}}}}
key
to move the image forwards, and
the right key to move it back-
wards.
Note
❒
When you shift the image for-
wards, leave a margin (more
than 5 mm, 0.2") at the leading
edge. If there is no margin, pa-
per might wrap around the
drum and cause a misfeed.
❒
The right or left
{{{{
Image Position
}}}}
keys shift the image about 1
mm, 0.04" each time they are
pressed. However, the indicator
will only register a change
when the image position is
shifted about 5 mm, 0.2".
BBBB
Press the
{{{{
Proof
}}}}
key to check the
image position.
GRFORW0E
Содержание PRIPORT JP730
Страница 14: ...10...
Страница 36: ...Operation 32 1...
Страница 60: ...Troubleshooting 56 4 Drum Unit Set the drum unit completely until it locks in position...
Страница 74: ...Remarks 70 5...