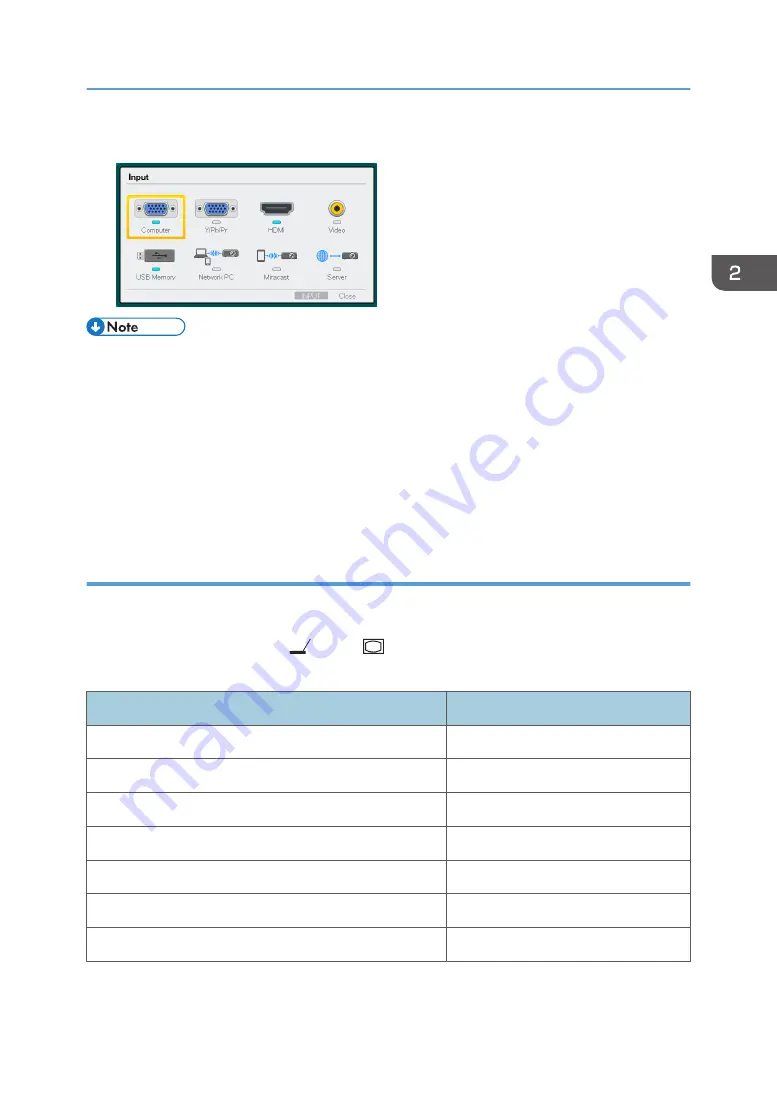
3.
Select an input signal, and then press the [Enter] button.
• If [Auto Input Search] in [Default Settings 1] is specified as [On], pressing the [Input] button
changes the input to one that is different from the image signal being input.
• The standby screen for the network input is displayed if the signal is lost or there is no signal being
input from the connected equipment. Check that the equipment is turned on and that it is properly
connected to the projector.
• If the projector does not support the input signal, a "Unsupported signal" message is displayed.
• The brightness of the image may vary temporarily because the lamp may automatically adjust to
maintain its condition.
When projecting the screen of a laptop computer
When connecting a laptop computer to the projector, switch the computer's image output.
In Windows operating systems, the image output can be switched with a function key. While pressing
and holding the [Fn] key, press the
key, the
key, or the LCD/VGA function key.
Examples of various computers
Computer brand
Key combination
MSI
[Fn] + [F2]
Everex, MITSUBISHI, NEC, Panasonic, SOTEC
[Fn] + [F3]
Gateway, HP
[Fn] + [F4]
acer, SHARP, SOTEC, TOSHIBA
[Fn] + [F5]
HITACHI, IBM, lenovo, SONY
[Fn] + [F7]
ASUS, DELL, EPSON, HITACHI
[Fn] + [F8]
FUJITSU
[Fn] + [F10]
Basic Operations for Using the Projector
37
Содержание PJ WX4152
Страница 2: ......
Страница 36: ...1 Preparations for Using the Projector 34 ...
Страница 44: ... The image may sometimes be disrupted while it is reduced 2 Projecting an Image 42 ...
Страница 104: ...6 Using the Interactive Function RICOH PJ WX4152NI only 102 ...
Страница 164: ... The lamp usage time can be verified using Lamp Time in Display Status 9 Maintenance 162 ...
Страница 176: ...9 Maintenance 174 ...
Страница 195: ... 2015 Ricoh Co Ltd ...
Страница 196: ...Y0A1 7522 AU EN US EN GB EN ...


