2.Installation
51
Data Overwrite Security Unit Type M19 (D3BS-03)
Overview
The machine’s hard disk stores all document data from the Copier, Printer, and Scanner functions. It also stores user
data such as Document Server data, code counters, and Address Book data. To prevent the leakage of such information
when the machine is discarded, you can overwrite all data stored on the hard disk (Erase All Memory). You can also
automatically overwrite temporarily-stored data (Auto Erase Memory).
The function of this option is completely the same as the Data Overwrite Security in Security Functions, which is a
standard feature of this machine (Security Settings)
This option should be installed only for a customer who requires the CC certified Data Overwrite Security function.
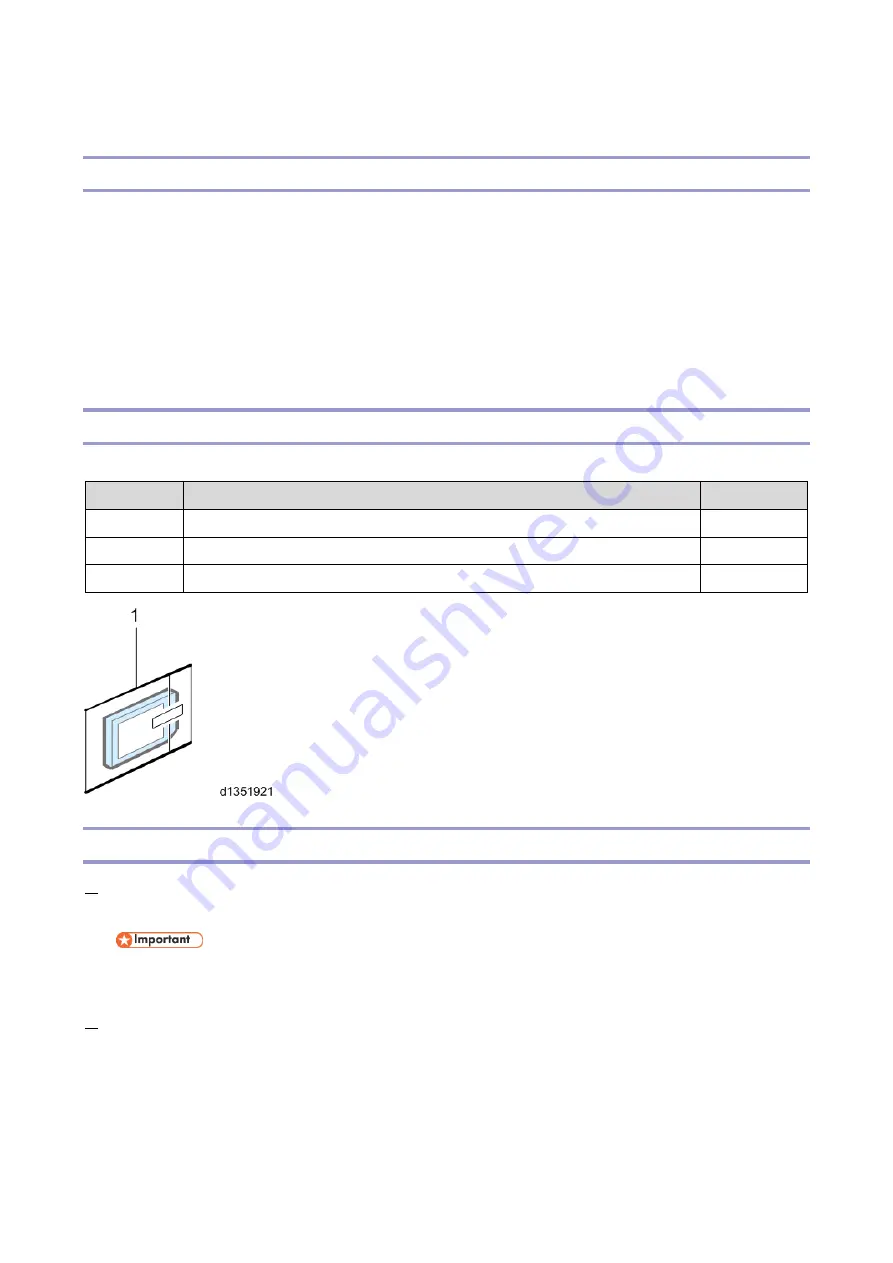
Component List
Check the quantity and condition of the accessories in the box against the following list.
No.
Description
Q’ty
1.
SD card
1
-
Comments Sheet
1
-
Operating Instructions CD-ROM
1
Before You Begin the Procedure
1.
Confirm that the Data Overwrite Security unit SD card is the correct type for this machine. The correct type is Type
M19.
If you install any type other than Type M19, you will have to replace the NVRAM and perform this
installation procedure again.
2.
Make sure that the following settings are not at their factory defaults:
Supervisor login password
Administrator login name
Administrator login password
If any of these settings is at a factory default, ask the customer to change the settings before you perform the
installation procedure.
Содержание M0A0
Страница 2: ......
Страница 10: ...8 ...
Страница 12: ......
Страница 30: ...2 Installation 18 Destination For printing images For operating NA 8 66 10 8 66 15 EU AP CHN 10 15 ...
Страница 33: ...2 Installation 21 6 Enter the password again 7 Press OK 8 Change the Administrator 1 login password ...
Страница 34: ...2 Installation 22 9 Enter the password 10 Press OK 11 Enter the password again ...
Страница 85: ...2 Installation 73 ...
Страница 127: ...4 Replacement and Adjustment 115 PCDU PCDU 1 Open the front cover A 2 Hold the grip to pull the PCDU A out ...
Страница 189: ...4 Replacement and Adjustment 177 ...
Страница 203: ...5 System Maintenance 191 SP Mode Tables See Appendices ...
Страница 229: ...5 System Maintenance 217 LDAP authorization information ...
Страница 344: ...7 Detailed Descriptions 332 side guides from side to side ...
Страница 358: ...7 Detailed Descriptions 346 ...
Страница 367: ...Latest Release Initial Release August 2016 Copyright c 2016 Ricoh Co Ltd MP 402SPF Machine Code M0A0 Appendices ...
Страница 368: ......
Страница 558: ......
Страница 560: ...2 Software Update Errors 57 Errors That Occur When the Control Panel Downloads Data from the Controller at Startup 62 ...
Страница 574: ...1 Replacement and Adjustment 16 7 LCD A 4 8 Microphone A cushioning 1 ...
Страница 622: ......
Страница 624: ... A Short Edge Feed SEF B Long Edge Feed LEF ...
Страница 626: ......
Страница 632: ...1 Installation 6 ...
Страница 703: ...4 Service Tables 77 0 Off 1 On change occurs such as an optical fiber line 5 7 Not used Do not change the settings ...
Страница 752: ...5 Detailed Section Descriptions 126 Report Sample ...
Страница 758: ...6 Specifications 132 Fax Unit Configuration Component No Remarks FCU 1 Speaker 2 ...
Страница 760: ......
Страница 762: ......
Страница 766: ...1 Detailed Descriptions 4 SW 1 SW 2 SW 3 Paper Size 7 H L H Half Letter SEF 8 H H H Paper cassette is not set ...
Страница 776: ...2 Replacement and Adjustment 14 4 Detach the paper size switch from the bracket A Hook x2 ...


