Appendix
299
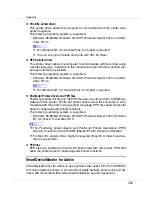
For details about the displayed items and selectable items, see Web Image
Monitor Help.
G
Click [
OK
].
[
Installed
]
appears under
[
Certificate Status
]
to show that a server certificate for
the printer has been installed.
H
Log off from the printer.
Enabling SSL
After installing the server certificate in the printer, enable the SSL setting.
This procedure is used for a self-signed certificate or a certificate issued by a cer-
tificate authority.
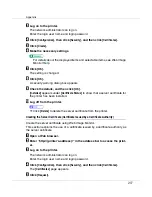
A
Open a Web browser.
B
Enter “http://(printer's-address)/” in the address bar to access the print-
er.
C
Log on to the printer.
The network administrator can log on.
Enter the login user name and login password.
D
Click [
Cancel
], then click [
Security
], and then click [
SSL/TLS
].
The
[
SSL/TLS
]
page appears.
E
Click [
Enable
] for [
SSL/TLS
].
F
Click [
Apply
].
The SSL setting is enabled.
G
Log off from the printer.
❒
If you set
[
Permit SSL/TLS Communication
]
to
[
Ciphertext Only
]
, enter “ht-
tps://(printer's address)/” to access the printer.
User Settings for SSL (Secure Sockets Layer)
If you have installed a server certificate and enabled SSL (Secure Sockets Lay-
er), you need to install the certificate on the user’s computer.
The network administrator must explain the procedure for installing the certifi-
cate to users.
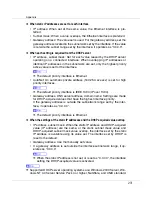
If a warning dialog box appears while accessing the machine using the Web
browser or IPP, start the Certificate Import Wizard and install a certificate.


