CENTRIFUGAL BLOWER MAINTENANCE SCHEDULE
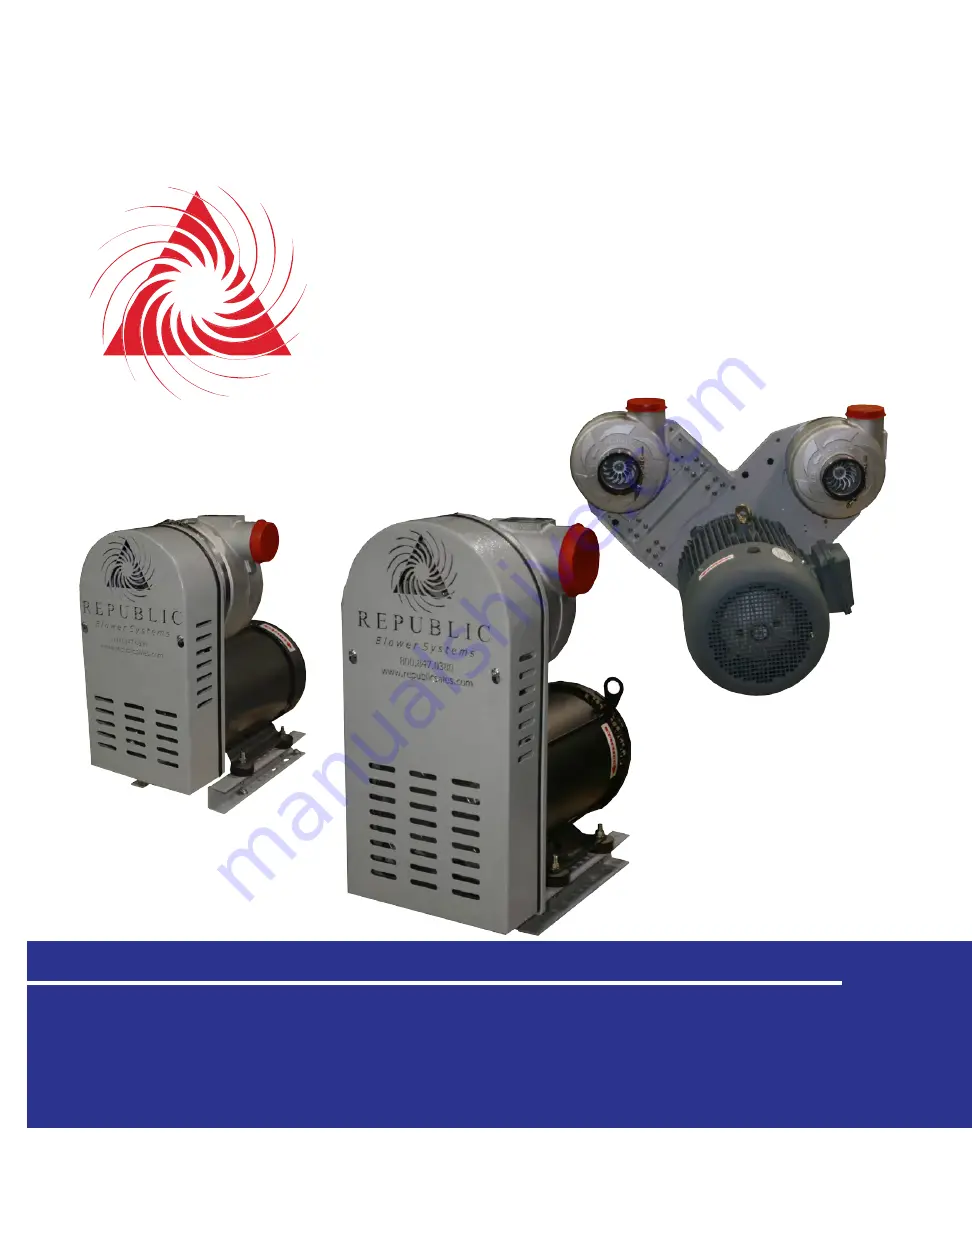
RB800, RB1200HC, RB2400
R
MANUFACTURING
EPUBLIC
RB800
RB1200HC
RB2400
COMBINED FLUID PRODUCTS COMPANY
www.cfpco.com
●
[email protected]
+1 (847) 540-0054
Страница 1: ...CENTRIFUGAL BLOWER MAINTENANCE SCHEDULE RB800 RB1200HC RB2400 RMANUFACTURING EPUBLIC RB800 RB1200HC RB2400 COMBINED FLUID PRODUCTS COMPANY www cfpco com sales cfpco com 1 847 540 0054...
Страница 2: ...performed by trained service personnel Read the following safety instructions carefully Disconnect blower from electrical source before attempting service WARNING IMPORTANT COMBINED FLUID PRODUCTS CO...
Страница 3: ...Terms and Conditions 25 Warning and Important Note 2 Safety Instructions 4 Drive Belt Information 5 Belt Sizing Information 5 Belt Removal and Installation 6 8 Spring Replacement Installation 9 RB240...
Страница 4: ...to install the inlet air filter or piping to blower inlet before starting the blower motor 6 Do not operate blower with the outlet open to atmosphere Connect system piping or butterfly valve to preve...
Страница 5: ...600K 200 0214 200 0206 230 0175 231 0175 230 3800K 230 5925 230 4700K 200 0214 200 0206 230 0185 231 0185 230 3800K 230 5925 230 4700K 200 0214 200 0206 230 0195 231 0195 230 3800K 230 5925 230 4700K...
Страница 6: ...tated out of the way to allow for the Tension Arm to swing CW Loosen the 5 16 18 SHCS as shown in Figure 1 the screw is located on the backside of the Mounting Plate Use a 1 4 allen wrench not shown o...
Страница 7: ...end wrench rotate the Tension Arm Assembly clockwise CW Wrap the new or replacement Belt around the Blower Pulley and then onto the Motor Pulley as shown in Figures 5 and 6 Once the Belt is in place...
Страница 8: ...on motors with high starting torque NOTE Using a flat blade screwdriver adjust the slotted 5 16 18 SS Hex Head screw on the Tension Block until the Hex Head just touches the Rubber Block on the Tensio...
Страница 9: ...ll to tension arm Item 2 Twist tension pulley shaft counterclockwise to tighten 8 Reinstall spring to 1 4 shoulder bolt on blower back plate Mounting Plate 1 4 Shoulder Bolt Item No Part No Qty Descri...
Страница 10: ...CE SCHEDULE RB800 RB1200HC RB2400 RB2400 REPLACEMENT PARTS REFERENCE Blower Pulley Part No Belt Part No Tension Pulley Part No RB2400 H1 Side RB2400 H2 Side RB2400 H1 Side RB2400 H2 Side 231 0175 230...
Страница 11: ...ove conditions Always change the spring and belt at the same time You should stock a spare belt and spring VIEW A A VIEW LOOKING AT BELT SIDE See the Motor Pulley section pages 93 95 for instructions...
Страница 12: ...rench when installing the Motor Pulley Torque the set screws to 36 ft lbs or 430 in lbs Torque the set screws evenly to ensure proper alignment Motor Blower Pulley Face Blower Pulley 1 2 13 Hex Head S...
Страница 13: ...0 to 1 32 The straight edge must be able to rotate radially and lay flush on two faces of the mo tor pulley while lying flush on the face of the blower pulley to insure proper alignment see Detail C 3...
Страница 14: ...ine up one Motor Pulley Hole to Mounting Plate Hole and insert a screw driver through restricting the Motor Pulley rotation 2 Use a 1 4 Allen wrench and remove the two 2 set screws from the Motor Pull...
Страница 15: ...val is once every six 6 months See Filter Data Reference for additional information HEPA Filter Maintenance HEPA Filter Data Reference HEPA Filter 1000 CFM 1 W C Min Temp 15 F Max Temp 220 F 99 9 effi...
Страница 16: ...art No Bearing Housing Assy Part No 230 0175 200 4175 230 0185 200 4185 230 0195 200 4195 230 0205 200 4205 230 0215 200 4215 230 0225 200 4225 230 0235 200 4235 230 0245 200 4245 230 0255 200 4255 23...
Страница 17: ...ension Pulley also has sealed for life bearings The bearings can be replaced when worn or the entire Tension Arm Assembly REFER TO PAGE 8 FOR INSTALLATION GUIDELINES AND PARTS BREAKDOWN Tension Pulley...
Страница 18: ...or higher than normal levels of vibration Be sure to use a torque wrench when installing the motor pulley Torque the setscrews to 36 ft lb or 430 in lb Torque the setscrews evenly to ensure proper al...
Страница 19: ...1026 Motor Pulley RB800 See chart for Taper Lock Bushing 210 1005 Set Screw 230 1025 Motor Pulley RB1200HC RB2400 See chart for Taper Lock Bushing 210 1005 Set Screw 230 1022 Motor Pulley Motor HP Bus...
Страница 20: ...Screw SS 5 16 18 x 3 4 Button Hd 17 210 1801 4 Screw 1 2 13 x 1 25 SS Hex Hd 18 210 2200 2 Isolator Mount 19 210 2301 1 Helicoil 3 8 16 11856CN375 20 230 1026 1 RB800 Cast Motor Pulley 21 230 4002 1 1...
Страница 21: ...ap Bolt 15 210 1607 2 Screw SS 5 16 18 x 3 4 Button Hd 16 210 1608 2 5 16 18 x 1 2 SS SHC Screw 17 210 1801 4 Screw SS 1 2 13 x 1 25 SS Hex Hd 18 210 2200 2 Isolator Mount 19 210 2201 2 Isolator Mount...
Страница 22: ...2 SS SHC Screw 9 210 1604 7 5 16 18 x 3 4 SS SHC Screw 10 210 1606 2 Screw 5 16 18 x 2 SS HH Tap Bolt 11 210 1608 4 5 16 18 x 1 2 SS SHC Screw 12 210 2301 2 Helicoil 3 8 16 11856CN375 13 250 0300 2 4...
Страница 23: ...Blower not connected to air knives or pipe Irregular Noise Blockage in the air lines or piping Leakage in the pipes cracked or loose flex hose Frayed or a bad belt Replace belt and spring Bolts loose...
Страница 24: ...ating Motor Pulley out of alignment See alignment guidelines Worn belt Replace belt spring Belt Tension Spring worn out missing Replace belt spring Pulley grooves worn check both pulleys Replace pulle...
Страница 25: ...he blower which will determine course of action Any product found to be defective within the warranty period will merit either a A no charge repair of existing blower Any freight charges will be the p...