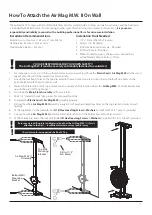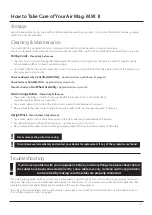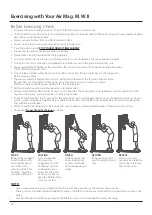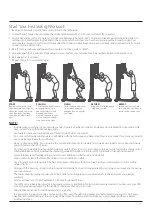
1. Attach the Main Stem Assembly
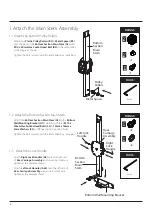
1-1 Attach the bottom Pulley Rollers
•
Attach two
Plastic Pulley Rollers (B2)
&
Metal Spacer (B3)
onto the back of the
Bottom Section Main Stem (G1)
with
M10 x 40mm Hex Socket Head Bolt (B4)
in the same order
as the diagram shown.
•
Tighten the bolt securely with the 8mm Allen Key - provided.
Bottom
Section
Main
Stem
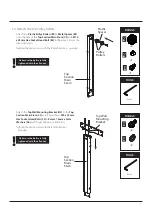
1-2 Attach the Bottom Section Main Stem
•
Attach the
Bottom Section Main Stem (G1)
to the
Bottom
Wall Mounting Bracket (H1)
carefully with three
M10 x
20mm Hex Socket Head Bolts (S4)
&
10mm x 18mm x
2mm Washers (S5)
with finger tight in position firstly.
•
Tighten the bolt securely with the 8mm Allen Key - provided.
Bottom
Section
Main
Stem
Pulley
Rollers
Metal Spacer
FIXINGS:
FIXINGS:
x
2
FIXINGS:
TOOLS:
8mm
x
1
x
1
6
FIXINGS:
FIXINGS:
x
3
FIXINGS:
TOOLS:
8mm
x
3
Left Lock
Handle
Rear
Carriage
Assembly
Bottom Wall Mounting Bracket
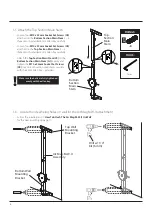
1-3 Attach the Lock Handle
•
Attach
Right Lock Handles (A3)
onto the right side
of
Rear Carriage Assembly
and secure by clockwise
tighten as the diagram shown.
•
Attach
Left Lock Handles (A28)
onto the left side of
Rear Carriage Assembly
and secure by clockwise
tighten as the diagram shown.
Part
No.
B2
Part
No.
B3
Part
No.
B4
Part
No.
S4
Part
No.
S5
Right
Lock
Handle


