• P
ROFESSIONAL
S
ERIES
F
ANS
•
• C
EILING
AN
O
WNER'S
M
ANUAL
WARNING: Read and follow these instructions carefully and be mindful of all warnings shown throughout.
REVISED NOVEMBER 2007
Style that revolves around you.
Страница 1: ...ROFESSIONAL SERIES FANS CEILING FAN OWNER S MANUAL WARNING Read and follow these instructions carefully and be mindful of all warnings shown throughout REVISED NOVEMBER 2007 Style that revolves around you ...
Страница 2: ... to our corporate service department a fee of 14 00 must accompany your fan to cover handling This fee must be in the form of a check or money order made payable to REGENCY CEILING FANS Should you require service at our corporate service department YOU MUST FIRST WRITE FOR A RETURN AUTHORIZATION TO R Re eg ge en nc cy y C Ce ei il li in ng g F Fa an ns s P P O O B Bo ox x 7 73 30 0 F Fe en nt to o...
Страница 3: ...the moving weight of the fan at least 35lbs The box must not be able to twist or work loose Installation on a concrete ceiling should be performed by qualified personnel 5 Blades should be attached after motor housing is hung and in place Fan motor housing should be kept in the carton until ready to be installed to protect its finish If you are installing more than one ceiling fan make sure that y...
Страница 4: ... this fan with any transformer type fan speed control device To reduce the risk of personal injury do not bend the blade arms when installing them balancing the blades or cleaning the fan Do not insert any objects s between rotating fan blades NOTE The important precautions safeguards and instructions appearing in this manual are not meant to cover all possible conditions and situations that may o...
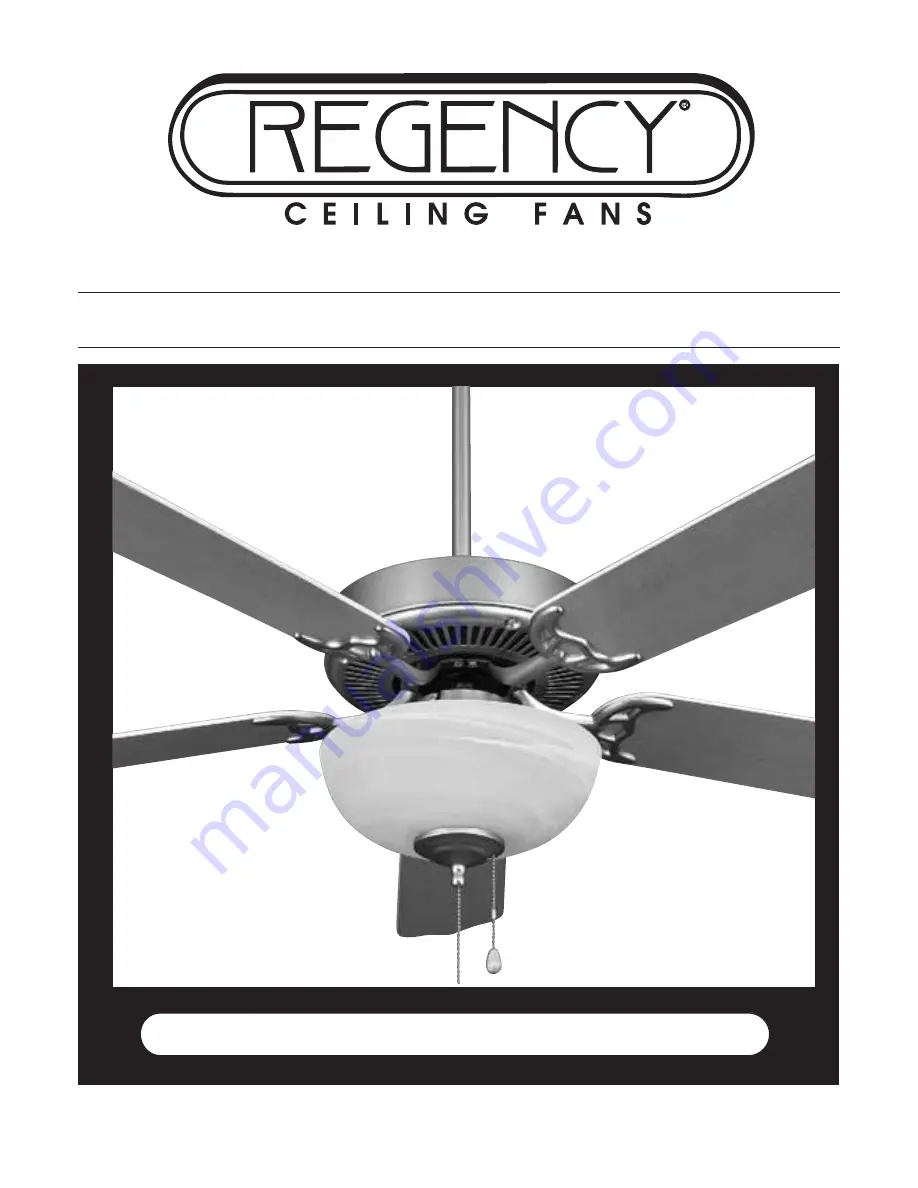
Страница 5: ...ed in separate box 2 Hanging bracket 3 Ceiling canopy 4 Downrod ball assembly 5 Decorative collar cover 6 Fan housing with motor Remove rubber shipping supports around motor if included on your fan Save screws 7 DetachableSwitch housing 8 Blade arms 5 9 Pull chain with fob 10 Bracket mounting hardware wood screws screws lock washers washers wire nuts 11 Blade arm to blade screws w washers 15 12 S ...
Страница 6: ... precaution against possible electric shock 1 Locate ceiling joist where fan is to be mounted being sure location agrees with the requirements in the minimum clearance section of this guide Wood joist must be sound and of adequate size to support 35 lbs See Page 1 Items 3 and 4 2 If not already present mount a UL listed outlet box marked suitable for fan support following the instructions provided...
Страница 7: ...from the ceiling Air flow will be reduced when the fan is installed using the HUGGER method The DOWNROD MOUNTING method is preferred if the ceiling is sloped or vaulted or if the ceiling is extra high and requires the use of an extension downrod Blades will be approximately 12 from ceiling using supplied downrod 1 HUGGER MOUNTING 2 DOWNROD MOUNTING This is the recommended mounting for ceilings 8 a...
Страница 8: ...ARNING To avoid damaging the blade arms and blades do not install them onto fan until fan is fastened to ceiling 5 Place the S hook onto the hanger bracket Hang the canopy with the fan motor housing attached from the S hook on the hanger bracket using one of the holes in the edge of the canopy Fig 2 This will permit you to make the electrical connections without having to hold the fan up as well 6...
Страница 9: ...arge flat blade screwdriver to ensure a tight fit against downrod Tighten nuts against mounting collar NOTE Fan has 6 feet of hook up wire in case you are using a long extension down rod Wires can be cut so only 8 inches or so extend beyond the top of the downrod to make the electrical connections easier and safer 6 Feed wires through canopy and slide canopy over downrod It will be attached to cei...
Страница 10: ...wire connections refer to section titled Electrical Connections 3 Slide canopy up and fasten to hanger bracket with 4 screws provided 8 INSTALLING THE FAN DOWNROD STYLE INSTALLATION OPTION 2 DOWNROD STYLE MOUNTING CONT WARNING To avoid damaging the blade arms and blades do not install them onto fan until fan is fastened to ceiling ...
Страница 11: ...this is the hot power for light kit Green ground wire on bracket or downrod 2 If fan and light are to be connected to the same circuit black and blue wires can both be connected to house circuit black wire NOTE The other end of the blue wire light circuit is in the switch housing with a wire nut and label for light kit attachment The white wire common for light kit is also there WARNING If light k...
Страница 12: ...ghten each screw starting with center screw 3 Fasten blade assembly to motor with provided screws and metal lockwashers Repeat procedure for remaining blades Fig 2 Make sure screws are TIGHT Loose motor screws can contribute to unnecessary hum and wobble during operation NOTE Cordless power screw drivers are NOT recommended as they tend to strip the heads of the screws and usually will not fully c...
Страница 13: ...y 2 If installing light kit carefully remove light kit plug in bottom of switch housing Attach light kit to switch housing per instructions supplied with light kit See Electrical Connections for hook up of light kit 3 Connect the plug and receptacle and make sure side buckle snaps in place 4 Attach the switch housing to the switch housing hub Be sure to align the opening on the edge of switch hous...
Страница 14: ...e light fixture connect the wire from the fixture to the switching The wires in the switch housing are marked for LIGHT 4 Install the switch housing onto the mounting hub of the fan and secure it with the screws provided After the installation of the switch housing the globe may be installed 5 Install the light bulbs using the correct wattage per rating 6 Install the shade and secure it to the fix...
Страница 15: ...etween forward and reverse positions IMPORTANT To prevent damage or cause injury be sure that fan is switched to off and blades have stopped moving completely before attempting to change direction of rotation 13 OPERATION Forward Reverse Direction Forward is a counterclockwise rotation of the blades when viewed from beneath the fan This will create a downward breeze that can be felt below the fan ...
Страница 16: ... fan is noisy Check and make sure that all screws in motor housing are snug but not over tight Check that the screws securing blade brackets to the motor are tight Check that wire connectors in switch housing are not rattling against each other or the interior wall of the switch housing Check that all glassware is finger tight and that bulb s are well held in the sockets if a light kit is used Che...
Страница 17: ...THANK YOU FOR PURCHASING A REGENCY CEILING FAN Write to us at Regency Ceiling Fans P O Box 730 Fenton MO 63026 Visit us on the Web at www regencyfan com 7 06 Regency Ceiling Fans ...