INSTALLATION INSTRUCTIONS
RED ATOM REDIC6DT
6.5” Round Stereo In-Ceiling Speaker
Instruction Manual
Cut-out
Speaker
Speaker Cable
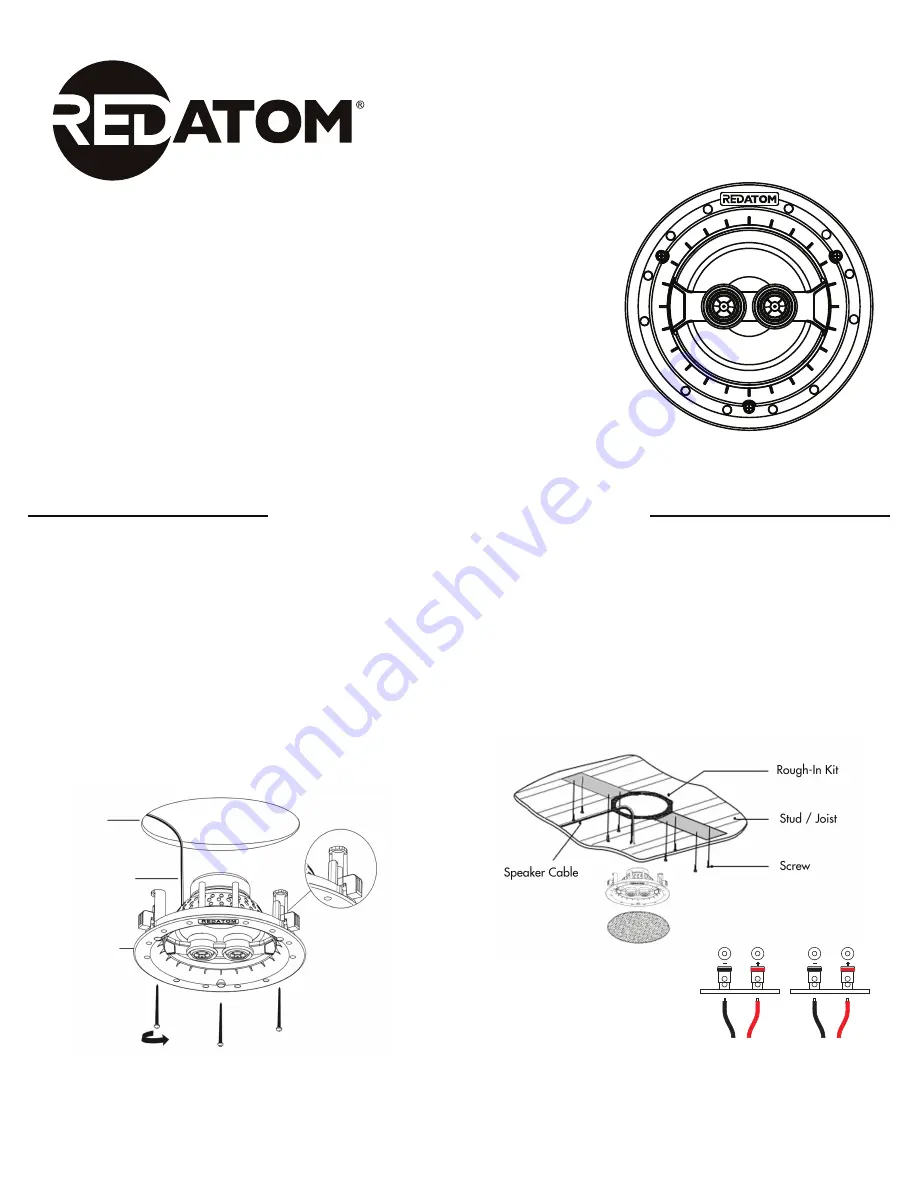
Pre-wire or Pre-construction with mounting bracket
Precaution: Locate existing pipes, duct work, and AC wiring.
1. Route the speaker wire to the speaker location avoiding all obstacles.
2. REDATOM offers Speaker Rough-In Brackets (RED6KIT & RED8KIT) that can be
fastened to the adjacent studs. Once the dry wall is installed, the opening is
cut-out. There are holes molded into the bracket for speaker wire tie-off to keep
the wire from being lost during construction.
3. Make sure the speaker cut-out (hole) doesn’t extend further than ¼” (0.6 cm)
from the inside of the mounting bracket.
Safety Precaution:
Start by drilling shallow to avoid damage to wiring, pipes and ductwork.
Center the speaker in the cutout. Rotate the frame as needed before tightening
the screws. Tighten the screws equally until the clamps secure the frame.
Do not overtighten.
As the screws are
tightened the fastener
will rotate out and
become snug against
the drywall.
In-Ceiling Bracket Installation
Attach the speaker wires to the red (+)
and black (-) speaker terminals. Connect
the Positive (+) conductor to the red
terminal and the Negative (-) conductor
to the Black terminal. Make sure that
there are no stray strands of wire
touching the other conductor or terminal.
INPUT
INPUT
L
R
The REDIC6DT has two sets of speaker connectors, one for the left side and one for the
right side. Connect both the Left & Right (as noted) in order to enjoy a stereo effect
Retrofit Installation
Precaution: Locate existing pipes, duct work, and AC wiring prior to cutting any holes.
1. Center the cardboard template between adjacent joists. While avoiding all
wiring, pipes, and duct work, lightly mark the outline with a pencil.
2. Use a keyhole/drywall saw or motorized spiral-cut tool to make a small
opening to check for wiring, pipes, and duct work.
3. Score the outline of the template with a utility knife to prevent chipping. If dealing
with lath and plaster or thick paneling, drill 1” (2.5 cm) holes in several places
around the pencil outline.
4. Use a fine-toothed keyhole saw or hacksaw blade with slow strokes to saw
through and remove the inner surface.


