5.4 Shortcuts menu
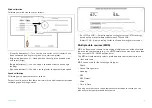
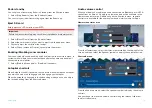
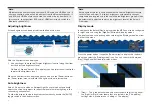
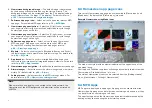
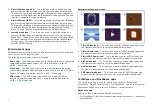
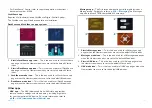
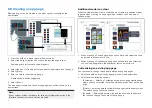
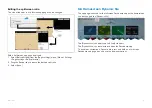
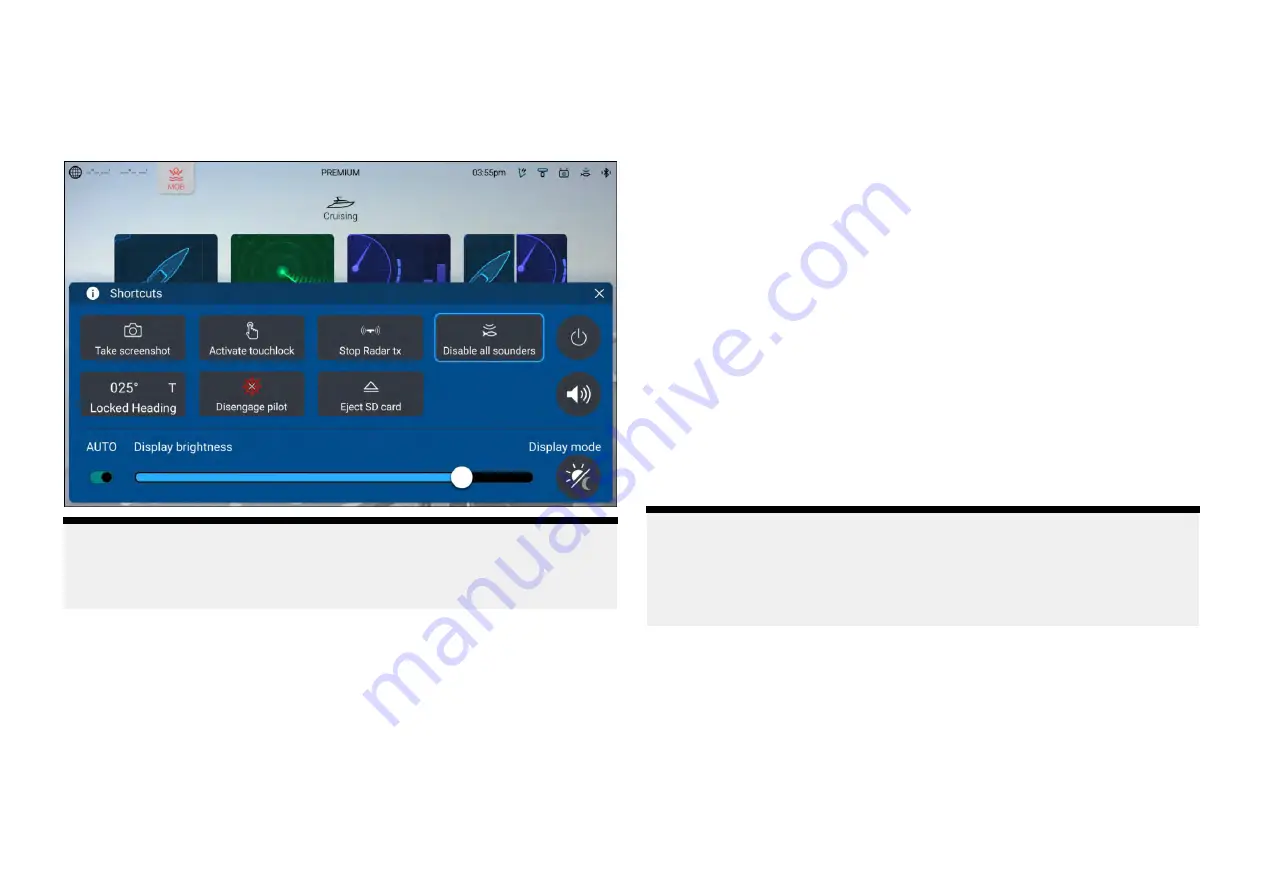
The Shortcuts menu can be accessed by swiping left to right across the
[Power swipe]
area on touchscreen displays or by pressing the physical
[Power]
button.
Note:
Some of the displayed options are dependent on connected hardware, e.g.
the
[Engage pilot]
/
[Disengage pilot]
option is only available if you have a
compatible autopilot system connected and integrated with your display.
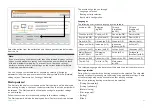
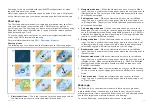
The following shortcuts are available.
• Take Screenshot
• Activate Touchlock
• Stop Radar transmitting
• Disable all Sounders
• Adjust Locked heading
• Engage / Disengage autopilot
• Eject SD card
• Power off
• Adjust audio speaker volume
• Adjust Brightness
• Toggle auto brightness on and off (Axiom® 2 displays only).
• Display mode
Taking a screenshot
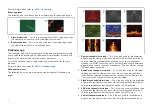
You can take a screenshot and save an image of what is currently displayed
on the screen to an external memory card.
The memory card that screenshots will be saved to can be selected from
the
[This display]
settings menu:
[Homescreen > Settings > This display >
Screenshot file:]
.
Screenshots are saved in .png format in the following location on your
memory card ‘
\Raymarine\Image files\
’.
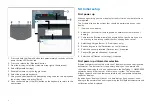
1. Use the
[Power swipe]
or
[Power]
button to open the Shortcuts menu.
2. Select
[Take screenshot]
.
3. Select
[OK]
on the screenshot notification.
Displays that have physical buttons can also have a user-configurable key
assigned as a
[Take screenshot]
button.
Note:
• Ensure that the memory card is ejected safely using the
[Eject SD card]
option from the Shortcuts menu.
• Due to protected content restrictions, you cannot take a screenshot of a
feed that could contain copyrighted materials, such as the HDMI input.
Activating touchlock
In rough weather conditions precipitation may lead to erroneous touches
being detected by the touchscreen. In these conditions you can use
touchlock to prevent this.
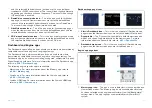
1. Select
[Activate touchlock]
from the
[Shortcuts]
menu.
With touchlock activated the touchscreen will be disabled. To re-enable
the touchscreen, swipe from left to right across the [Power swipe] area,
or press the power button.
68
Содержание LIGHTHOUSE 4
Страница 2: ......
Страница 4: ......
Страница 20: ...APPENDIX C HARDWARE AND SOFTWARE COMPATIBILITY 478 APPENDIX D DOCUMENT CHANGE HISTORY 480 20...
Страница 414: ...414...
Страница 451: ...4 Select Delete again to confirm 5 Select OK YachtSense ecosystem 451...
Страница 484: ......
Страница 503: ......


