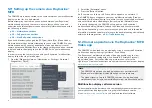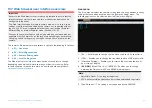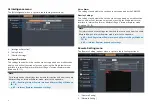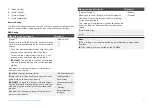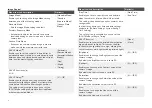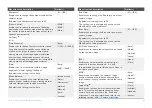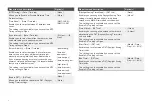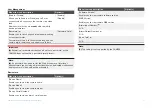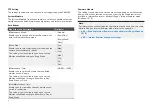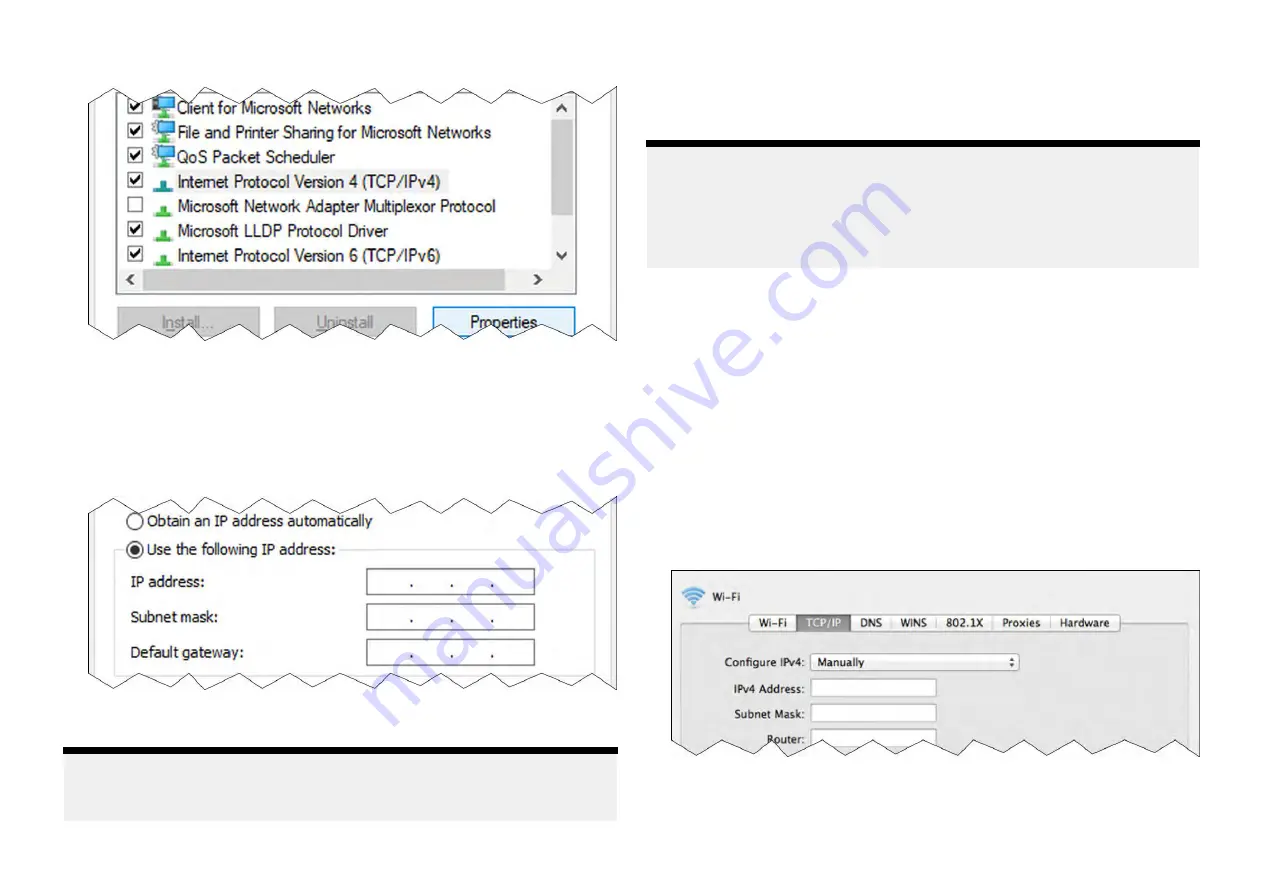
8. Click
[Properties]
.
9. Click
[Use the following IP address]
.
10. Enter the
[IP address]
so it matches the IP address of your product.
11. Change the
last three digits
of the IP address to a number between
1–254
(these digits must not match the IP address of the product or any
other device on the network).
12. Enter the
[Subnet mask]
255.255.255.0
13. Click
[OK]
.
You can now access the product by typing its IP address into one of the
supported browsers.
Note:
For further information on which browsers are supported, refer to the
following section:
Changing the IP address range on an Apple Mac PC
To configure the necessary IP address range settings on an Apple Mac PC,
follow the steps listed below:
Note:
You will need to know the IP address of your product for step 8. This can
be found by referring to one of the following sections:
•
p.47 — Accessing the camera’s IP address via ONVIF Device Manager
•
p.48 — Accessing the camera's IP address via a Raymarine® MFD
1. Click the
[Apple menu]
2. Click
[System Preferences]
3. Click
[Network]
4. Select the
[network]
the product is communicating on from the sidebar
5. Click
[Advanced]
6. Click
[TCP/IP]
7. From the
[Configure IPv4]
menu, select
[Manually]
8. Enter the
[IP address]
so it matches the IP address of your product.
9. Change the
last three digits
of the IP address to a number between
1–254
(these digits must not match the IP address of the product or any
other device on the network).
10. Enter the
[Subnet mask]
255.255.255.0
11. Click
[OK]
You can now access the product by typing its IP address into one of the
supported browsers.
Camera setup and operation via Windows 10 or Apple Mac PC
49
Содержание CAM300
Страница 2: ......
Страница 4: ......
Страница 19: ...CHAPTER 5 PRODUCT DIMENSIONS CHAPTER CONTENTS 5 1 Product dimensions page 20 Product dimensions 19...
Страница 83: ...19 3 RayNet to RJ45 and RJ45 SeaTalkhs adapter cables Spares and accessories 83...
Страница 88: ......
Страница 92: ......
Страница 93: ......


