


Chapter 5: Using the PX3TS
97
Port
Used for
USB-A,
USB-B,
FEATURE,
SENSOR
Same functions as above.
CONSOLE/
MODEM
(RJ-45)
Same function as the one on PX3TS models. See above.
Note that the CONSOLE/MODEM port on the iX7
™
device is an RJ-45
connector instead of a DB9 connector. Therefore, use a third-party
RJ-45 to DB9 adapter/cable to connect iX7
™
to the computer. See
RJ45-to-DB9 Cable Requirements for Computer Connections (for
iX7
™
Only)
(on page 26).
ETH 10/100/1000,
ETH 10/100
iX7
™
has two Ethernet ports.
ETH 10/100/1000 (marked in green) supports up to 1000 Mbps.
This is "ETH1".
ETH 10/100 (marked in white) supports up to 100 Mbps. This is
"ETH2".
You can use either Ethernet port for network connection or cascading.
See
Extended Cascading with PX3TS-iX7 Models
(on page 33).
Note: The yellow LED of the ETH 10/100 port has NO function so it will
not be lit regardless of the communication status.
EXPANSION
Connecting to the EXPANSION port of another iX7
™
so that the power
supply to either iX7
™
controller will continue whenever power failure
occurs on the inlet of one iX7
™
PDU. See
Power-Sharing Restrictions
and Connection (for iX7
™
Only)
(on page 38).
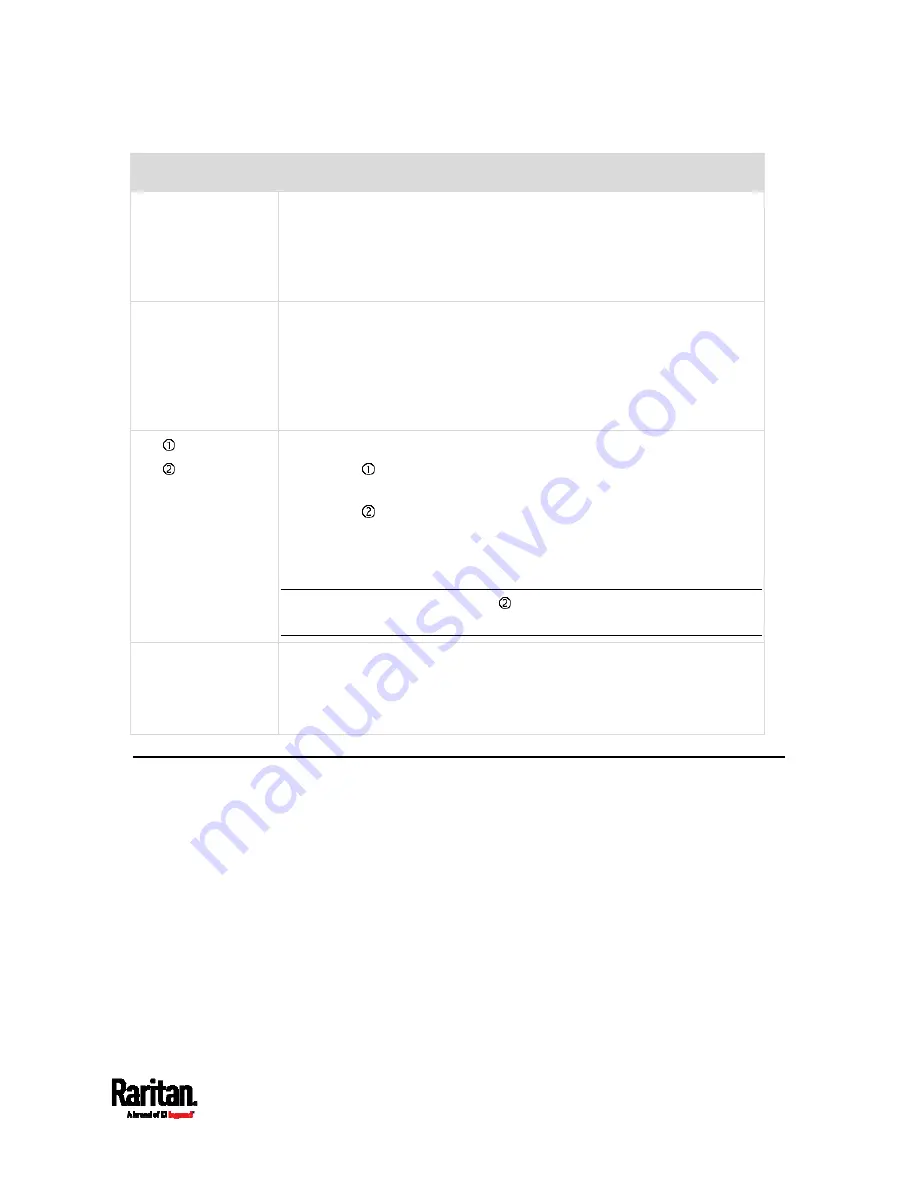
Front LCD Display
The LCD display can show the reading or status of different components
on the PX3TS, or this device's MAC address and IP address.
It consists of:
An LCD display
Four control buttons
Depending on your PX3TS generation, the front panel display type of your
PX3TS differs. Operation ways of diverse front panel displays are also
different.
PX3TS Character LCD Display
PX3TS-iX7 Dot-Matrix LCD Display
(on page 112)
Содержание PX3TS
Страница 5: ......
Страница 16: ...Contents xvii Index 807...
Страница 83: ...Chapter 4 Connecting External Equipment Optional 59 A DPX2 sensor package A DPX sensor package...
Страница 85: ...Chapter 4 Connecting External Equipment Optional 61...
Страница 754: ...Appendix H RADIUS Configuration Illustration 730 Note If your PX3TS uses PAP then select PAP...
Страница 755: ...Appendix H RADIUS Configuration Illustration 731 10 Select Standard to the left of the dialog and then click Add...
Страница 756: ...Appendix H RADIUS Configuration Illustration 732 11 Select Filter Id from the list of attributes and click Add...
Страница 759: ...Appendix H RADIUS Configuration Illustration 735 14 The new attribute is added Click OK...
Страница 760: ...Appendix H RADIUS Configuration Illustration 736 15 Click Next to continue...
Страница 792: ...Appendix I Additional PX3TS Information 768...
Страница 816: ...Appendix I Additional PX3TS Information 792 11 To print the currently selected topic click the Print this page icon...
Страница 820: ...Appendix J Integration 796 3 Click OK...


