Chapter 8: Using the Command Line Interface
627
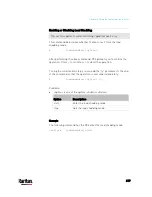
-- OR --
#
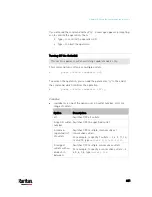
reset activeEnergy outlet <outlet_n> /y
If you entered the command without "/y", a message appears prompting
you to confirm the operation. Type y to confirm the reset or n to abort it.
Variables:
<n> is the inlet number.
<outlet_n> is an outlet number.
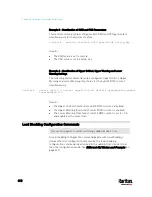
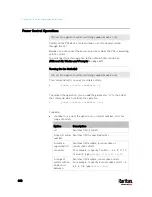
Resetting to Factory Defaults
The following commands restore all settings of the PX3 device to factory
defaults.
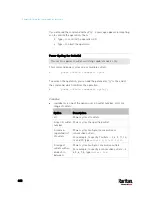
To reset PX3 settings after login, use either command:
#
reset factorydefaults
-- OR --
#
reset factorydefaults
/y
To reset PX3 settings before login:
Username:
factorydefaults
See
Using the CLI Command
(on page 702) for details.
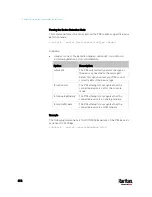
Network Troubleshooting
The PX3 provides 4 diagnostic commands for troubleshooting network
problems:
nslookup, netstat, ping, and traceroute. The diagnostic
commands function as corresponding Linux commands and can get
corresponding Linux outputs.
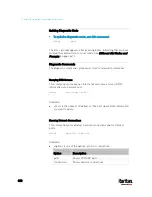
Entering Diagnostic Mode
Diagnostic commands function in the diagnostic mode only.
To enter the diagnostic mode:
1.
Enter either of the following modes:
Administrator mode: The # prompt is displayed.
User mode: The > prompt is displayed.
2.
Type
diag
and press Enter. The diag# or diag> prompt appears,
indicating that you have entered the diagnostic mode.
3.
Now you can type any diagnostic commands for troubleshooting.
Содержание PX3-3000 series
Страница 5: ......
Страница 18: ...Contents xviii Index 841...
Страница 66: ...Chapter 3 Initial Installation and Configuration 42 Number Device role Master device Slave 1 Slave 2 Slave 3...
Страница 93: ...Chapter 4 Connecting External Equipment Optional 69...
Страница 787: ...Appendix J RADIUS Configuration Illustration 763 Note If your PX3 uses PAP then select PAP...
Страница 788: ...Appendix J RADIUS Configuration Illustration 764 10 Select Standard to the left of the dialog and then click Add...
Страница 789: ...Appendix J RADIUS Configuration Illustration 765 11 Select Filter Id from the list of attributes and click Add...
Страница 792: ...Appendix J RADIUS Configuration Illustration 768 14 The new attribute is added Click OK...
Страница 793: ...Appendix J RADIUS Configuration Illustration 769 15 Click Next to continue...
Страница 823: ...Appendix K Additional PX3 Information 799...
Страница 853: ...Appendix L Integration 829 3 Click OK...


