Chapter 8: Using the Command Line Interface
552
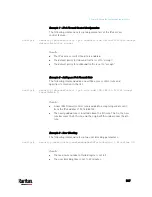
Example - Inlet Naming
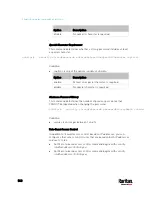
The following command assigns the name "AC source" to the inlet 1. If
your PX3 device contains multiple inlets, this command names the 1st
inlet.
config:#
inlet 1 name "AC source"
Overcurrent Protector Configuration Commands
An overcurrent protector configuration command begins with
ocp. The
command configures an individual circuit breaker or fuse which protects
outlets.
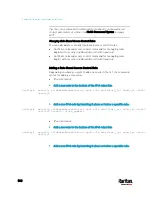
Changing the Overcurrent Protector Name
This command names a circuit breaker or a fuse which protects outlets
on your PX3.
config:#
ocp <n> name "<name>"
Variables:
<n> is the number of the overcurrent protector that you want to
configure. The value is an integer between 1 and 50.
<name> is a string comprising up to 64 ASCII printable characters.
The <name> variable must be enclosed in quotes when it contains
spaces.
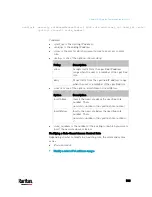
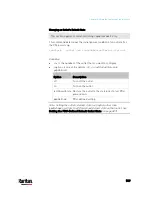
Example - OCP Naming
The command assigns the name "Email servers CB" to the overcurrent
protector labeled 2.
config:#
ocp 2 name "Email servers CB"
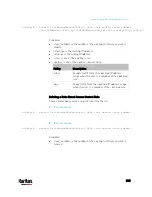
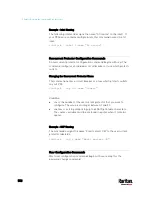
User Configuration Commands
Most user configuration commands begin with
user except for the
password change command.
Содержание PX3-3000 series
Страница 5: ......
Страница 18: ...Contents xviii Index 841...
Страница 66: ...Chapter 3 Initial Installation and Configuration 42 Number Device role Master device Slave 1 Slave 2 Slave 3...
Страница 93: ...Chapter 4 Connecting External Equipment Optional 69...
Страница 787: ...Appendix J RADIUS Configuration Illustration 763 Note If your PX3 uses PAP then select PAP...
Страница 788: ...Appendix J RADIUS Configuration Illustration 764 10 Select Standard to the left of the dialog and then click Add...
Страница 789: ...Appendix J RADIUS Configuration Illustration 765 11 Select Filter Id from the list of attributes and click Add...
Страница 792: ...Appendix J RADIUS Configuration Illustration 768 14 The new attribute is added Click OK...
Страница 793: ...Appendix J RADIUS Configuration Illustration 769 15 Click Next to continue...
Страница 823: ...Appendix K Additional PX3 Information 799...
Страница 853: ...Appendix L Integration 829 3 Click OK...


