Chapter 3: Initial Installation and Configuration
23
Connecting the PX3 to Your Network
To remotely administer the PX3, you must connect the PX3 to your local
area network (LAN). PX3 can be connected to a wired or wireless
network.
Note: If your PX3 will work as a master device in the bridging mode, you
must make a wired connection. See
Cascading PX3 via USB
(on page
The Ethernet port of PX3 must be enabled for the described connection
to work properly. Per default, the Ethernet port is enabled. See
Wired
Network Settings
(on page 252).
To make a wired connection:
1.
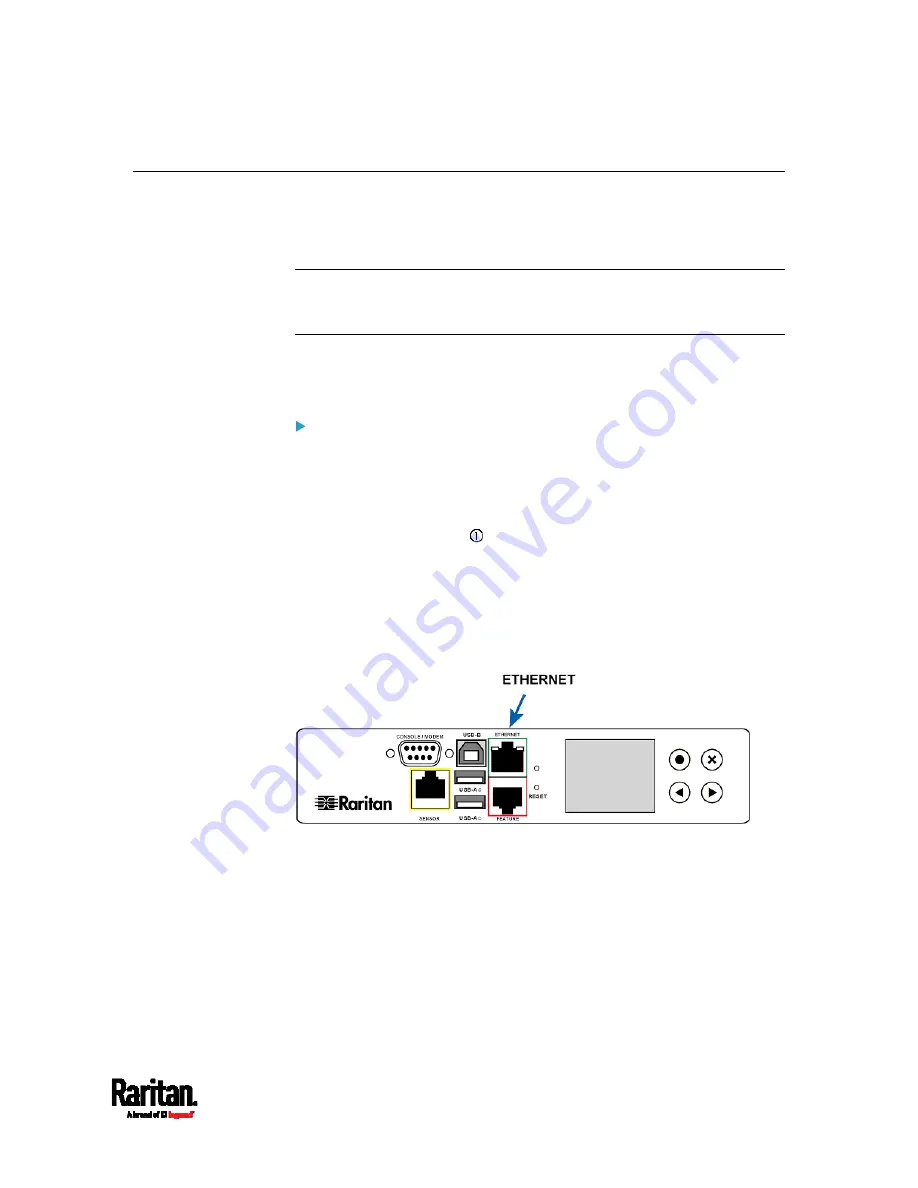
Connect a standard network patch cable to the ETHERNET port on
the PX3.
2.
Connect the other end of the cable to your LAN.
You can connect either Ethernet port of an iX7
™
device to the LAN, but the
"green" port labeled "ETH 10/100/1000" is highly recommended
because it supports 1000 Mbps. You can also connect both Ethernet ports
to the LAN. See
Dual Ethernet Connection (for iX7
™
Only)
(on page 26).
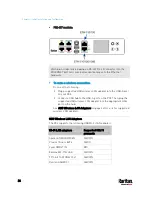
Below illustrates the ETHERNET ports on Zero U models. Note that the port
locations on your models may differ.
PX3 models:
Содержание PX3-3000 series
Страница 5: ......
Страница 18: ...Contents xviii Index 841...
Страница 66: ...Chapter 3 Initial Installation and Configuration 42 Number Device role Master device Slave 1 Slave 2 Slave 3...
Страница 93: ...Chapter 4 Connecting External Equipment Optional 69...
Страница 787: ...Appendix J RADIUS Configuration Illustration 763 Note If your PX3 uses PAP then select PAP...
Страница 788: ...Appendix J RADIUS Configuration Illustration 764 10 Select Standard to the left of the dialog and then click Add...
Страница 789: ...Appendix J RADIUS Configuration Illustration 765 11 Select Filter Id from the list of attributes and click Add...
Страница 792: ...Appendix J RADIUS Configuration Illustration 768 14 The new attribute is added Click OK...
Страница 793: ...Appendix J RADIUS Configuration Illustration 769 15 Click Next to continue...
Страница 823: ...Appendix K Additional PX3 Information 799...
Страница 853: ...Appendix L Integration 829 3 Click OK...


