


Chapter 6: Using the Web Interface
418
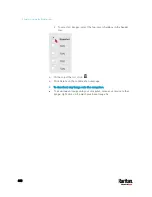
To return to the Webcam Management page:
Click Webcam Management on the top of the page.
Or click Webcams again in the
Menu
(on page 139).
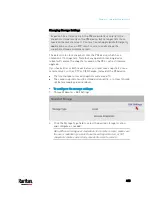
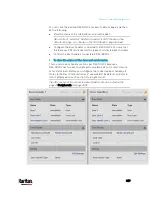
Sending Links to Snapshots or Videos
When opening a Primary Standalone Live Preview window, a unique URL
is generated for this window session. You can email or instant message
this URL to as many people as possible as long as your system resources
permit. Recipients can then click on the provided link and view live
snapshots or videos simultaneously in the Secondary Standalone Live
Preview window(s).
Tip: All Live Preview window sessions sharing the same URL, including
one Primary Standalone Live Preview window and multiple Secondary
Standalone Live Preview windows, are identified as one single
"<webcam>" user in the Connected Users list. You can disconnect a
"<webcam>" user to terminate all sessions sharing the same URL. See
Viewing Connected Users
(on page 393).
Best practice:
1.
The sender opens the Primary Standalone Live Preview window, and
sends the link to one or multiple recipients.
2.
The sender must wait until at least one recipient opens the
Secondary Standalone Live Preview window.
3.
The recipient(s) should inform the sender that the link has been
opened.
4.
Now the sender can close the Primary Standalone Live Preview
window.
For additional information, see
How Long a Link Remains
Accessible
(on page 420).
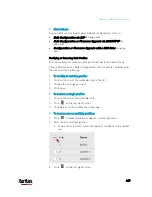
To send a snapshot or video link via email or instant message:
1.
Choose Webcams in the
Menu
(on page 139).
2.
Click the desired webcam to open the Webcam page.
Содержание PX3-3000 series
Страница 5: ......
Страница 18: ...Contents xviii Index 841...
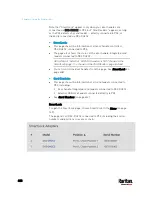
Страница 66: ...Chapter 3 Initial Installation and Configuration 42 Number Device role Master device Slave 1 Slave 2 Slave 3...
Страница 93: ...Chapter 4 Connecting External Equipment Optional 69...
Страница 787: ...Appendix J RADIUS Configuration Illustration 763 Note If your PX3 uses PAP then select PAP...
Страница 788: ...Appendix J RADIUS Configuration Illustration 764 10 Select Standard to the left of the dialog and then click Add...
Страница 789: ...Appendix J RADIUS Configuration Illustration 765 11 Select Filter Id from the list of attributes and click Add...
Страница 792: ...Appendix J RADIUS Configuration Illustration 768 14 The new attribute is added Click OK...
Страница 793: ...Appendix J RADIUS Configuration Illustration 769 15 Click Next to continue...
Страница 823: ...Appendix K Additional PX3 Information 799...
Страница 853: ...Appendix L Integration 829 3 Click OK...


