Chapter 6: Using the Web Interface
287
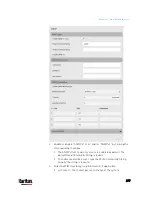
Editing or Deleting IP Access Control Rules
When an existing IP access control rule requires updates of IP address
range and/or policy, modify them accordingly. Or you can delete any
unnecessary rules.
To modify or delete a rule:
1.
Choose Device Settings > Security > IP Access Control.
2.
Go to the IPv4 or IPv6 section.
3.
Select the desired rule in the list.
Ensure the IPv4 or IPv6 checkbox has been selected, or you
cannot edit or delete any rule.
4.
Perform the desired action.
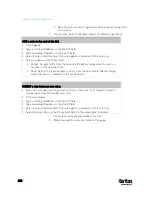
Make changes to the selected rule, and then click Save. For
information on each field, see
Creating IP Access Control
Rules
(on page 284).
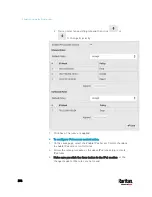
Click
to remove it.
To resort its order, click
or
.
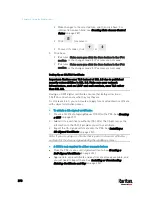
5.
Click Save.
IPv4 rules: Make sure you click the Save button in the IPv4
section, or the changes made to IPv4 rules are not saved.
IPv6 rules: Make sure you click the Save button in the IPv6
section, or the changes made to IPv6 rules are not saved.
Creating Role Access Control Rules
Role-based access control rules are similar to IP access control rules,
except that they are applied to members of a specific role. This enables
you to grant system permissions to a specific role, based on their IP
addresses.
Same as IP access control rules, the order of role-based access control
rules is important, since the rules are executed in numerical order.
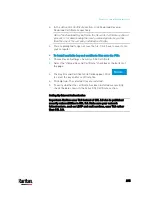
To create IPv4 role-based access control rules:
1.
Choose Device Settings > Security > Role Access Control.
2.
Select the "Enable Role Based Access Control for IPv4" checkbox to
enable IPv4 access control rules.
3.
Determine the IPv4 default policy.
Accept: Accepts traffic when no matching rules are present.
Содержание PX3-3000 series
Страница 5: ......
Страница 18: ...Contents xviii Index 841...
Страница 66: ...Chapter 3 Initial Installation and Configuration 42 Number Device role Master device Slave 1 Slave 2 Slave 3...
Страница 93: ...Chapter 4 Connecting External Equipment Optional 69...
Страница 787: ...Appendix J RADIUS Configuration Illustration 763 Note If your PX3 uses PAP then select PAP...
Страница 788: ...Appendix J RADIUS Configuration Illustration 764 10 Select Standard to the left of the dialog and then click Add...
Страница 789: ...Appendix J RADIUS Configuration Illustration 765 11 Select Filter Id from the list of attributes and click Add...
Страница 792: ...Appendix J RADIUS Configuration Illustration 768 14 The new attribute is added Click OK...
Страница 793: ...Appendix J RADIUS Configuration Illustration 769 15 Click Next to continue...
Страница 823: ...Appendix K Additional PX3 Information 799...
Страница 853: ...Appendix L Integration 829 3 Click OK...


