Chapter 5: Introduction to PDU Components
103
2.
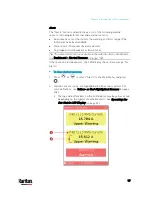
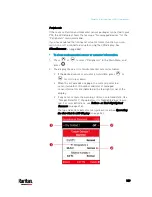
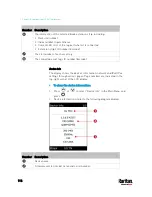
The LCD display shows a list of overcurrent protectors similar to the
following diagram.
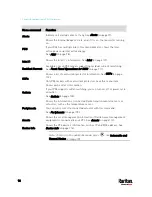
Number Description
Overcurrent protector names.
Associated lines and rated current are displayed below each overcurrent
protector's name.
Current reading of the corresponding overcurrent protector.
3.
If the desired overcurrent protector is not visible, press
or
to scroll up or down.
Note: If any circuit breaker trips, the list of overcurrent protectors looks
slightly different from the above diagram. The tripped one will show
"open" instead of a current reading.
Outlets
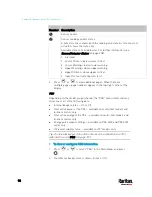
With the front panel display, you can do the following for outlets:
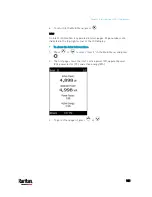
Show each outlet's information.
Turn on, off or power cycle an individual outlet if your PX3 is
outlet-switching capable. To do this, you must first enable the front
panel outlet control function. See
Miscellaneous
(on page 384).
Содержание PX3-3000 series
Страница 5: ......
Страница 18: ...Contents xviii Index 841...
Страница 66: ...Chapter 3 Initial Installation and Configuration 42 Number Device role Master device Slave 1 Slave 2 Slave 3...
Страница 93: ...Chapter 4 Connecting External Equipment Optional 69...
Страница 787: ...Appendix J RADIUS Configuration Illustration 763 Note If your PX3 uses PAP then select PAP...
Страница 788: ...Appendix J RADIUS Configuration Illustration 764 10 Select Standard to the left of the dialog and then click Add...
Страница 789: ...Appendix J RADIUS Configuration Illustration 765 11 Select Filter Id from the list of attributes and click Add...
Страница 792: ...Appendix J RADIUS Configuration Illustration 768 14 The new attribute is added Click OK...
Страница 793: ...Appendix J RADIUS Configuration Illustration 769 15 Click Next to continue...
Страница 823: ...Appendix K Additional PX3 Information 799...
Страница 853: ...Appendix L Integration 829 3 Click OK...


