Appendix J: RADIUS Configuration Illustration
665
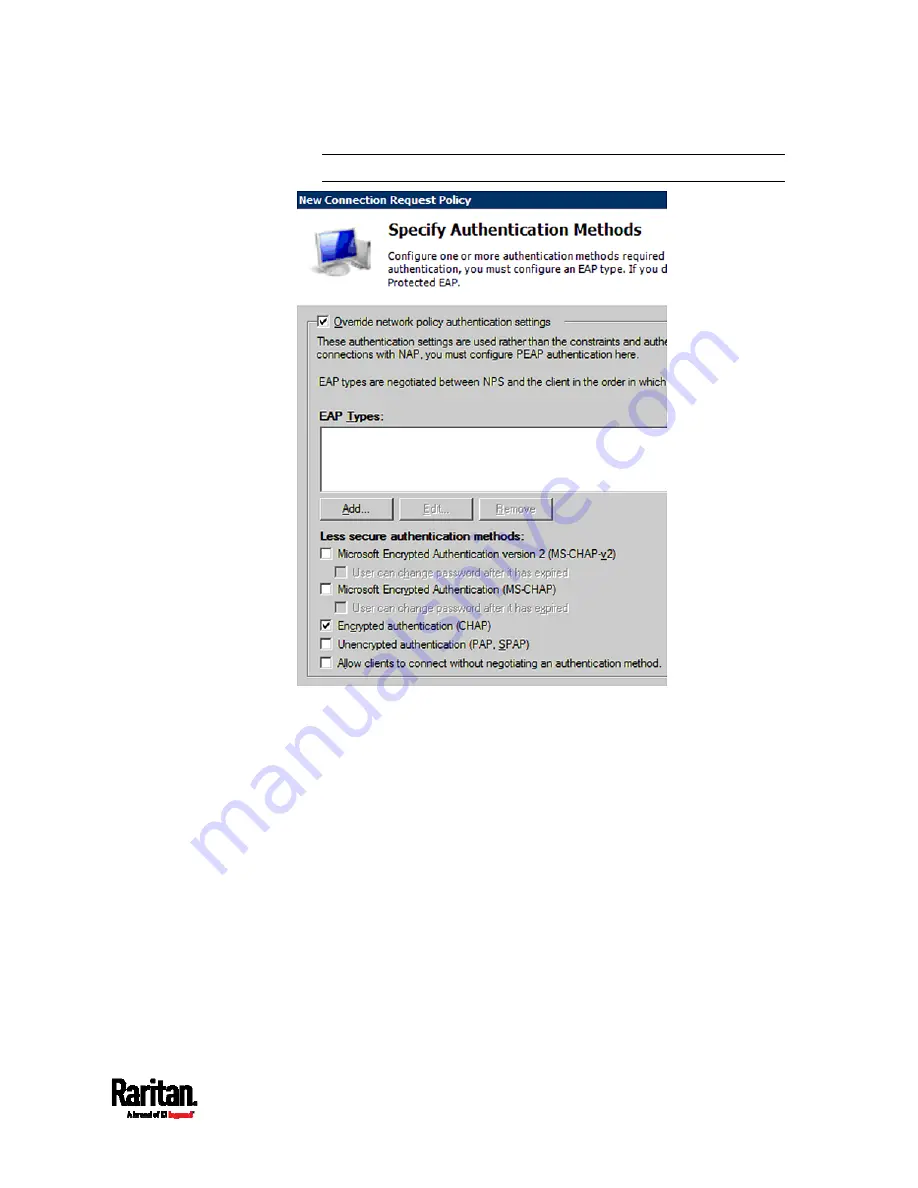
Note: If your PX3 uses PAP, then select "PAP."
10.
Select Vendor Specific to the left of the dialog, and click Add. The
Add Vendor Specific Attribute dialog appears.
11.
Select Custom in the Vendor field, and click Add. The Attribute
Information dialog appears.
12.
Click Add, and the Vendor-Specific Attribute Information dialog
appears.
13.
Click "Enter Vendor Code" and type
13742.
14.
Select "Yes, it conforms" to indicate that the custom attribute
conforms to the RADIUS Request For Comment (RFC).
15.
Click Configure Attribute, and then:
a.
Type
26 in the "Vendor-assigned attribute number" field.
b.
Select String in the "Attribute format" field.
c.
Type
Raritan:G{Admin User SystemTester} in the "Attribute
value" field. In this example, three roles 'Admin,' 'User' and
'SystemTester' are specified inside the curved brackets {}.
Содержание PX3-1000 series
Страница 5: ......
Страница 92: ...Chapter 4 Connecting External Equipment Optional 70...
Страница 668: ...Appendix J RADIUS Configuration Illustration 646 Note If your PX3 uses PAP then select PAP...
Страница 669: ...Appendix J RADIUS Configuration Illustration 647 10 Select Standard to the left of the dialog and then click Add...
Страница 670: ...Appendix J RADIUS Configuration Illustration 648 11 Select Filter Id from the list of attributes and click Add...
Страница 673: ...Appendix J RADIUS Configuration Illustration 651 14 The new attribute is added Click OK...
Страница 674: ...Appendix J RADIUS Configuration Illustration 652 15 Click Next to continue...
Страница 722: ...Appendix L Integration 700 3 Click OK...


