Chapter 6: Using the Web Interface
127
Login
You must enable JavaScript in the web browser for proper operation.
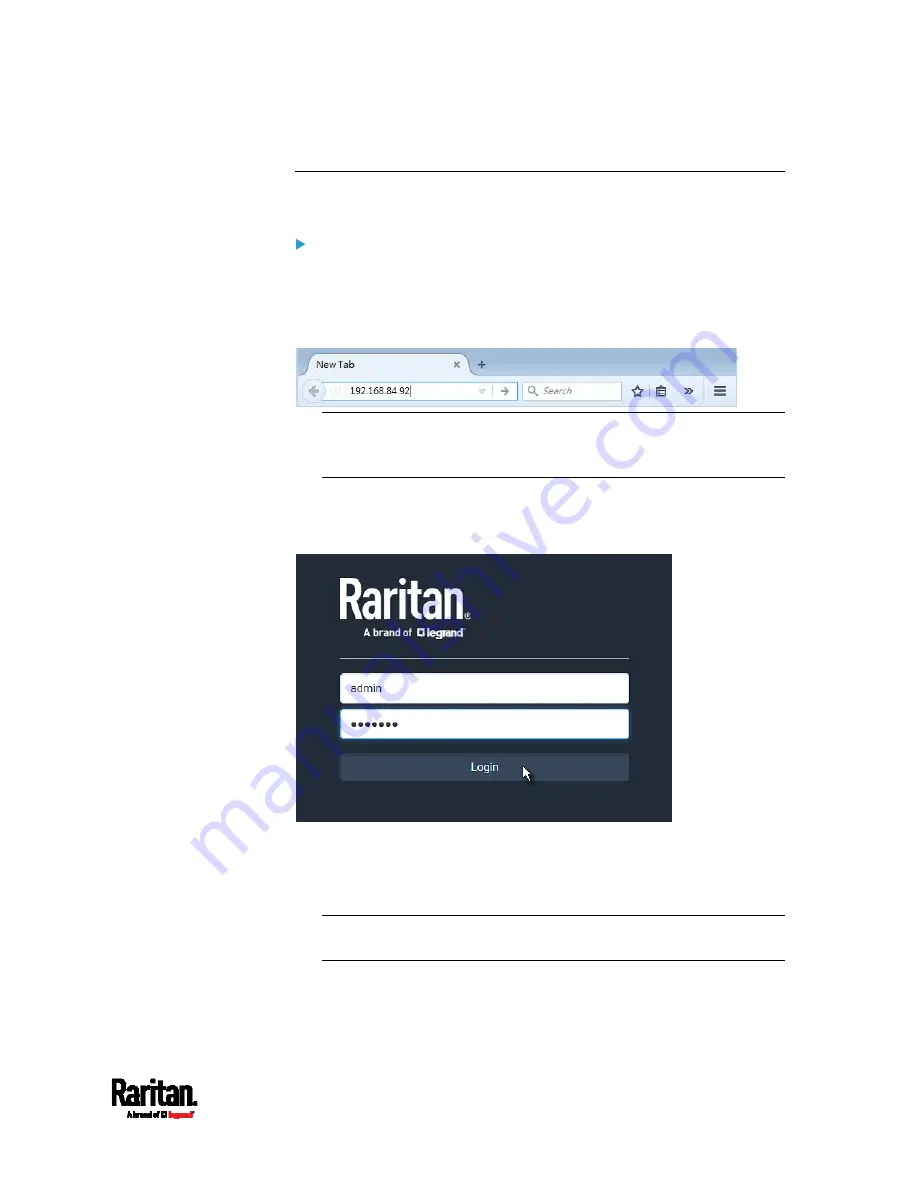
To log in to the web interface:
1.
Open a browser and type the IP address of the PX3.
If the link-local addressing has been enabled, you can type
pdu.local instead of an IP address. See
APIPA and Link-Local
Addressing
(on page 3).
Tip: You can also enter the desired page's URL so that you can
immediately go to that page after login. See
Quick Access to a
Specific Page
(on page 134).
2.
If any security alert message appears, accept it.
3.
The login screen displays. Type your user name and password. User
credentials are case sensitive.
4.
(Optional) If a security agreement is displayed, accept it. Otherwise,
you cannot log in.
To select the agreement checkbox using the keyboard, first press
Tab to go to the checkbox and then Enter.
Note: To configure the security agreement, see
Enabling the
Restricted Service Agreement
(on page 268).
5.
Click Login or press Enter. The PX3 web interface opens.
Содержание PX3-1000 series
Страница 5: ......
Страница 92: ...Chapter 4 Connecting External Equipment Optional 70...
Страница 668: ...Appendix J RADIUS Configuration Illustration 646 Note If your PX3 uses PAP then select PAP...
Страница 669: ...Appendix J RADIUS Configuration Illustration 647 10 Select Standard to the left of the dialog and then click Add...
Страница 670: ...Appendix J RADIUS Configuration Illustration 648 11 Select Filter Id from the list of attributes and click Add...
Страница 673: ...Appendix J RADIUS Configuration Illustration 651 14 The new attribute is added Click OK...
Страница 674: ...Appendix J RADIUS Configuration Illustration 652 15 Click Next to continue...
Страница 722: ...Appendix L Integration 700 3 Click OK...


