Chapter 2: Rack-Mounting the PDU
11
4. Screw a button in the screw hole near the top. The recommended
torque for the button is 1.96 N·m (20 kgf·cm).
5. Ensure that the two buttons can engage their mounting holes in the
rack or cabinet simultaneously.
6. Press the PX device forward, pushing the mounting buttons through
the mounting holes, then letting the device drop slightly. This secures
the PX device in place and completes the installation.
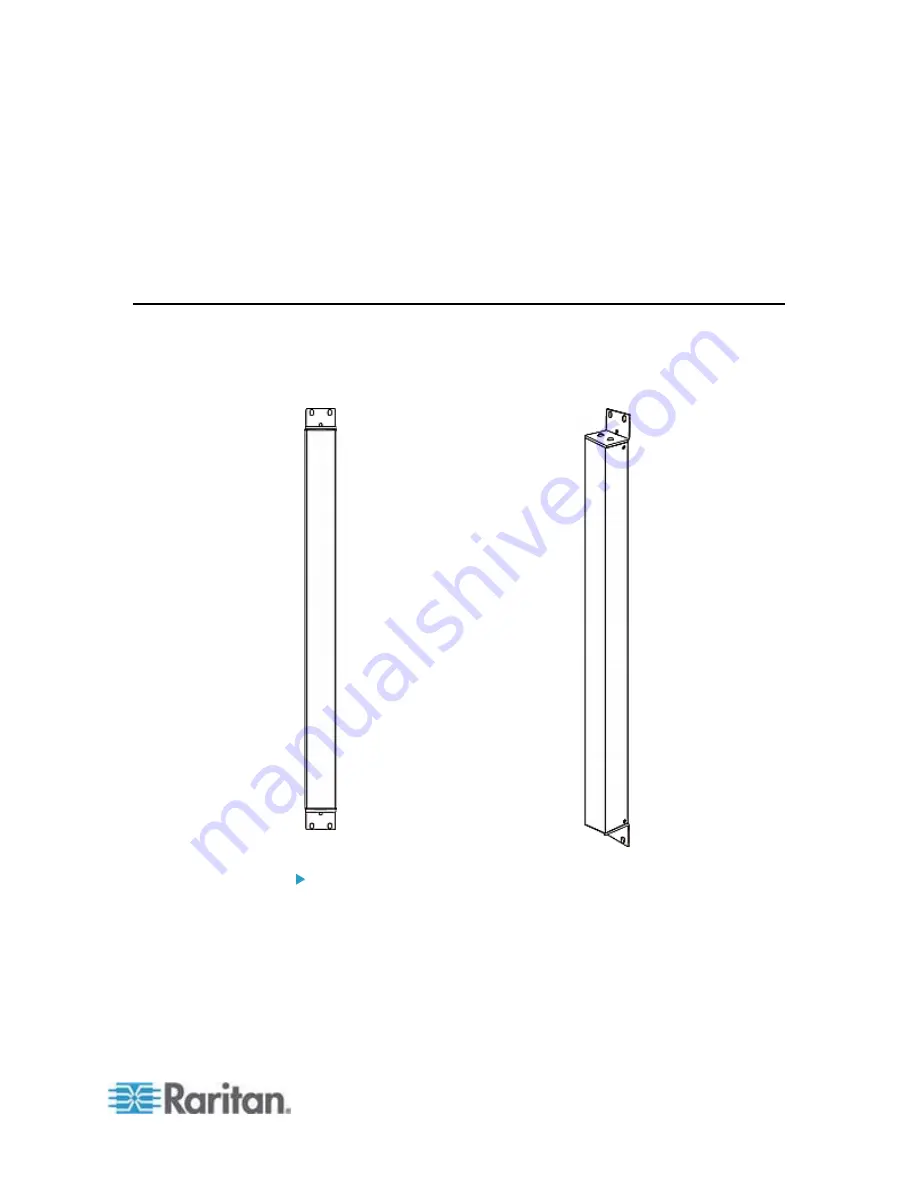
Mounting Zero U Models Using L-Brackets and Buttons
This section describes how to mount a PDU using L-brackets and two
buttons. If your PDU has circuit breakers implemented, read
Circuit
Breaker Orientation Limitation
(on page 5) before mounting it.
To mount Zero U models using L-brackets and two buttons:
1. Align the two central holes of the L-bracket with the two screw holes
on the top of the PX device.
Содержание PX2-1000 SERIES
Страница 5: ......
Страница 71: ...Chapter 4 Connecting External Equipment Optional 52...
Страница 231: ...Chapter 6 Using the Web Interface 212 8 Click OK...
Страница 570: ...Appendix G LDAP Configuration Illustration 551 5 Click OK The PX_Admin role is created 6 Click Close to quit the dialog...
Страница 589: ...Appendix I RADIUS Configuration Illustration 570 Note If your PX uses PAP then select PAP...
Страница 590: ...Appendix I RADIUS Configuration Illustration 571 10 Select Standard to the left of the dialog and then click Add...
Страница 591: ...Appendix I RADIUS Configuration Illustration 572 11 Select Filter Id from the list of attributes and click Add...
Страница 594: ...Appendix I RADIUS Configuration Illustration 575 14 The new attribute is added Click OK...
Страница 595: ...Appendix I RADIUS Configuration Illustration 576 15 Click Next to continue...
Страница 627: ...Appendix K Integration 608 3 Click OK...
Страница 647: ...Index 629 Z Zero U Connection Ports 74 Zero U Products 2...


