


Waveform analysis
R&S
®
RTO6
248
User Manual 1801.6687.02 ─ 05
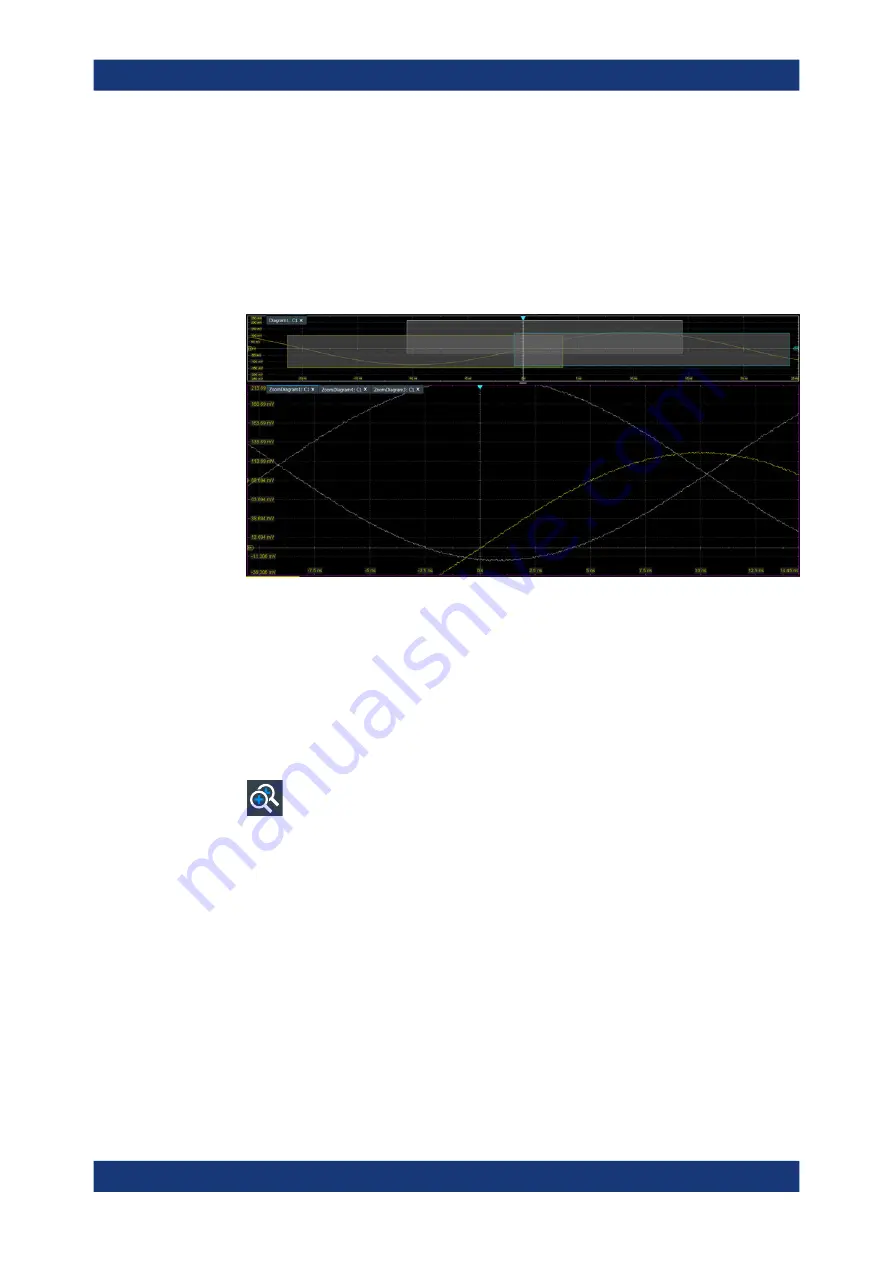
An additional zoom diagram is displayed for the new zoom area, and another rect-
angle in the original diagram indicates the new zoom area. Each rectangle in the
overview has the same color as the corresponding zoom diagram frame.
7. Alternatively, you can overlay the zoom areas: The zooms are shown in the same
zoom diagram, as if the zoom areas are overlaid:
In the "Settings" > "Appearance" dialog > "Diagram " tab , enable "Zoom > Over-
lay".
Figure 7-4: Multiple zoom diagrams. Left: separate zoom diagrams. Right: overlaid zoom
To define coupled zoom areas
You can define multiple zoom areas for one diagram that are coupled. If you change
the size of one zoom area, the size of all coupled zoom areas is changed as well. Fur-
thermore, you can couple also the position in order to move all coupled zooms at once.
Coupling is useful, for example, if you want to compare recurring peaks in a signal.
1. On the toolbar, tap the "Coupled Zoom" icon.
2. In the diagram overview, tap an existing zoom area.
The selected zoom area is duplicated.
3. Drag the duplicate zoom area to the required position.
4. To create further coupled zooms, repeat the steps above.
Now, if you change the zoom area size of any of the coupled zoom areas in the
"Zoom" dialog box, the settings are changed for all coupled zoom areas.
5. In the "Zoom" dialog box, select the diagram that contains the coupled zooms.
6. Select a zoom tab.
7. Enable "Position coupling".
Zoom


