R&S 4900.9001.20, Руководство пользователя
"R&S 4900.9001.20" - высококачественный продукт для профессиональных пользователей. Получите бесплатное руководство по эксплуатации на manualshive.com и настройте свое оборудование без лишних забот. Инструкция поможет вам максимально использовать возможности этого устройства.下载来自manualshive.com。
Поделиться
Скачать


Отзывы:
Нет отзывов
Похожие инструкции для 4900.9001.20
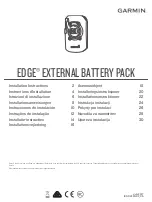
Edge
Бренд: Garmin Страницы: 32
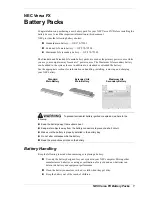
VERSA FX
Бренд: NEC Страницы: 10
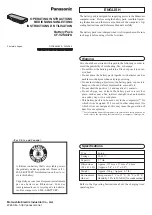
Toughbook CF-29CTKGZKM
Бренд: Panasonic Страницы: 4
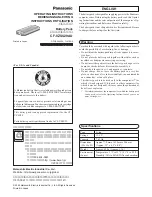
CF-VZSU47U
Бренд: Panasonic Страницы: 4
EB-U3300
Бренд: Samsung Страницы: 64
9839
Бренд: Gardena Страницы: 13
BC 18 V
Бренд: Kärcher Страницы: 96
E-1 - Digital Camera SLR
Бренд: Olympus Страницы: 2
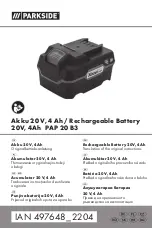
PAP 20 B3
Бренд: Parkside Страницы: 182

RP-PB41
Бренд: Ravpower Страницы: 2

evolion
Бренд: Saft Страницы: 42
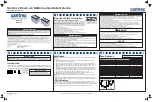
883-0105-12
Бренд: Xantrex Страницы: 2
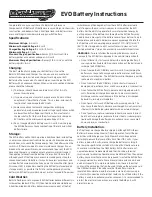
EVO
Бренд: Ballistic Страницы: 2
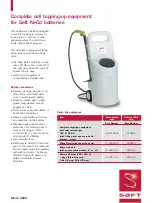
Ni-Cd
Бренд: Saft Страницы: 4
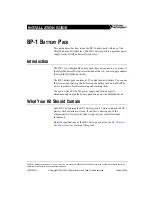
BP-1
Бренд: National Instruments Страницы: 4
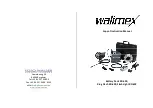
RD-600
Бренд: walimex Страницы: 12
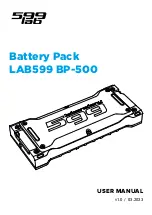
BP-500
Бренд: Lab599 Страницы: 12
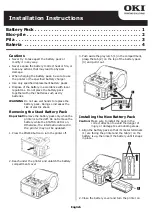
LP441s
Бренд: Oki Страницы: 4


