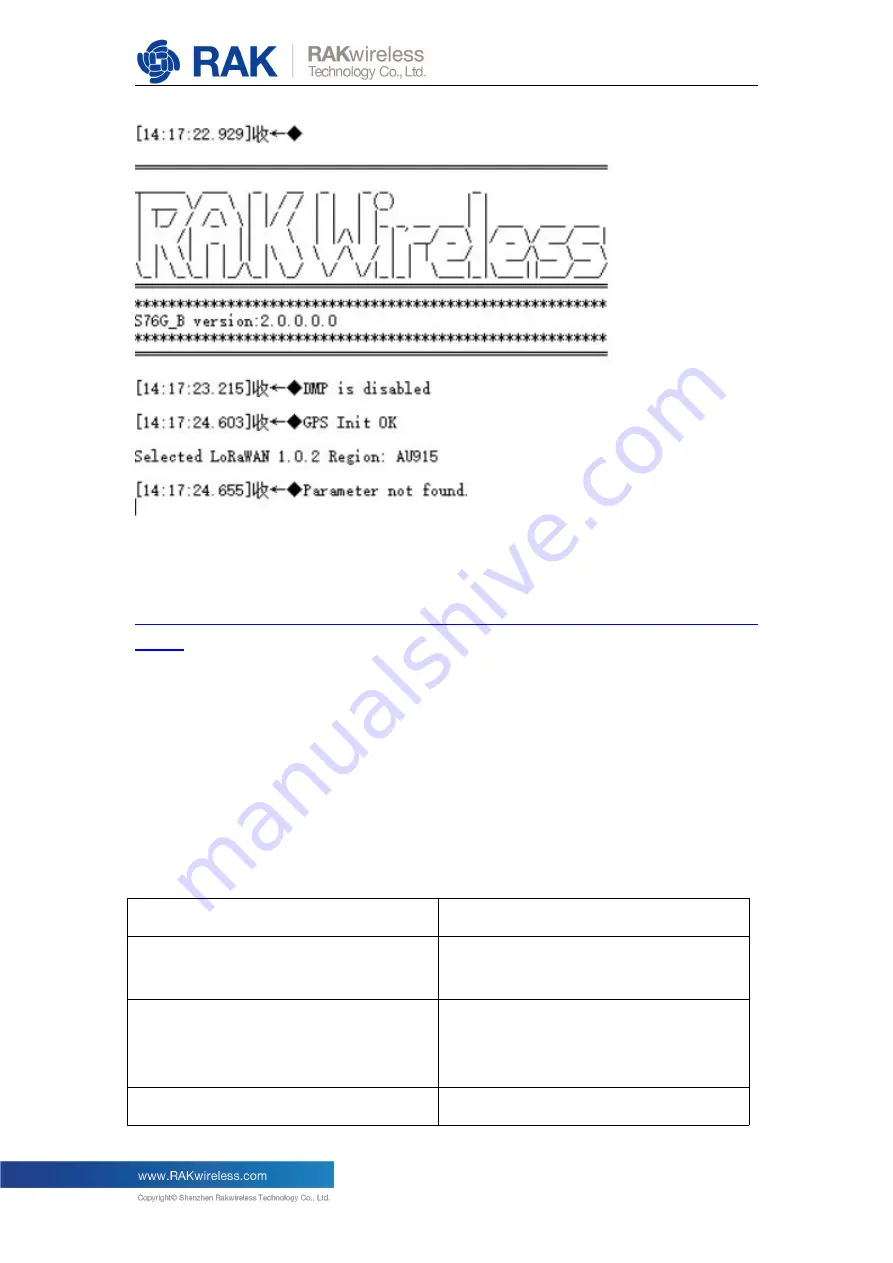
v2.0.0.0.0
9
Note: If you haven’t a serial port tool, we recommend you to use RAK serial port tool.
You can get it from RAK website and use it freely.
http://docs.rakwireless.com/en/LoRa/RAK811/Tools/RAK_SERIAL_PORT_TOOL_V1.
2.1.zip
3. How to configure RAK7200?
You can configure LoRa Button by sending AT commands into it from a serial port tool
running on your PC.
The following list shows the AT commands:
AT Command
Description
at+version
Get the current firmware version
number.
at+get_config=device:status
Get all information about the device’s
hardware components and their current
status.
at+set_config=device:restart
After set, the device will restart.
Содержание RAK7200
Страница 6: ...v2 0 0 0 0 6 Press Open file and select the correct firmware file in the pop up window as follow...
Страница 7: ...v2 0 0 0 0 7 Press the Download button to start the burning process...
Страница 18: ...v2 0 0 0 0 18 Set the Device EUI Set the Application EUI...
Страница 19: ...v2 0 0 0 0 19 Set the Application Key...
Страница 26: ...v2 0 0 0 0 26 The default LoRa work mode is LoRaWAN 1 0 2 Set the LoRa join mode to OTAA...
Страница 27: ...v2 0 0 0 0 27 Set the LoRa class to Class A Set the frequency region to AU915...
Страница 28: ...v2 0 0 0 0 28 Set dev_eui Set app_eui...
Страница 29: ...v2 0 0 0 0 29 Set app_key Start to join...
Страница 32: ...v2 0 0 0 0 32 Set the frequency region to AU915 Set dev_addr...
Страница 33: ...v2 0 0 0 0 33 Set nwks_key Set apps_key...
Страница 35: ...v2 0 0 0 0 35 That s all about Join in ABP mode with LoRAServer...


