7
-
Step 4:
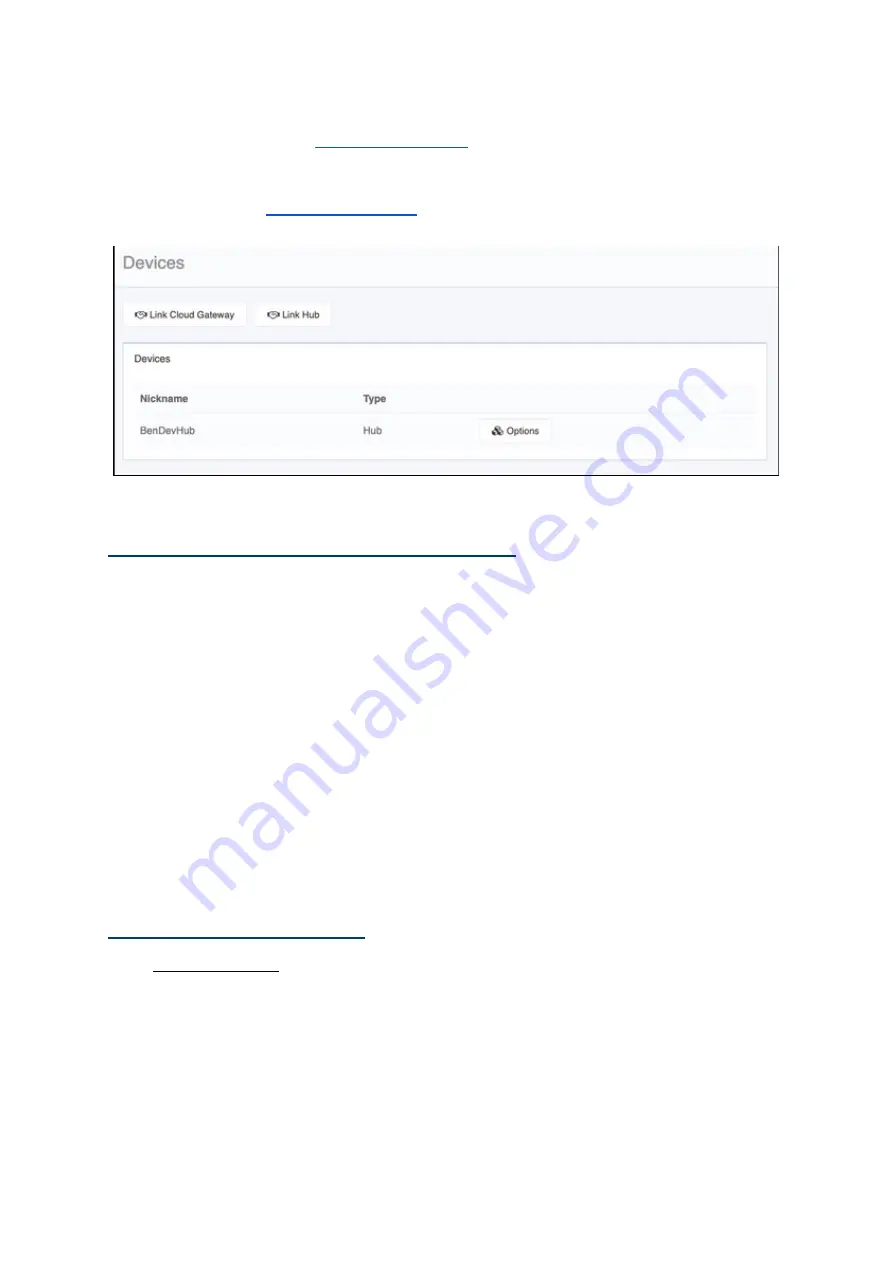
Once linked the HUB will ask to be given a “Nickname”. This is how it will
be referred to in the
interface. It does not need to be the same
as the “HUB name” as defined within the HUB setup wizard.
Once completed the
“Devices” page should appear as below:
5 Adding the HUB as a device to Rasoft Pro
Once the WK-HUB has been successfully connected it will need to be added into the
software as a device.
-
Step 1:
Select “File”- “New Device” to open the new device wizard. Choose
“Bridge” as the device to be added.
-
Step 2:
Select “Next” on the “Assign to Room” step. No room or channel needs to
be associated to the HUB.
-
Step 3:
Select the HUB from the list, it will appear if you are successfully connected
in the communications window. Click “Refresh” if it does not appear.
-
Step 4:
The HUB should now appear in the device list with green text and a blue
icon. The device is now assigned.
6 Uploading the project file
Once
the entire system
has been completed the project file should be uploaded to the
HUB. The HUB stores the Room, Channel and Scene information for the system. This
information is required for the App to operate correctly.
The “Smartphone/Web Data” tab is used to upload the Project File to the HUB. Once
selected it will open the page as below. Press “
Save & Upload Room Data To Bridge
” to
upload.
WK-HUB
Manual Version 1.3.4


