5
If you cannot connect to the Bridge
If the software cannot connect to the Bridge first restart the software and ensure that it is
fully updated. If the Bridge still does not appear it is most likely a networking issue. If this
problem cannot be solved then the Bridge can be connected to point to point using a
standard ethernet cable.
NB
By default the Bridge is connected via DHCP, this and other network settings can be edited via the
Bridge webpages. It is possible to clear all network settings from a Bridge. Please call Rako technical
support for information on how to do this.
4 Adding the Bridge as a device
Once the Bridge has been successfully connected it will need to be added into the software
as a device.
-
Select “File”- “New Device” to open the new device wizard. Choose “Bridge” as the
device to be added.
-
Select “Next” on the “Assign to Room”. No room or channel needs to be associated
to the Bridge.
-
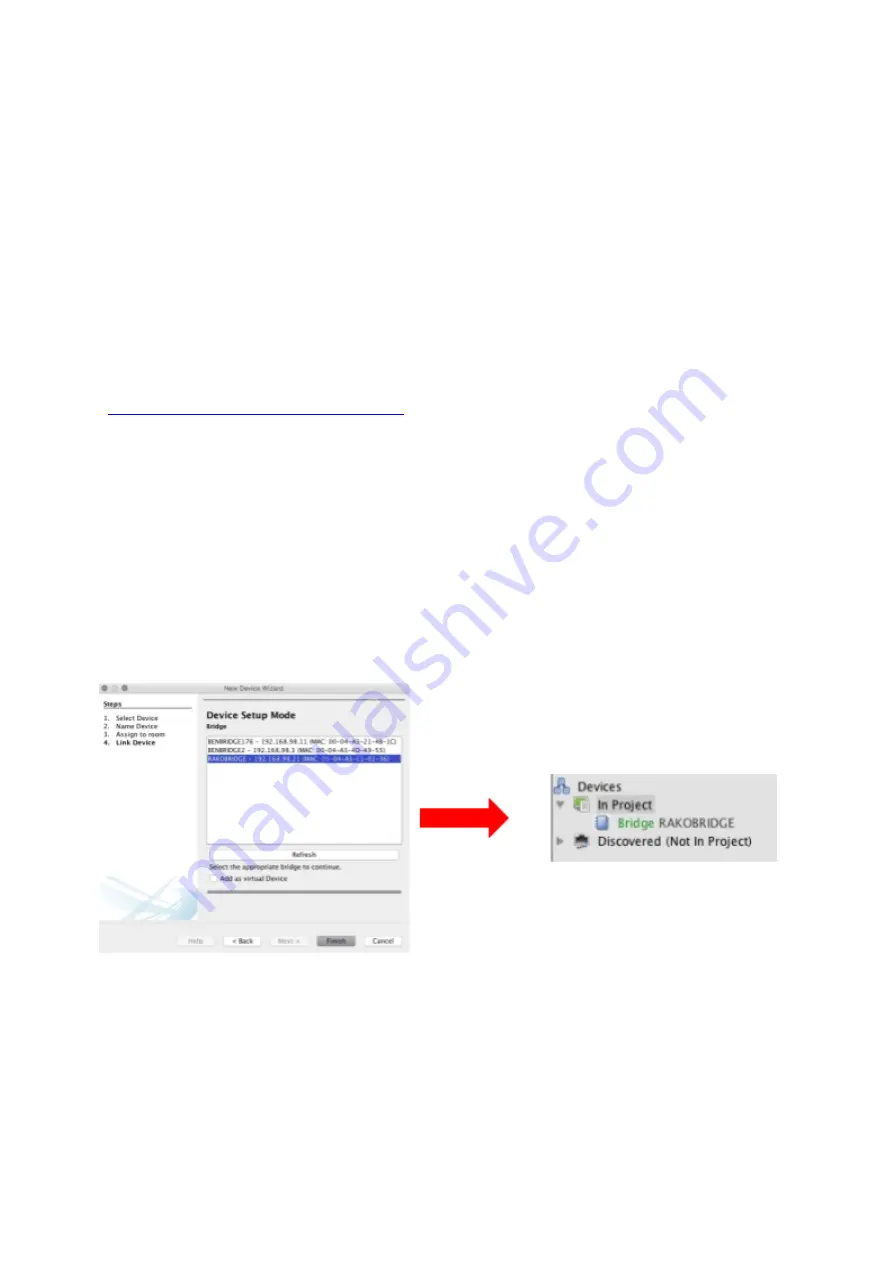
Select the Bridge from the list, it will appear if you are successfully connected in the
communications window. Click “Refresh” if it does not appear.
-
The Bridge should now appear in the device list with Green text and a blue icon. The
device is now assigned.
-
Press the “Update Now” button in the centre of the screen to complete setup. If this
does not appear, click on the Bridge in the device list.
WA-Bridge
Manual Version 2.1.3


