Quick Start Guide
Pro2-Series
3D Printer
* Please review this entire guide before operating the printer.
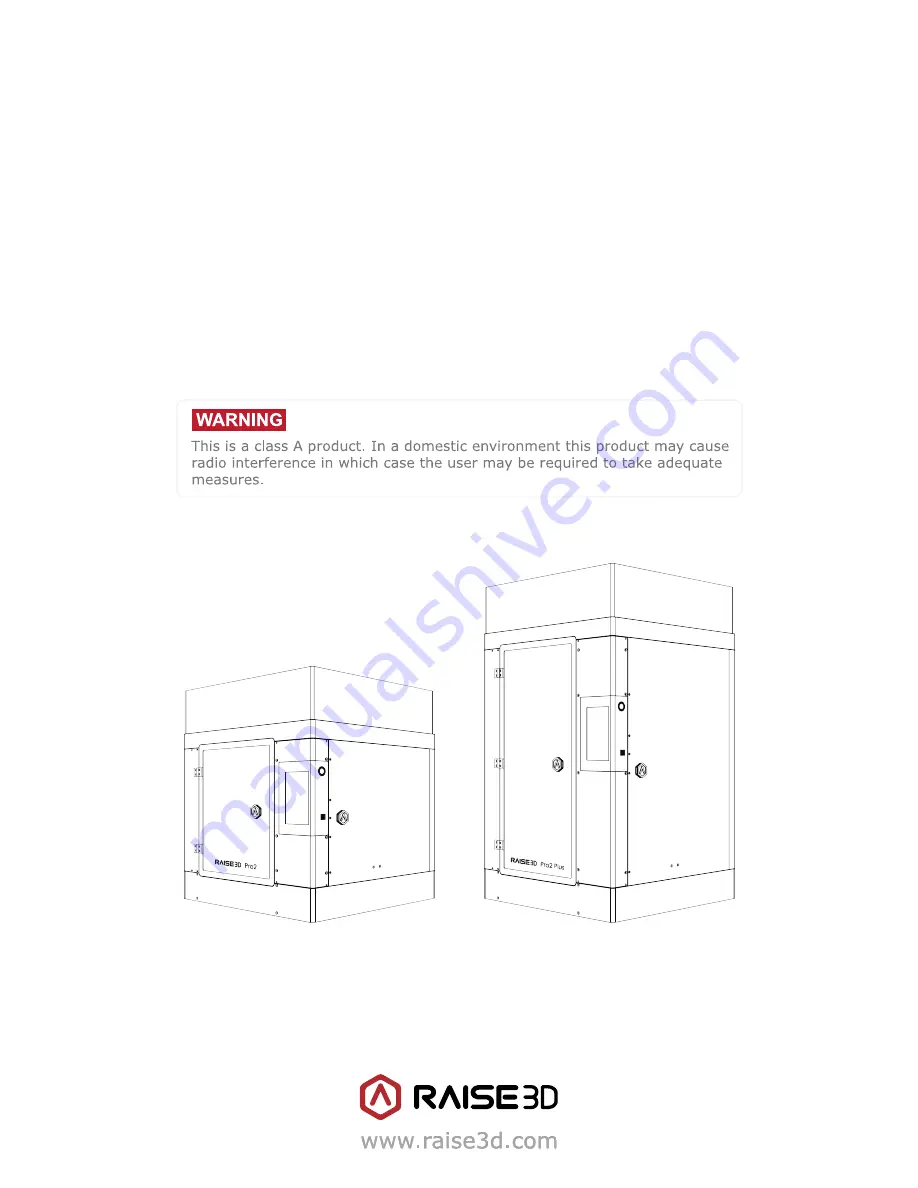
Pro2
Pro2 Plus
01
02
03
04
05
06
07
08
09
10
11
12
13
14
15
16
17
18
19
20
21
22
23
26
24
25
Страница 1: ...Quick Start Guide Pro2 Series 3D Printer Please review this entire guide before operating the printer Pro2 Pro2 Plus...
Страница 2: ...The contents of this Quick Start Guide may be updated over time For the latest version scan the QR code or visit the link below www raise3d com pages download down quickguide...
Страница 3: ...r Inlet Power Switch USB Storage Slots Pro2 Plus Wheels Filament Run out Sensor Camera HEPA Filter Filament Guide Tube Touch Screen Hot Ends Fans Z Stage Print Bed Filament Feeder Filament Run out Sen...
Страница 4: ...all four hex head security bolts from Z axis clamps 2 bolts each These are located on the left and right sides on the printer on the ball screw thread Peel the yellow sticker and remove the 24 securit...
Страница 5: ...s list 7 Once the unit has been powered the printer will go through a start up sequence Your Raise3D printer will take approximate ly 60 seconds to boot up When the touch screen displays the Home scre...
Страница 6: ...2 Nozzle Cleaning Kit Tweezers USB Storage Other Accessories Spare Fuse 15A 10A Thumb Screws Spare Power Cable 5 B Hardware Installation continued Heat Resistant Gloves Build Plate with Build Surface...
Страница 7: ...the bed 10mm per arrow click Click this downward arrow 5 times to move Z platform downward to 50mm 8 Remove the aluminum build plate from the foam packaging 10 Protective Foam Cover Build Plate Remov...
Страница 8: ...into the mounting points Open one of the included spools of filament and place it on the holder NOTE The direction of filament spool should be placed to rotate in clockwise if at points B and D and s...
Страница 9: ...the filament that you re using Press the Load button and the printer will begin to heat When the target tempera ture is reached press Load Complete the feeding operation according to the instructions...
Страница 10: ...red language Select the installation location for ideaMaker and click Next 1 The ideaMaker slicing software is available on the USB storage drive included with your printer Additional downloads and ve...
Страница 11: ...Start Guide Click Finish and ideaMaker is installed Follow the instructions provided by the console and click Install After the installation is finished click Next to go to the next step 2 3 C ideaMak...
Страница 12: ...pen the Disk Image for the ideaMaker installer This is located in the USB storage drive included with your printer or download the latest version from www raise3d com pages download down im Drag the i...
Страница 13: ...hen launching ideaMaker for the first time you you will need to select your printer model from the drop down list then press Next 1 Select the diameter of your filament Press Finish to finalize the in...
Страница 14: ...tton to begin slicing the model 2 Click the button to import Giveaway Spinner included in the USB storage 1 Confirm your printer type and material are correct then select the standard slicing template...
Страница 15: ...window Click Save and Close to return to the previous menu Click Slice to generate your file 4 Save the sliced files gcode and data by exporting to the USB storage drive NOTE File names that do not co...
Страница 16: ...ve Steps and move X to 50mm Y to 10mm 1 Please use the feeler gauge to check the distance between nozzle and printing platform The optimal distance between is 0 2mm The best condition of this is that...
Страница 17: ...model on screen during printing This image will only be shown when the file is sliced by ideaMaker and the data file is saved in USB storage or uploaded to screen Select the Print tab and choose USB...
Страница 18: ...of current model Pause Resume button Stop button Home Tune Printing parameters and adjustment Extruder and Heat Bed temperature X Y Z axes move return to original position Load and unload function fo...
Страница 19: ...pen ideaMaker Click the button to import your two models stl obj 3mf file You can download a file or use the test model included in the USB storage drive 1 Choose one of the models and set its designa...
Страница 20: ...d materials for both extruders then select the standard slicing template Click Edit to select the type of Platform Addition and the type of Support 5 Choose the other model and set Extruder as the Rig...
Страница 21: ...USB storage 8 Save the sliced files gcode and data to your USB storage drive NOTE File names that do not conform to the Western Latin character set may not display properly 7 Select your type of Plat...
Страница 22: ...of the printer and place a spool of filament on the holder NOTE The direction of filament spool should be placed to rotate in clockwise at mount points B and D and counterclockwise at mount points A a...
Страница 23: ...u re using then press the Load button Finish the feeding operation step by step according to the instructions on the screen NOTE This document is set based on the Raise3D PLA filament delivered with t...
Страница 24: ...ing First home the X Y Axis by selecting the home button then Z axis home button If the homing procedures complete without issues reposition the print head Select 10mm for Move Steps and move X to 50m...
Страница 25: ...n feel a little friction when you slide the feeler gauge into the gap 5 0 2mm Feeler Gage The distance between the nozzle and the printing platform can be adjusted by turning the thumb screw on the le...
Страница 26: ...ward arrow 7 Once the right nozzle moves down the left nozzle will go up 8 Please use the feeler gauge to check the distance between nozzle and printing platform The optimal distance between is 0 2mm...
Страница 27: ...ect your dual extrusion file to check the printing parameters and settings Press Print to start printing test file 12 H Dual Extruder Print Start First Print continued The distance between the nozzle...
Страница 28: ...time and other parameters from the Home interface on the touchscreen NOTE The touch screen will display an image of your model on screen during printing This image will only be shown when the file is...
Страница 29: ...veling Supported Materials Nozzle Diameter Max Nozzle Temperature Connectivity Noise emission acoustic Operating Ambient Temperature Storage Temperature Power Supply Input Power Supply Output 100 240...
Страница 30: ...Experiencing Difficulties If you run into any issues during the guided setup please contact our expert techni cians by opening a ticket online at http help raise3d com...
Страница 31: ...4th Floor Building B5 1600 North Guoquan Rd Shanghai China 200438 86 21 65337855 43 Tesla Irvine CA 92618 USA 1 888 963 9028 www raise3d com...