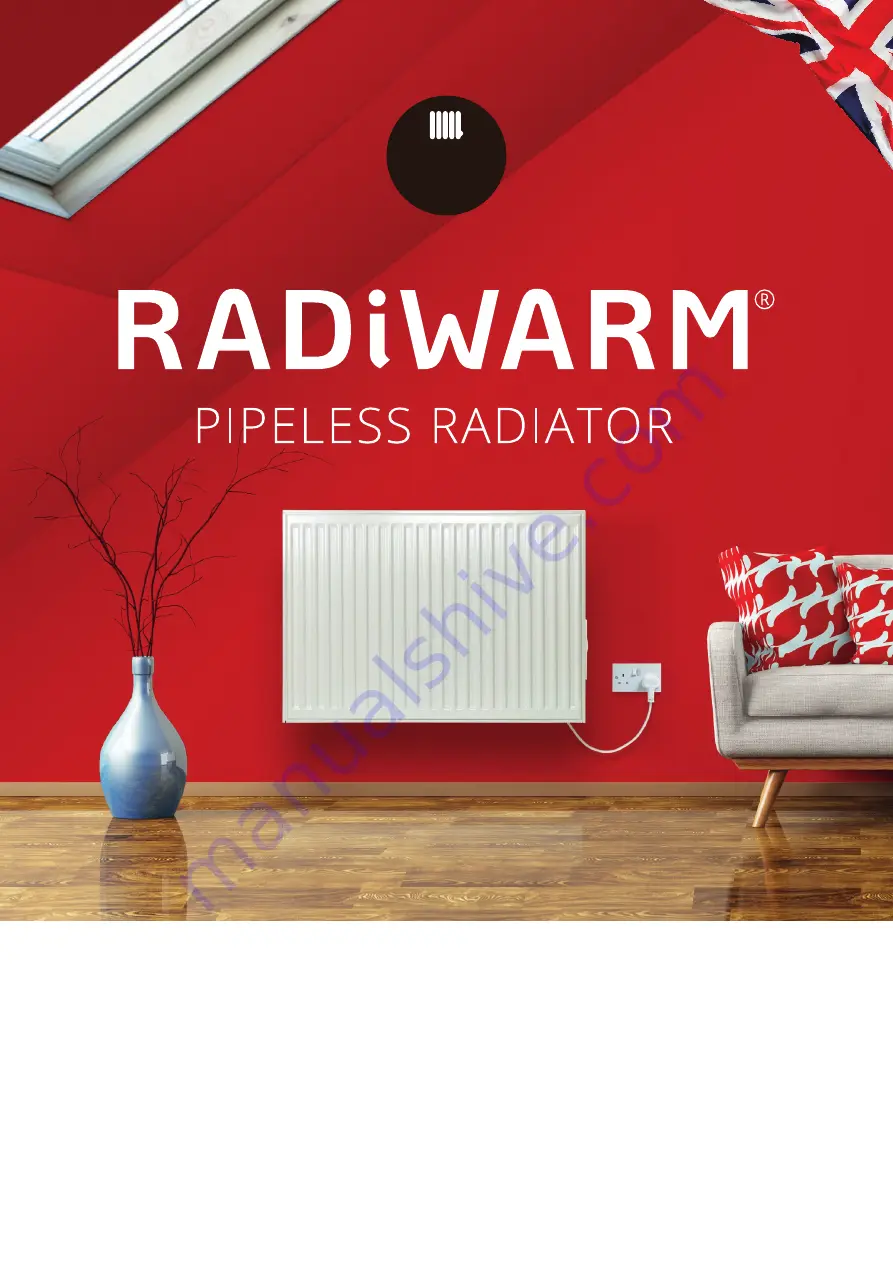
Radiwarm 3100 Скачать руководство пользователя страница 1

Install 

real water-

filled radiators


where plumbing or 

gas supplies can’t 

reach

HANDMADE IN THE UK

INSTALLATION & OPERATING 

INSTRUCTIONS

Installer please note:

Leave installation and operating instructions with customer

Date

19/06/2019

Revision

0501M077.L

Содержание 3100

Страница 1: ...ators where plumbing or gas supplies can t reach H A N D M A D E I N T H E U K INSTALLATION OPERATING INSTRUCTIONS Installer please note Leave installation and operating instructions with customer Date 19 06 2019 Revision 0501M077 L ...

Страница 2: ...es 9 5 2 Connecting your Radiator to your Controller 10 5 3 Choosing a position in the room 11 5 4 Range Test 11 5 5 Fixing the RFC to the Wall 11 5 6 Reverting your Radiator to Manual Control 12 5 7 Choosing a new ID 12 5 8 Frost Protection 12 5 9 Cleaning 13 6 0 Your RFC Unit 14 6 1 Setting the Time and Day 15 6 2 Factory set Program 15 6 3 Frost Protection 4 C 15 6 4 Celsius or Fahrenheit 15 6 ...

Страница 3: ...e of the radiator in a safe way and understand the hazards involved Children should not play with the radiator Cleaning and user maintenance should not be carried out by children without supervision Do not obstruct the air circulation around the radiator for example with curtains or furniture Supply Voltage 230 240VAC 50Hz This radiator must be used on an AC supply only and the voltage marked on t...

Страница 4: ... replaced by the manufacturer its service agent or similarly qualified persons in order to avoid a hazard DO NOT operate the radiator with the mains lead overhanging the radiator Ensure that the mains lead is properly secured to avoid trip hazards The radiator is a class I IP44 device and it can be installed in bathrooms zone 2 and 3 provided that no electric control unit can be touched by people ...

Страница 5: ...fully stood on one of its cardboard endcaps with the control panel facing down for thirty minutes prior to installation 3 1 Positioning A suitable position for the radiator should be chosen and the positions of the mounting brackets marked on the wall using the dimensions given below For optimum output the bottom of the radiator should be 150mm from the floor Any shelf or substantial projection sh...

Страница 6: ...g bracket is approximately 50mm above the bottom of the radiator For most efficient operation of the radiator there should be a gap between the skirting board and the rear panel of the radiator to allow air flow behind the radiator If the bottom of the radiator is below the top of the skirting board it may be necessary to remove a section of skirting for this purpose A A Note dimensions for additi...

Страница 7: ...ion Hook the radiator lugs on to the tops of the brackets Return the spring loaded part of the bracket B to its original position thereby securing the bottom of the radiator in its final position Caution Fix the brackets to the wall using fixings appropriate to the wall material and the weight of the radiator The radiators are supplied with wall brackets and fixings These fixings may not be suitab...

Страница 8: ...Check the supply light is illuminated ORANGE for a short while then either GREEN or RED depending on the ambient temperature of the room This light can be seen on the control panel i Note This instruction manual should be read carefully and retained by the user Particular attention must be made to the safety information at the beginning of this manual Warning DO NOT switch off the radiator at the ...

Страница 9: ...ockwise This will allow the RFC to run your radiator at full output if the need arises You can however choose a lower radiator setting for systems where multiple radiators are operated by the same RFC by turning the control knob anti clockwise 5 1 Batteries Your RFC is supplied with two factory fitted AA size alkaline batteries These should last around two years The low battery symbol appears when...

Страница 10: ...ou first need to establish a radio connection between your radiator and your RFC You may wish to follow this procedure if you add more radiators Turn the radiator thermostat knob fully clockwise Page 10 Document RADiWARM Operator Revision 0501M077 L Date 19 06 2019 Switch the ...

Страница 11: ...t work try a different location Poor reception can be because The RFC is too far from the radiator There are metal objects including parts of the building obstructing the signal path Metal objects can also cause reflections that can interfere with signal strength There are other 433Hz transmissions nearby This should not be a problem as all such devices may transmit occasionally and for short peri...

Страница 12: ...re are many thousands of possible codes To make the RFC pick a new random code hold the button on the back of the controller on for 5 seconds until the display says rE5 id then press OK to confirm within 5 seconds If you don t confirm no action is taken After selecting a new ID you must re connect your radiator s 5 8 Frost Protection If used with the RFC the controller can be used to set the radia...

Страница 13: ...not use detergents abrasive cleaners or polish on the radiator as these may damage the finish Wipe the radiator with a dry cloth to remove dust and marks Warning Always disconnect from the power supply and allow the radiator to cool before cleaning Note Only external cleaning is permitted ...

Страница 14: ...Page 14 Document RADiWARM Operator Revision 0501M077 L Date 19 06 2019 6 0 Your RFC Unit ...

Страница 15: ...the target temperature is 21 C from 6 30am to 8 30am then 4 C frost protection until 4 30pm then it is 21 C until 11 00pm and finally 4 C until PROG 1 the next day Press and together from Setting the 7 day program to restore this program 6 3 Frost Protection 4 C For frost protection set the Target temperature to 4 C There is no frost protection if you set it to The snowflake symbol appears if the ...

Страница 16: ... 6 6 Setting the 7 day program To set the program press SET BACK and ADVANCE together This will take you to stage 1 below You can program the RFC1 with up to 6 temperature levels per day Program times cannot overlap for example if PROG 3 Mon is 16 30 then PROG 3 Mon can only be set to times before 16 30 ...

Страница 17: ...ELECT takes you to stage 1 Stage 4 When you have finished setting the program press OK to return to normal operation Clearing a Program If you clear a prog it displays as C and the program is ignored From Stage 1 press CLEAR to clear a prog and press it again to un clear it Copy Day Use this to copy all 6 programs from the day you were adjusting to another day Press COPY DAY to actually do the cop...

Страница 18: ...pply to radiator Check radiator is switched on at the mains and on the appliance Check fuse in plug or fused spur Check the supply light is on Temperature of room is higher than the temperature selected on the thermostat knob the supply light shows Green or Orange If you require the room to be warmer turn the thermostat knob to a higher setting The radiator should then warm up the supply shows Red...

Страница 19: ...d an attempted repair to it made by unauthorized personnel d Damage due to incorrect connection connection to faulty equipment or connection to faulty or incorrect power supplies If goods are returned without prior written authorisation an administration charge may be raised Carriage is chargeable on all non warranty work and on warranty work that has been returned as a result of incorrect operati...

Отзывы: