3
Installing optional components
31
Installing drives into I/O bays 2-4
Instructions for installing HDD or SSD into one of the I/O module bays are provided in
Replacing I/O modules with hard disk or solid state drives on page 33
. It is important to note
that I/O modules are
not
hot swappable, and special drive cages must be used to house the
drive carriers.
Installing and removing an I/O module
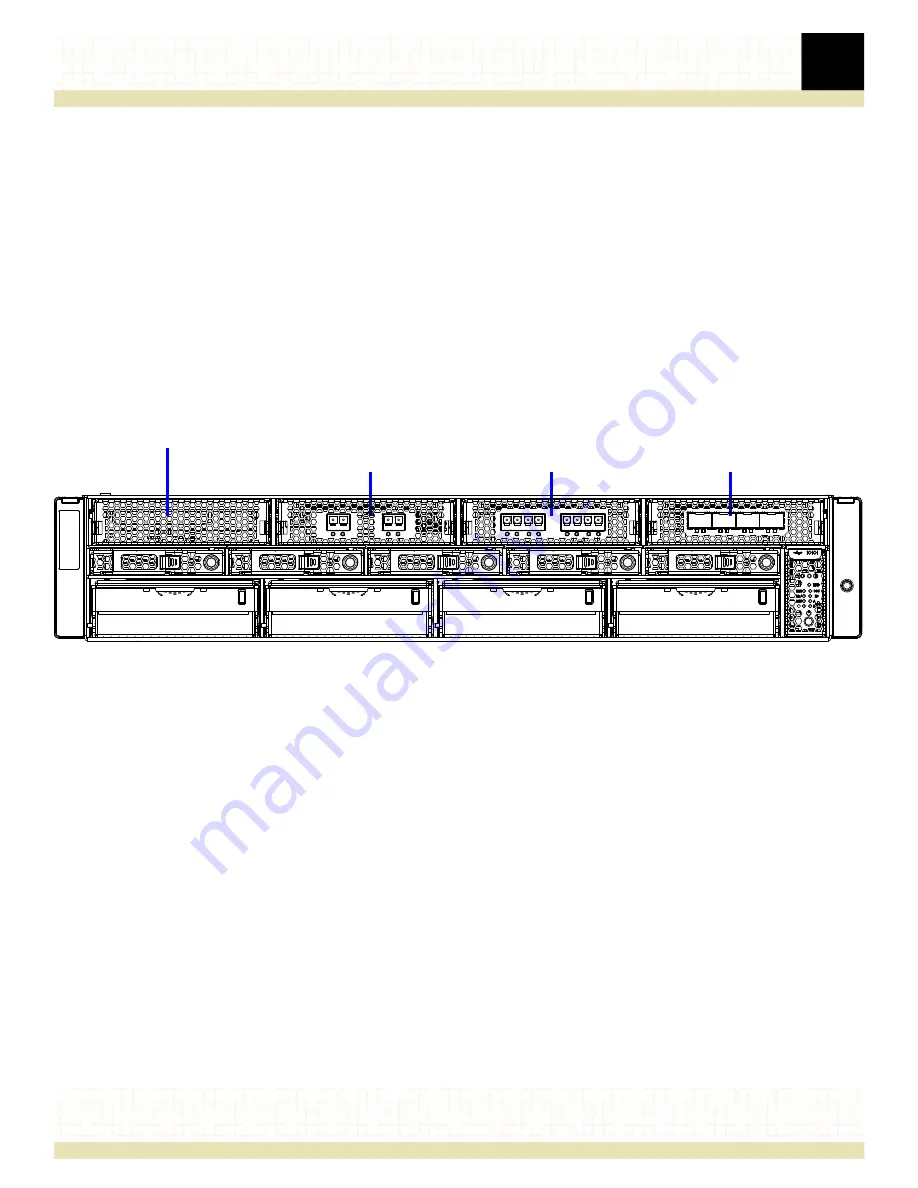
The basic configuration of the R220 supports up to four I/O modules installed in upper bays.
As mentioned in
Installing hard disk and solid state drives on page 29
, three of the bays (5-7)
can be used for additional HDD/SSD with the purchase of optional drive carriers.
Figure 17. I/O bay locations
W
ARNING
!
I/O modules are not hot-swappable. It is strongly recommended that you remove
power to the R220 system before installing or removing the I/O modules.
To install an I/O module, align the side rails with the bay guides and slide the module into the
system. The module is fully seated when a “click” is heard from the side latches and the
module is restrained from moving out of the system.
To remove an I/O module, follow these steps:
1. Power off the R220 system.
2. Press both side latches fully, as shown in
3. While the latches are pressed, pull the module out of the system.
I/O bay 1
I/O bay 4
(Drive 7)
I/O bay 3
(Drive 6)
I/O bay 2
(Drive 5)
Содержание R220
Страница 1: ...R220 NETWORK APPLIANCE July 2014 Setup Guide ...
Страница 32: ...3 Installing optional components 32 Figure 18 Installing removing the I O module ...
Страница 34: ...3 Installing optional components 34 Figure 20 Inserting the drive carrier into the drive cage ...
Страница 42: ...3 Installing optional components 42 Figure 27 Installing the rail kits into a threaded hole EIA 4 post rack ...
Страница 45: ...3 Installing optional components 45 Figure 29 Installing the rail kits into a Telecom 2 post rack ...


