©
2002 RadioShack Corporation.
All Rights Reserved.
Adaptaplug, RadioShack, and RadioShack.com are trademarks used by RadioShack Corporation.
42-4056
OWNER’S MANUAL — Please read before using this equipment.
12-Note Polyphonic Sound — lets you play and
hear up to 12 notes at the same time, so you can
play or create almost any type of music.
Large Music Information Display — shows you a staff with
the notes and chords as you play them, along with the
fingering, current tone, rhythm, volume, melody, and tempo.
The display also shows a metronome icon to indicate the beat.
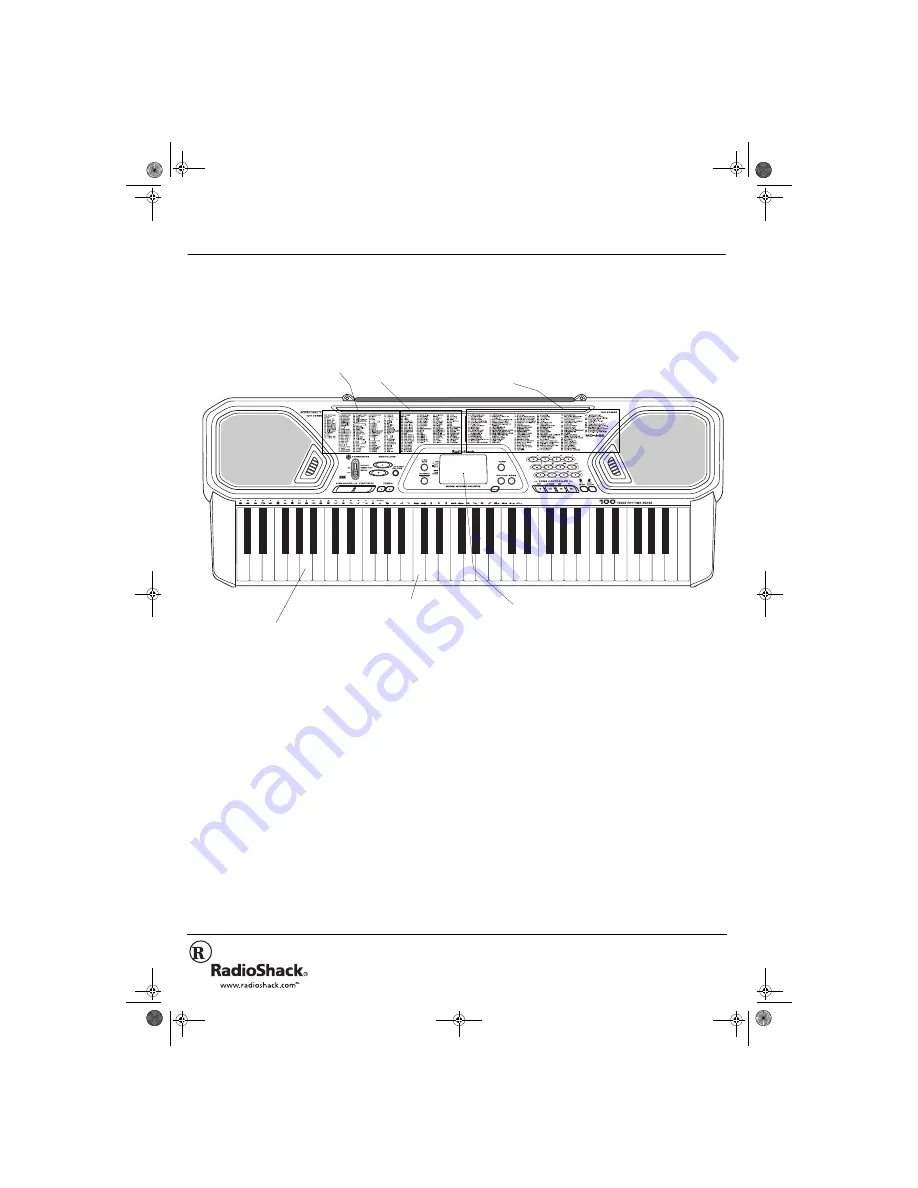
61 Full-Sized Keys — provide the feel of a fine musical instrument.
100 Tones — let you set your
keyboard to sound like anything
from a harpsichord to a honky-
tonk piano (see “Using the
Preset Tones” on Page 6).
100 Auto-Rhythms — provide a
steady beat for many styles of music,
from rhumba to rock (see “Using the
Preset Auto-Rhythms” on Page 7).
This Owner’s Manual explains how to use this electronic keyboard. It does not teach music.
Your keyboard includes a MIDI (Musical Instrument Digital Interface) feature, which lets you connect it to other MIDI-equipped musical
instruments or devices — even your personal computer. The keyboard conforms to most, but not all, General MIDI specifications.
Because of this, you might experience some incompatibility when using the keyboard with another General MIDI device. See “Using
MIDI” on Page 10.
100 Prerecorded Tunes — let you hear a sample of
what you and your keyboard can do. You can play
the tunes either one at a time or consecutively, and
you can turn off the melody or accompaniment
portion so you can play along with the tunes (see
“Playing the Prerecorded Tunes” on Page 5).
Two Power Options — let you power the keyboard from
internal batteries (not supplied) or standard AC power
(with an optional adapter), so you can make music
almost anywhere (see “Connecting Power” on Page 2).
Middle “C”
Using MIDI ................................................ 10
About MIDI ............................................. 10
Making the MIDI Connections ................ 10
MIDI Data ............................................... 10
Changing MIDI Settings ......................... 11
Notes About the
MIDI Implementation Chart .................... 11
Troubleshooting ........................................ 12
Care .......................................................... 12
Service and Repair .................................... 12
Standard Fingering Chord Charts ............. 13
Note Table ................................................. 15
MIDI Implementation Chart ....................... 17
Specifications ............................................ 18
Using the Preset Tones ............................... 6
Selecting/Playing a Preset Tone .............. 6
Layered Tones ......................................... 6
Keyboard Split Tones ............................... 7
Percussion Sounds .................................. 7
Using the Preset Auto-Rhythms .................. 7
Selecting/Playing an Auto-Rhythm .......... 7
Using SYNCHRO ..................................... 7
Using FILL-IN ........................................... 7
Using Auto Accompaniment ........................ 8
Adjusting the
Accompaniment Volume .......................... 8
Concert Chord .......................................... 8
Standard Fingering .................................. 9
Using the Chord Book ................................. 9
Special Features ....................................... 10
Changing Keys ....................................... 10
Tuning the Keyboard .............................. 10
Using a Sustain Pedal ............................ 10
%106'065
The FCC Wants You to Know ...................... 2
Connecting Power ....................................... 2
Installing Batteries .................................... 2
Using AC Power ....................................... 2
Connecting Headphones ............................. 2
Listening Safely ........................................ 2
Connecting an External Amplifier ................ 3
Using the Sheet Music Stand ...................... 3
A Quick Look at Your Keyboard .................. 4
Basic Operation ........................................... 5
Playing the Prerecorded Tunes ................... 5
Playing Back a Prerecorded Tune ............ 5
Playing Along with a
Prerecorded Tune .................................... 6
Turning Applause Off/On .......................... 6
Consecutively Playing Back
the Tunes ................................................. 6
/&
/;:4"
/+&+
"
-G[DQCTF
42-4056.fm Page 1 Friday, April 26, 2002 9:14 AM


