Radio Shack 43-3701 Скачать руководство пользователя страница 1


©


 2003 RadioShack Corporation.

All Rights Reserved.

RadioShack and RadioShack.com are trademarks 

used by RadioShack Corporation.

E


NERGY


S


TAR


 and the E


NERGY


S


TAR


 certification mark 

are registered US marks.
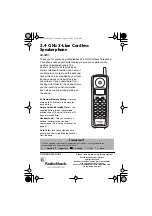
 

OWNER’S MANUAL 


Please read before using this equipment.


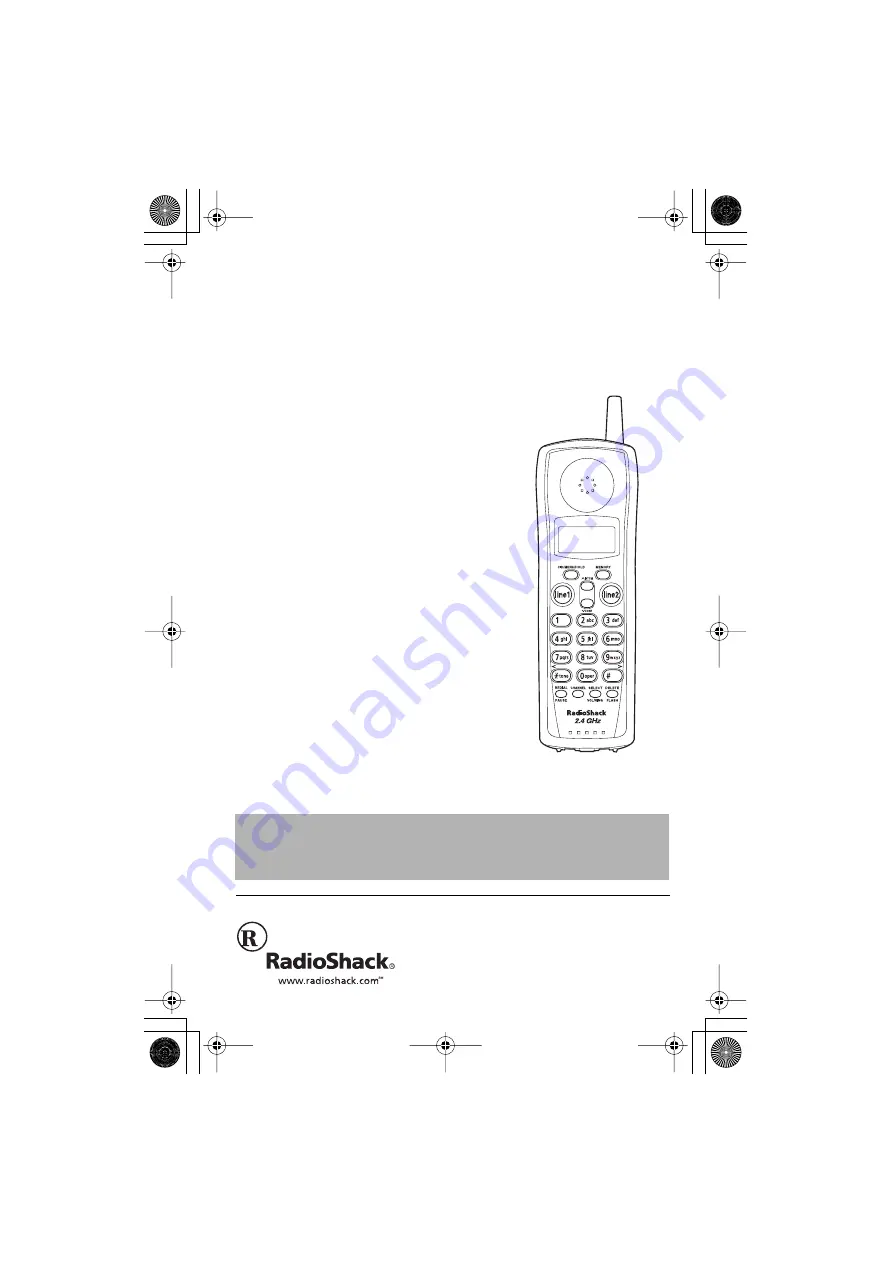
2.4 GHz 2-Line Cordless 

Speakerphone


43-3701


Headset Jack — 


lets you connect an 

optional headset for hands-free 
convenience. (See “Using a Headset” on 
page 37.)


Auto Talk— 


lets you set the phone to 

answer a call by simply lifting the handset 
from the base. 


40-Number Memory Dialing — 


lets you 

store up to 40 numbers in memory for 
easy dialing. 

!

 IMPORTANT 

!

If an icon appears at the end of a paragraph, go to the box on that page with the 
corresponding icon for pertinent information.

— Warning

!

 — Important 

"

"

"

"

 — Caution

Ó

Ó

Ó

Ó

 — Hint

Ô

 — Note


Ample Talk and Standby Time — 


the 

supplied battery (when fully charged) 
provides about 7 hours of talk time or 14 
days of standby time.


Thank you for purchasing a RadioShack 2.4 GHz Cordless Telephone. 
Your phone uses advanced technology to give you superior audio 
quality and extended range. The 
phone’s Caller ID unit records each 
caller’s telephone number (and name, if 
available in your area) and the date and 
time of the call, as provided by your local 
phone company to Caller ID service 
subscribers. If you subscribe to Call 
Waiting with Caller ID, the phone shows 
you the incoming caller information, 
even when you are already talking on 
the phone.


43-3701.fm  Page 1  Thursday, April 24, 2003  11:56 AM

Содержание 43-3701

Страница 1: ...of a paragraph go to the box on that page with the corresponding icon for pertinent information o Warning Important Caution Hint Note Ample Talk and Standby Time the supplied battery when fully charge...

Страница 2: ...ng a lightning storm 4 Never install telephone jacks in wet locations unless the jack is specifically designed for wet locations 5 Never touch uninstalled telephone wires or terminals unless the telep...

Страница 3: ...t not be blocked or covered The openings should never be blocked by placing the product on a bed sofa rug or other similar surface This product should never be placed near or over a radiator or heat r...

Страница 4: ...ct is subsequently used 17 Unplug this product from the wall outlet and refer servicing to qualified service personnel under the following conditions When the power cord plug is damaged or frayed If l...

Страница 5: ...lectrolyte is corrosive and may cause damage to the eyes or skin It may be toxic if swallowed 4 Exercise care in handling the battery pack in order not to short it with conducting materials such as ri...

Страница 6: ...handset Your phone operates on standard radio frequencies as allocated by the FCC It is possible for other radio units operating nearby on similar frequencies to unintentionally intercept your conver...

Страница 7: ...ne line phone jacks plug one end of the supplied long two line modular cord into TEL LINE 1 2 and plug another cord not supplied into the TEL LINE 2 jack Route both cords through the strain relief slo...

Страница 8: ...te 2 Insert the supplied AC adapter s barrel plug into the DC IN 9V jack on the back of the base 3 Route the adapter s cord through the narrow groove on the base If you are using two phone cords route...

Страница 9: ...k 3 Route the adapter cable and modular cord s through the grooves on the base 4 Align the base s keyhole slots with the mounting screws and slide the base downward to secure it CONNECTING CHARGING TH...

Страница 10: ...assistance Recharging the Battery Pack When you first use the phone after charging or recharging the battery pack the phone might not work and you might hear an error tone when you press Line 1 or Lin...

Страница 11: ...t for about a year If the battery pack does not hold a charge for more than 2 hours after an overnight charge replace it with a new 3 6 volt 600 mAh battery pack with a connector that fits the socket...

Страница 12: ...dset 2 Press line 1 or line 2 3 Listen for the dial tone 4 Dial the number OR 1 Pick up the handset 2 Dial the number then press line 1 or line 2 1 Press line 1 or line 2 2 Listen for the dial tone 3...

Страница 13: ...epeatedly to select Low Medium High or Maximum When you hang up the phone keeps the last volume setting selected To hang up Press line 1 or line 2 or return the handset to the base Auto Standby Press...

Страница 14: ...ast number will not redial TONE DIALING SWITCH OVER Some telephone companies use equipment that requires pulse dialing sometimes referred to as rotary dialing If you need to enter tone dialing digits...

Страница 15: ...rks only when the phone is in use The CHANNEL on the handset allows you to choose between 20 different channels During the course of a conversation if you hear static or noise which makes it difficult...

Страница 16: ...e flashes 2 Press line 1 and speak 3 When you finish the call press line 1 to hang up ANSWERING A CALL FROM THE HANDSET 1 The handset rings and C C C Ca a a al l l ll l l l L L L Li i i in n n ne e e...

Страница 17: ...mber keys when you use memory key 3 When you finish the call press line 1 or return the handset to the base Dialing from Standby Mode To call a number while the handset is in standby mode dial the num...

Страница 18: ...e to use this privacy feature while using line 1 1 Press MUTE The line 1 LED flashes green You can hear the party on line 1 but they cannot hear you 2 When you are ready to continue your conversation...

Страница 19: ...on from either the handset or the base For example to add a party to the current call on line 1 at the base 1 Press HOLD to place the caller on hold The line 1 LED turns from green to flashing red 2 P...

Страница 20: ...added to conference call For example to add a fourth party at the handset to an ongoing conference call at the base 1 Press HOLD The line 1 and line 2 LEDs flash red 2 Press INTERCOM on the base to c...

Страница 21: ...e Handset to Base 1 Press INTCM on the handset If no answer press INTCM on the handset to disconnect 2 At the base press INTERCOM Speak into the base microphone to answer the page 3 To turn off the in...

Страница 22: ...ine 2 key If the phone rings when Auto Talk is on simply remove the handset from the base and the phone automatically answers the call Or if the handset is not on the base press any key on the handset...

Страница 23: ...m set the mode as follows 1 Press and hold the FLASH key on the base until you hear a confirmation tone 2 To set the dial mode for pulse dialing press on the base Or to set the dial mode for tone dial...

Страница 24: ...or L L L Li i i in n n ne e e e 2 2 2 2 3 Press 4 Press INTCM or CONF to select A A A Ar r r re e e ea a a a C C C Co o o od d d de e e e 5 Press SELECT VOL RING 6 Use the dial buttons 0 9 to enter t...

Страница 25: ...one stores up to 30 names numbers in the handset plus 10 numbers in the base Memory locations are shared by both lines With the Handset 1 Pick up the handset from the base 2 Press MEMORY 3 Use the INT...

Страница 26: ...ess REDIAL PAUSE to enter a pause in the dialing sequence The display shows a P P P P The phone number cannot exceed 20 digits 9 When you have finished entering a name number press SELECT VOL RING You...

Страница 27: ...to the incorrect character Press DELETE FLASH to erase the wrong character then enter the correct character To delete all characters press and hold DELETE FLASH For example to enter Movies 1 Pick up t...

Страница 28: ...s to move the cursor to the right 6 Press 6 six times 7 Press 8 six times 8 Press 4 six times 9 Press 3 five times 10 Press 7 eight times 11 When finished press SELECT VOL RING To continue to store th...

Страница 29: ...N DIALING The 30 memory locations on the handset are not limited to phone numbers You may want to store in memory a group of numbers up to 20 digits that you need to enter once your call connects This...

Страница 30: ...on 01 30 you would like to edit 4 Press SELECT VOL RING 5 Press SELECT VOL RING The display shows the memory location you have selected 6 Press SELECT VOL RING again to enter the E E E Ed d d di i i i...

Страница 31: ...he display then returns to the S S S Se e e el l l le e e ec c c ct t t t M M M Me e e em m m mo o o or r r ry y y y screen You may select another number to edit return to step 3 or press MEMORY to re...

Страница 32: ...indicates the number has been deleted CALLER ID FEATURES CALLER ID You must subscribe to Caller ID from your phone company to use this feature NOTES Erasing a Stored Name and Phone Number If you sele...

Страница 33: ...al the displayed number and store the information for memory dialing Make sure you have turned on the Caller ID Call Waiting feature See page 22 WHEN THE TELEPHONE RINGS When the Caller ID message is...

Страница 34: ...t you would like to dial 5 Press line 1 or line 2 The number automatically dials Long Distance Calls and Area Code Setting Cancellation Pressing 1 while the incoming Caller ID information is displayed...

Страница 35: ...ct t t t M M M Me e e em m m mo o o or r r ry y y y screen appears Use the INTCM and CONF or enter the number 01 30 to select a blank memory location where you would like to store the number If you wa...

Страница 36: ...r DELETE FLASH A confirmation tone sounds The Caller ID screen returns with the next name number displayed If you select N N N No o o o the Caller ID screen returns 6 Press CID MENU HOLD to return to...

Страница 37: ...e Flash and Call Waiting on page 15 USING A HEADSET You can make or answer calls with hands free convenience using an optional headset that has a 3 32 inch 2 5 mm plug RadioShack has a variety of head...

Страница 38: ...adset s volume With a headset connected you can make or answer calls as usual using the keys on the handset When you finish using the headset disconnect it from the handset and close the rubber cover...

Страница 39: ...is plugged into the base unit and wall outlet Disconnect the AC adapter for a few minutes then reconnect it Change the digital security code See page 11 Make sure line 1 or line 2 is pressed The hand...

Страница 40: ...forming as it should take it to your local RadioShack store for assistance To locate your nearest RadioShack use the store locator feature on RadioShack s website www radioshack com or call 1 800 The...

Страница 41: ...s problems on the phone line the phone company can temporarily discontinue your service If this happens the phone company attempts to notify you in advance If advance notice is not practical the phone...

Страница 42: ...an damage your telephone Lightning damage is not common Nevertheless if you live in an area that has severe electrical storms we suggest that you unplug your phone when storms approach to reduce the p...

Страница 43: ...Service and Repair 43 NOTE 43 3701 fm Page 43 Thursday April 24 2003 11 56 AM...

Страница 44: ...fect during the warranty period take the product and the Ra dioShack sales receipt as proof of purchase date to any RadioShack store RadioShack will at its option unless otherwise provided by law a co...

Отзывы: