Note
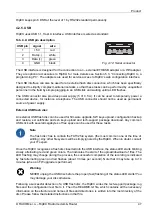
Whenever an FW file (.cpio) is found in the root directory of the disc, the upgrade is executed
automatically, regardless of the version of the currently active FW. If more than one FW file
is found, the latest version is used. Remember to remove the FW files from the disk root
when you do not intend to perform an upgrade. The same principles apply to a configuration
update from the disc.
4.2.6. Reset button
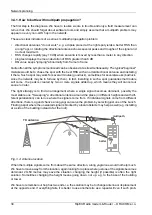
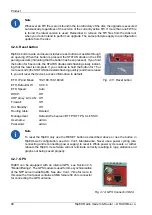
Fig. 4.13: Reset button
RipEX’s bottom-side enclosure includes a reset button accessible through
an opening. When this button is pressed, the STATUS diode on the LED
panel goes dark (indicating that the button has been pressed). If you hold
the button for 5 seconds, the STATUS diode starts flashing slowly indicat-
ing that the reset is complete. If you continue to hold the button for 15 or
more seconds (the STATUS diode starts flashing quickly) and then release
it, you will reset the device’s access information to default:
192.168.169.169/24
ETH IP and Mask:
0.0.0.0
ETH Default GW:
Auto
ETH Speed:
Off
DHCP:
Off
ARP proxy & VLAN:
Off
Firewall:
Off
Hot Standby:
Deleted
Routing table:
Default (Web server=HTTP+HTTPS, CLI=SSH)
Management:
admin
Username:
admin
Password:
Note
To reset the RipEX only use the RESET button as described above or use the button in
RipEX’s web configuration, see
. Never use a power cycling (dis-
connecting and reconnecting power supply) to reset it. While power cycle resets, or rather
reboots the RipEX, its software will not terminate correctly resulting in logs, statistics and
graphs not being saved properly.
4.2.7. GPS
Fig. 4.14: GPS Connector SMA
RipEX can be equipped with an internal GPS, see Section 4.5,
“Model offerings”. The GPS module is used for time synchronisation
of the NTP server inside RipEX. See
for more. In
this case the front panel contains a SMA female 50 ohm connector
for connecting the GPS antenna.
RipEX Radio modem & Router – © RACOM s.r.o.
48
Product
Содержание RipEX 1.6.0
Страница 2: ......

