background image

Page

 25

 of 

48 

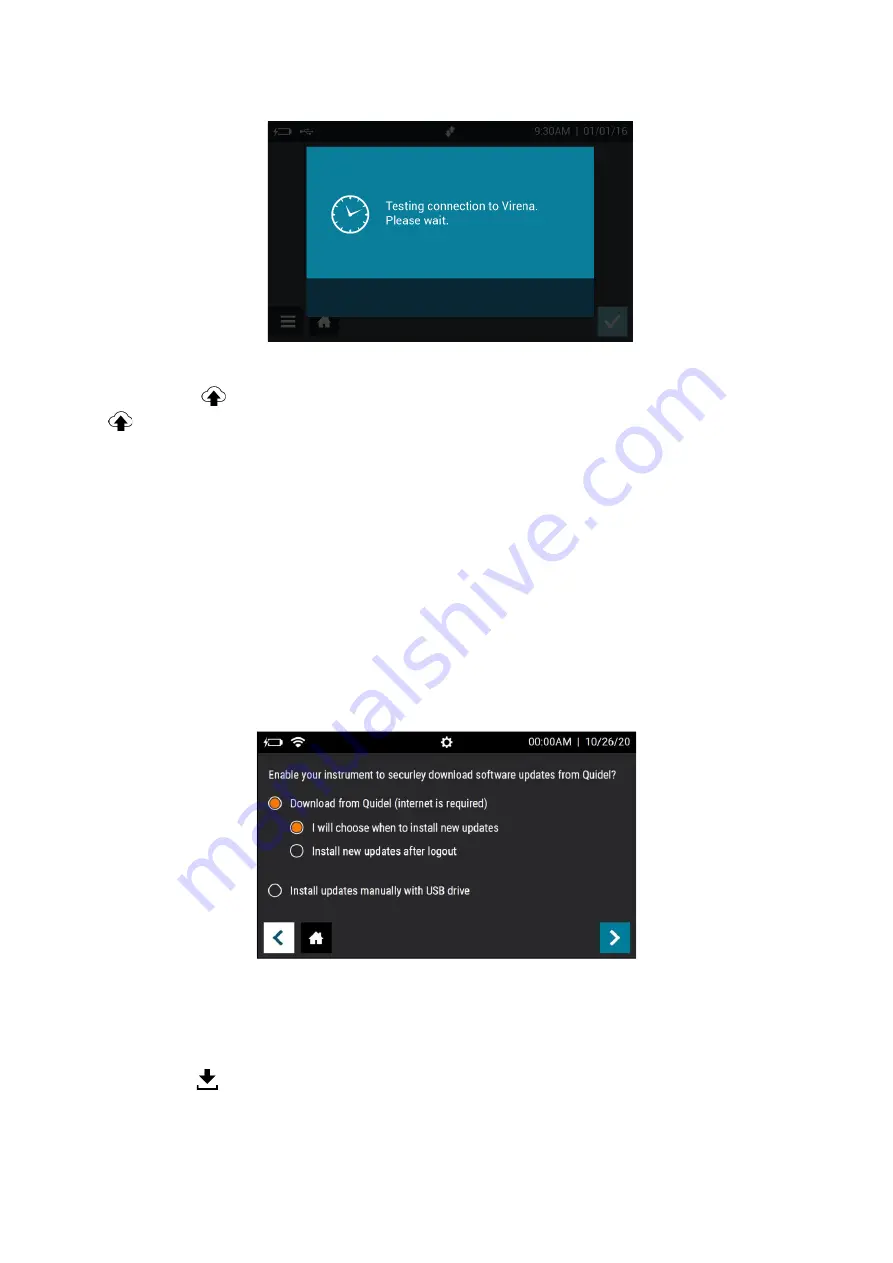
Figure 14 


If the Sofia 2 is Connected to Quidel, the User can also test their Virena connection by 
pressing the 

 icon on the Virena Settings home screen (seen in Figure 10). However, the 

 will only be visible on this screen if the Sofia 2 is Connected to Quidel. Instructions on 

how to Connect Sofia 2 to Quidel can be found in the next section.  
 
If successful, the on-screen pop-up will display 

Test connection success

. If unsuccessful, the 

on-screen pop-up will display 

Test connection error

. If the connection test is unsuccessful 

after a second attempt, please contact Quidel Technical Support. 

Connect to Quidel  

The Connect to Quidel screen allows the Supervisor to automatically download Sofia 2 
software updates directly to their device from the cloud via a Wired Ethernet or Wi-Fi 
connection (Figure 15).  
 

Figure 15 


To Connect to Quidel, Users will select their preferred installation method under “Download 

from Quid

el”.


I will choose when to install new updates

 - Users will be alerted by the Load data 

icon 

  on their home screen when an update is available for installation. At their 

convenience, the User can navigate to 

Software Updates 

(page 26) and press 

“Update Now” to install the update. 


Содержание Lyme FIA Sofia 2

Страница 1: ...User Manual...

Страница 2: ...on Setup and Operation 15 Sofia 2 Setup 15 Power Up 15 Calibration Check 18 Supervisor Menu 18 Logging in as Supervisor 18 Settings 18 Set Entry Requirements 19 Set Default Mode and Timeout 19 Calibra...

Страница 3: ...Test Procedure 35 Press 35 Patient Test Results 36 Review Data 36 Review Patient Results 36 Review QC Results 37 Review Calibration Results 37 View Lot Status 38 View Assay Methods 38 Run QC 38 QC Res...

Страница 4: ...Information Contact Quidel Technical Support from 7 00 a m to 5 00 p m Pacific Time Tel 800 874 1517 in the U S 858 552 1100 outside the U S Fax 858 552 7905 E mail technicalsupport quidel com or con...

Страница 5: ...Page 4 of 48 Main Menu Structure...

Страница 6: ...agnostic medical device Consult instructions for use Authorized Representative in the European Community Temperature limitation Humidity limitation Waste electrical and electronic equipment WEEE Seria...

Страница 7: ...Page 6 of 48 Icons...

Страница 8: ...Page 7 of 48...

Страница 9: ...ed according to this User Manual If Sofia 2 is used in a manner not specified in the User Manual the protection provided by the equipment may be impaired All warnings and precautions should be followe...

Страница 10: ...or other gloves is recommended when handling patient samples Caution To reduce the risk of incorrect results Sofia 2 should only be used by trained operators Do not use if Sofia 2 is reporting an erro...

Страница 11: ...disposal Sofia 2 must be disposed of in a safe and compliant manner Applicable Federal State and Local regulatory requirements shall be followed to ensure Sofia 2 is not disposed of as municipal waste...

Страница 12: ...that is illuminated by an Ultraviolet UV light source to generate specific results In each test an internal procedural control line is also read This ensures that sample flow has occurred within the T...

Страница 13: ...rammed for each test read the Test Cassette analyze and interpret the data and automatically and objectively display the test result Depending on the test Sofia 2 may also read the Test Cassette perio...

Страница 14: ...assays User Types Users without Supervisor authorization have access to the following functions User Operator Power on Sofia 2 Perform Calibration Run QC External Controls Run Test with Patient Sample...

Страница 15: ...Page 14 of 48 System Display System Display Sofia 2 contains a 4 inch color LCD display for interacting with the user interface Figure 1 Figure 1 Touchscreen Display Cassette Drawer Barcode Scanner...

Страница 16: ...drawer and access the connection ports on the back of the unit Connect the AC Power Cord to the Power Adapter and ensure the cord is seated into the Power Adapter Plug the Power Adapter with the round...

Страница 17: ...fia 2 settings Zip Code Sofia 2 will prompt the User to enter the ZIP Code where it is located Figure 4 Select to confirm and continue to the next screen Figure 4 Time and Date After a Firmware update...

Страница 18: ...ll receive confirmation of successful registration and will push again to advance to the Run Test screen If the Sofia 2 is not already connected to the internet Sofia 2 will prompt the User to set up...

Страница 19: ...and the location of Sofia 2 Settings Entry to the Settings menu is accomplished by logging in as the Supervisor Sofia 2 comes from the manufacturer with a default Supervisor login ID which should be c...

Страница 20: ...e Run Test screen Calibration and QC Calibration Reminder Using the on screen keypad enter the number of days for the Calibration reminder interval from 2 30 When the selected number of days remains u...

Страница 21: ...et Language and Sound Sofia 2 can be set to display languages that were previously installed from the Export Import Delete menu page 31 Use or to select the appropriate language This language will be...

Страница 22: ...t date If an invalid date is added the field will highlight in red and the will not be available Press to confirm when changes are complete to return to the Run Test screen Network Settings Network In...

Страница 23: ...If set to On test results will automatically be sent to the LIS as tests are run If set to Off test results will need to manually be sent to the LIS See the Send Data section on page 40 for additiona...

Страница 24: ...irena when idle If Auto Send is set to off the instrument will never send results unless the User manually decides to do so via the Send Data screen page 40 If Enable Sending Of Test Results To Virena...

Страница 25: ...ection Figure 12 Press to continue to the next screen For Age Required select either Yes or No If set to Yes the User will need to enter the patient s age prior to running each test Figure 13 Figure 1...

Страница 26: ...r If the connection test is unsuccessful after a second attempt please contact Quidel Technical Support Connect to Quidel The Connect to Quidel screen allows the Supervisor to automatically download S...

Страница 27: ...ownload from Quidel will select Install updates manually with a USB drive then press to return to the Run Test screen Software Updates The Software Updates screen is only displayed if the Sofia 2 is C...

Страница 28: ...zer Info The first screen of View Analyzer Info displays the Firmware Version Hardware Version Number of Tests Serial Number IP Address and LUT Version Figure 18 Select to continue to the next screen...

Страница 29: ...Ethernet MAC Wi Fi MAC Wi Fi SSID Cellular Firmware Version IMEI and ICCID Figure 19 Select to return to the Run Test screen Figure 19 View Message Log View Message Log displays the Error Code Date an...

Страница 30: ...enter the User ID User ID must be at least 4 digits Choose User Type by selecting Operator or Supervisor Enter the Name of the new User using the on screen keypad To delete a letter press on the keypa...

Страница 31: ...n keypad to edit the User information Figure 22 Figure 22 When the information is complete press Delete User Select a User by touching anywhere within the row then select to delete User Figure 23 This...

Страница 32: ...h Drive Supervisors may export the settings of one Sofia 2 to import to another Sofia 2 Use the or in the first field to select Export In the next field use or to select Settings Insert a USB flash dr...

Страница 33: ...ll release Firmware and Assay Method updates to improve the functionality of Sofia 2 It is recommended that Users ensure that their Sofia 2 has the most current firmware assay methods and language fil...

Страница 34: ...ash drive Import Language Files from USB Flash Drive Insert USB flash drive with the language file to install Use or in the first field to select Import In the next field use or to select Language Fil...

Страница 35: ...Order Number field on the Run Test screen Use the barcode scanner to scan an order number barcode from a patient test requisition or other source or manually enter the data using the on screen keypad...

Страница 36: ...Test screen from the pop up select Press After ID information is entered and development mode is selected press to advance to the next screen If Virena has been configured the User will advance to the...

Страница 37: ...he assay specific Package Insert for details on how to interpret results for specific tests If the procedural control is repeat the test with a new patient sample and a new Test Cassette To run anothe...

Страница 38: ...d Negative Control tests The operator can locate QC result details in the same manner as Patient Test Results Figure 29 Figure 29 Select to return to the Run Test screen Review Calibration Results Sof...

Страница 39: ...t of the Kit Lots that have been processed by the QC procedure will be displayed along with the expiration date Select to return to the Run Test screen View Assay Methods A list of the installed Assay...

Страница 40: ...hat ensures optimal performance by checking the internal Sofia 2 optics and functions IMPORTANT Calibration Check must be performed within 30 days prior to testing any patient sample Refer to the assa...

Страница 41: ...Test Connection To manually send data to Virena select one of the options above then press If data was sent successfully will appear on the screen If data was not sent successfully the message Send To...

Страница 42: ...cassette in Sofia 2 Then power down and unplug Sofia 2 Remove the battery cover on the rear of the instrument Disconnect the battery cable and carefully slide out the battery Figure 30 Attach the new...

Страница 43: ...Wipe the external surfaces and cassette drawer only Removing the Drawer for Cleaning Ensure that there is no cassette in the drawer and unplug Sofia 2 Gently pull the drawer out until it stops then l...

Страница 44: ...ge drawer in cleaning solution After cleaning the drawer insert it carefully aligning the rails of the drawer into the tracks of Sofia 2 Figure 33 Figure 33 Gently slide the drawer until it is latched...

Страница 45: ...argeable battery Display 4 inch color LCD touchscreen LAN Interface RJ45 connector Operating Temperature 15 C to 30 C 59 F to 86 F Operating Humidity 20 to 85 RH non condensing Operating Altitude 2000...

Страница 46: ...including the area behind the unit Appendix C System Troubleshooting Error Messages Note The chart below describes the error messages that may be displayed while using Sofia 2 If unable to resolve th...

Страница 47: ...est with a non expired Cassette Retest with a non expired Cassette 19 Calibration period has expired and the instrument is locked until Calibration has been successfully completed Calibrate Sofia 2 20...

Страница 48: ...leting 38 Logged in User cannot be changed to an Operator Log out User before changing User status 39 Mains power must be supplied to upgrade Please plug in to AC power and try again Connect Sofia 2 t...

Страница 49: ...to produce a result Contact Technical Support 53 USB storage device does not contain Assay Methods Ensure that the correct Assay Method File has been downloaded from myquidel com 54 Some files were n...

Отзывы: