511026 Rev. 07-01-19
125
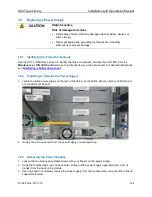
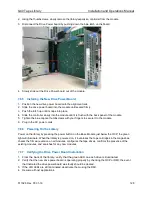
7.6.4 Installing the New Power Supply
1.
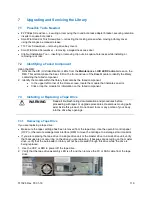
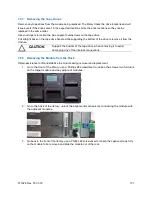
Position the new power supply onto the alignment rails.
2.
Slide the power supply into the module until it is flush with the back panel of the module
.
3.
Tighten the blue captive thumbscrews with your fingers to secure it to the module
.
4.
Attach the AC power cord to the new power supply.
7.6.5 Verifying the Power Supply Installation and Operation
1.
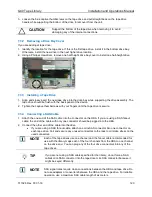
Verify that the new power supply is operating properly by checking the power supply LEDs:
•
The white LED should be lit.
•
The amber LED should be unlit.
•
Using the OCP or RMI, confirm that the power supply is operating correctly; the event that
indicated the power supply was faulty should be cleared.
•
If the UID LEDs are still illuminated, deactivate them using the RMI.
7.7
Replacing a Controller Board
7.7.1 Identifying the Failed Component
CAUTION
•
Parts can be damaged by electrostatic discharge. Keep parts in
electrostatic containers until needed. Ensure you are properly
grounded when touching static sensitive components.
•
To prevent any damage, power off the library to install or replace
the Controller Board.
!
Important
Do not replace the Base chassis and the Base Module controller at the
same time. The library will not operate if both components are replaced
at the same time. The library WWID and serial number are saved in the
controller and the chassis. When one is replaced, the data from the
original component is transferred to the replacement component. If
replacing both the Base chassis and Base controller, you must install
one component and power cycle the library before installing the second
component.
See the OCP or RMI Home screen to identify the failed component. Activate the UID LEDs from the
Maintenance > UID LED Control
screen on the RMI to locate the library in the data center. For detailed
instructions, see
Identifying a Failed Component
.
7.7.2 Saving the Configuration
The library configuration settings are stored within the library chassis and will be restored automatically
when the controller is replaced. However, it is recommended to save the configuration settings before
removing the controller board. See
Saving the Library Configuration to a File
for instructions on
saving configuration settings to a file or USB flash drive via the RMI.

