75
3.5.3
Disk Volume Encryption Management
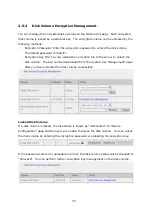
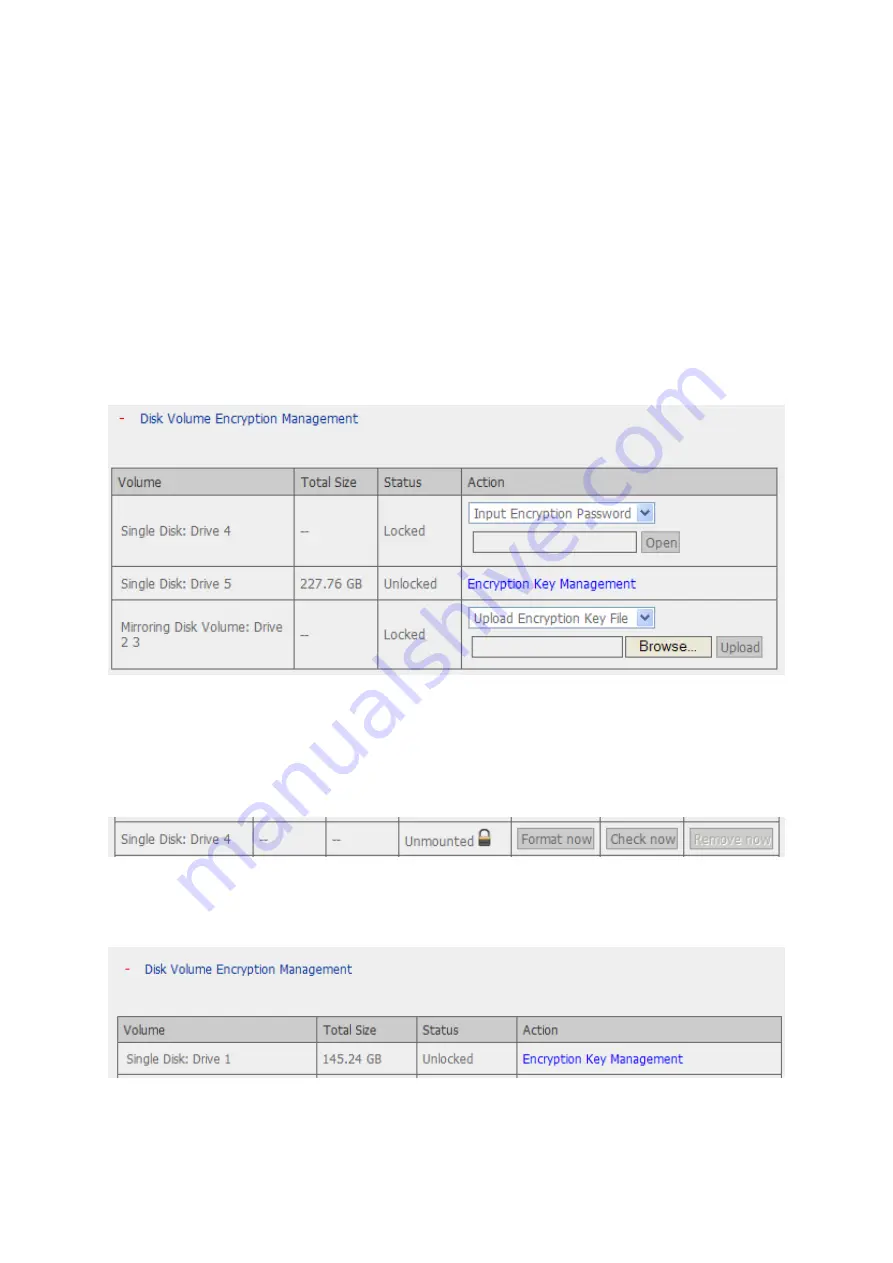
You can manage the encrypted disk volumes on the NAS on this page. Each encrypted
disk volume is locked by a particular key. The encrypted volume can be unlocked by the
following methods:
-
Encryption Password: Enter the encryption password to unlock the disk volume.
The default password is “admin”.
-
Encryption Key File: You can upload the encryption file to the server to unlock the
disk volume. The key can be downloaded from “Encryption Key Management” page
after you have unlocked the disk volume successfully.
Locked Disk Volume
If a disk volume is locked, the disk status is shown as “Unmounted” on “Device
Configuration” page and the users are unable to access the disk volume. You can unlock
the disk volume by entering the encryption password or uploading the encryption key.
If the password entered or uploaded is correct, the disk volume status will be changed to
“Unlocked”. You can perform further encryption key management on the disk volume.
Содержание TS-639 Pro Turbo NAS
Страница 1: ...TS 639 Pro Turbo NAS User Manual Version 2 1 0 Copyright 2008 QNAP Systems Inc All Rights Reserved ...
Страница 21: ...21 2 The following menu is shown Select Install QNAP Finder to continue ...
Страница 25: ...25 7 Click Start installation to execute the quick configuration ...
Страница 36: ...36 3 1 Server Administration There are 8 main sections in server administration ...
Страница 41: ...41 Finished The basic system settings are shown Click Start Installation to begin system installation ...
Страница 46: ...46 3 3 6 View System Settings You can view all current system settings e g server name on this page ...
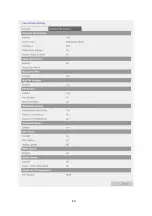
Страница 68: ...68 3 4 14 View Network Settings You can view current network settings and status of the NAS in this section ...
Страница 69: ...69 ...
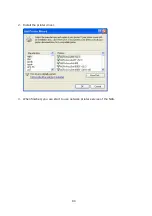
Страница 80: ...80 2 Install the printer driver 3 When finished you can start to use network printer service of the NAS ...
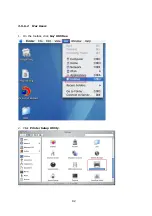
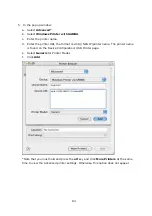
Страница 82: ...82 3 5 6 2 Mac Users 1 On the toolbar click Go Utilities 2 Click Printer Setup Utility ...
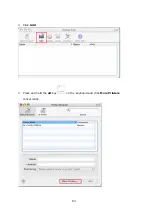
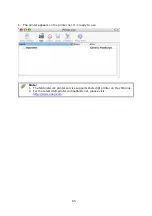
Страница 83: ...83 3 Click Add 4 Press and hold the alt key on the keyboard and click More Printers concurrently ...
Страница 96: ...96 iv The user names will appear on the list on Create User page ...
Страница 105: ...105 3 7 1 4 Delete Select a share and click Delete Click OK to confirm ...
Страница 109: ...109 3 8 System Tools The System Tools enable you to optimize the maintenance and management of the NAS ...
Страница 173: ...173 c Enter the user name and password to login FTP service d You can start to use the FTP service ...
Страница 184: ...184 Backup Select files and folders for backup ...
Страница 186: ...186 9 File Filter Click File Filter to select file format to be skipped from backup Then click OK ...

