302
9. Use the LCD Panel
This feature is only provided by the NAS models with LCD panels. Please visit http://
www.qnap.com for details.
You can use the LCD panel to perform disk configuration and view the system
information.
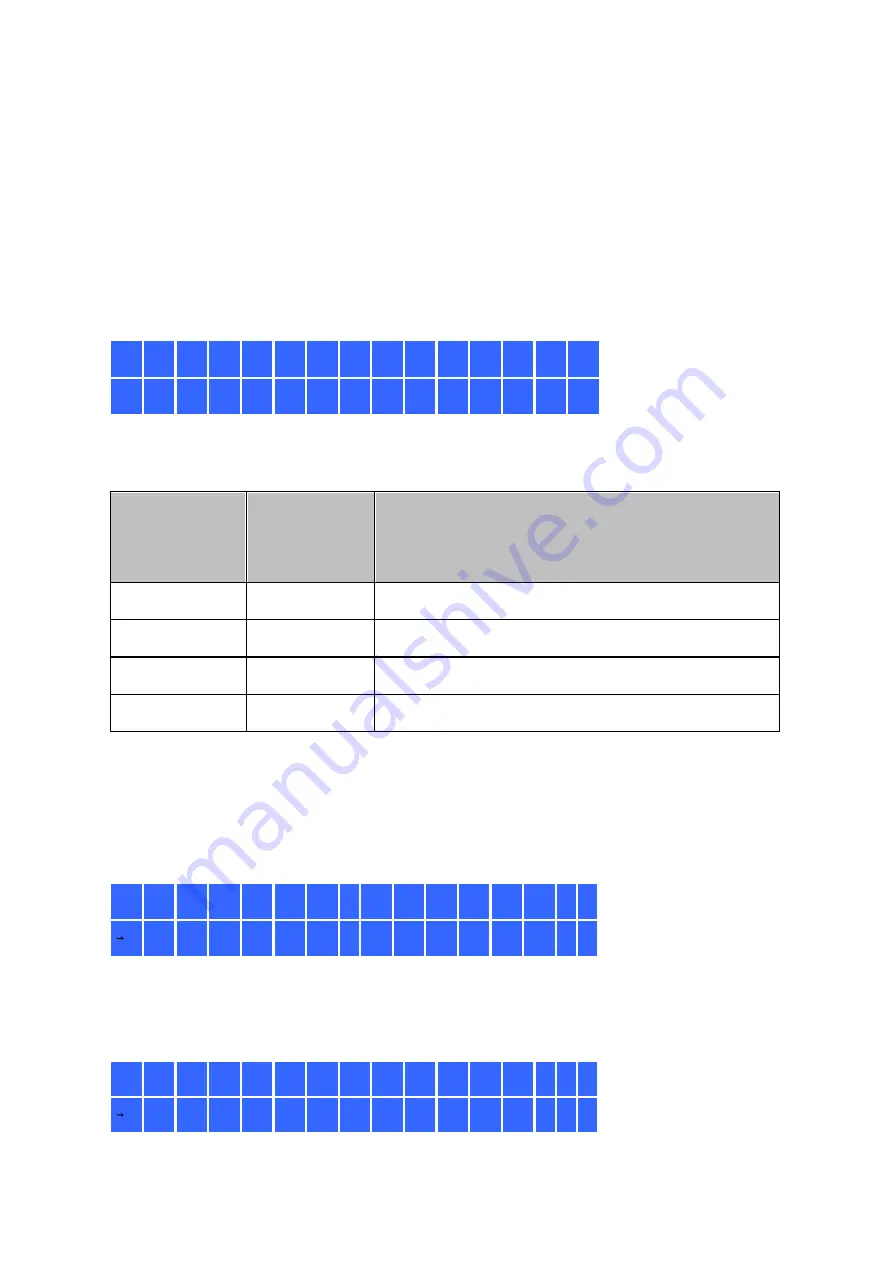
When the NAS has started up, you will be able to view the NAS name and IP address:
N
A
S
5
F
4
D
E
3
1
6
9
.
2
5
4
.
1
0
0
.
1
0
0
For the first time installation, the LCD panel shows the number of hard drives detected
and the IP address. You may select to configure the hard drives.
Num be r of
ha rd driv e s
de te c te d
De fa ult dis k
c onfigura tio
n
Av a ila ble dis k c onfigura tion options *
1
Single
Single
2
RAID 1
Single -> JBOD ->RAID 0 -> RAID 1
3
RAID 5
Single -> JBOD -> RAID 0 -> RAID 5
4 or above
RAID 5
Single ->JBOD -> RAID 0 -> RAID 5 -> RAID 6
*Press the "Select" button to choose the option, and press the "Enter" button to
confirm.
For example, when you turn on the NAS with 5 hard drives installed, the LCD panel
shows:
C
o
n
f
i
g
.
D
i
s
k
s
?
R
A
I
D
5
You can press the "Select" button to browse more options, for example, RAID 6.
Press the "Enter" button and the following message shows. Press the "Select" button to
select "Yes" to confirm.
C
h
o
o
s
e
R
A
I
D
5
?
Y
e
s
N
o
Содержание TS-1079 Pro
Страница 187: ...187 Delete Delete the selected Time Machine backup ...
Страница 216: ...216 Note The RADIUS server only supports PAP EAP TLS PAP and EAP TTLS PAP authentication for local NAS user accounts ...
Страница 221: ...221 server For detail please refer to the chapter on DHCP Server 91 ...
Страница 253: ...253 ...
Страница 307: ...307 Vol1 Unmounted The disk volume 1 is unmounted Vol1 Nonactivate The disk volume 1 is inactive ...
Страница 321: ...321 ...


