1-3
Connecting the Printer
Connecting to
a PC
Connecting to a PC
▲
Caution:
Turn the power off on both the printer and the PC before
connecting interface cables.
1
Connect the printer to the PC.
2
Turn on both the printer and the PC.
»
Note:
Remember, the power switches are located at the rear and
the front of the printer. See the Quick Setup Guide for details.
3
Install a printer driver.
See “Installing the QMS Level 2 Windows Driver” on page 4.
4
Now you’re ready to print.
See chapter 2, “Printing,” of this manual for information on color
control, using different types and sizes of media, and an overview
of printer features.
If you’re replacing a printer
already connected to a
PC, you probably already
have the necessary
cables. If not, contact your
QMS vendor or a local
computer store. Also, see
chapter 3, “Technical
Specifications,” of the
reference guide for
information on PC to
printer cabling.
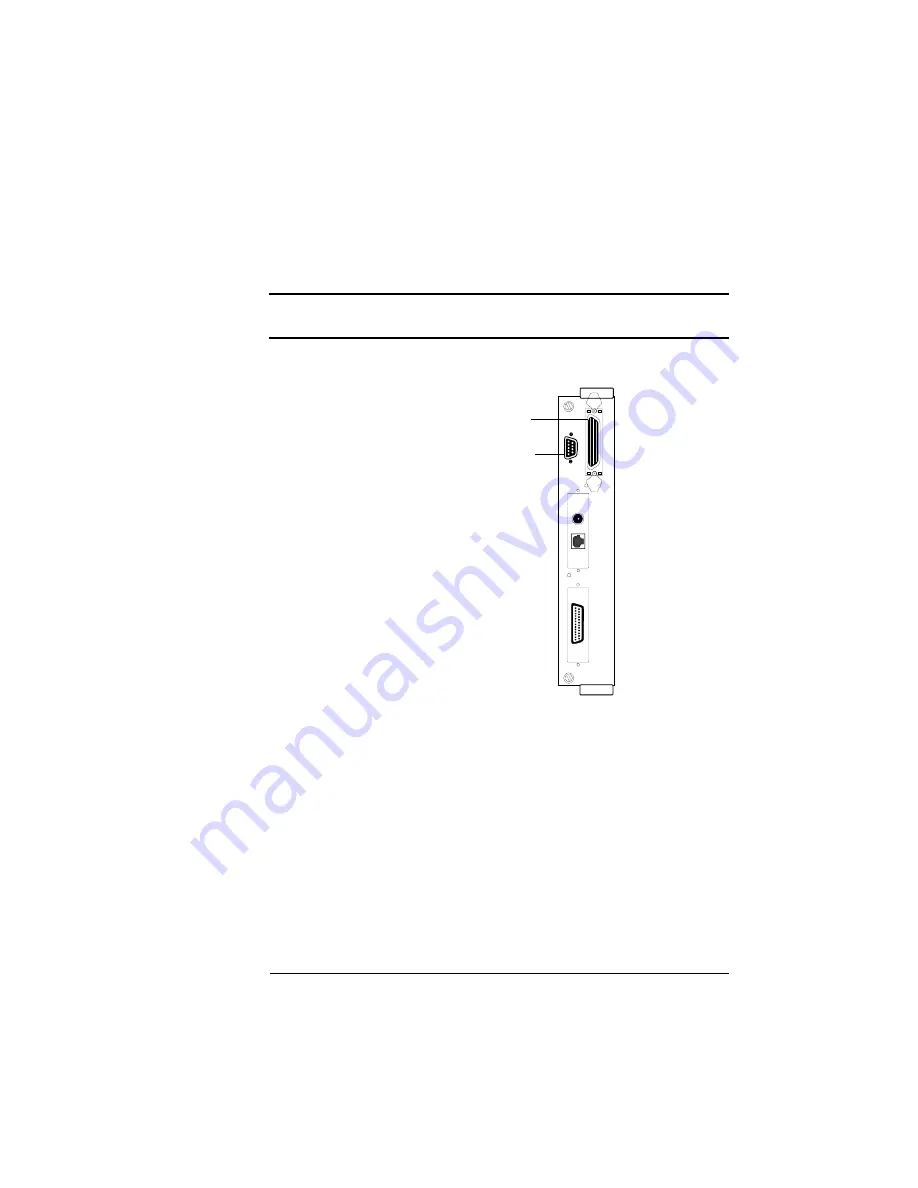
>>Note: This illustration
displays the network and
SCSI interfaces that are
available for this printer.
Parallel
Port
Serial
Port
Содержание Magicolor CX
Страница 1: ...QMS magicolor CX User s Guide 1800427 001B...
Страница 10: ......
Страница 28: ......
Страница 76: ......
Страница 142: ......
Страница 180: ...Clearing Media Jams QMS magicolor CX User s Guide 4 38 3 Open the paper exit unit Rear View...
Страница 198: ......
Страница 199: ...A QMS Customer Support In This Chapter n Sources of Support on page 2 n QMS World wide Offices on page 5...


