i
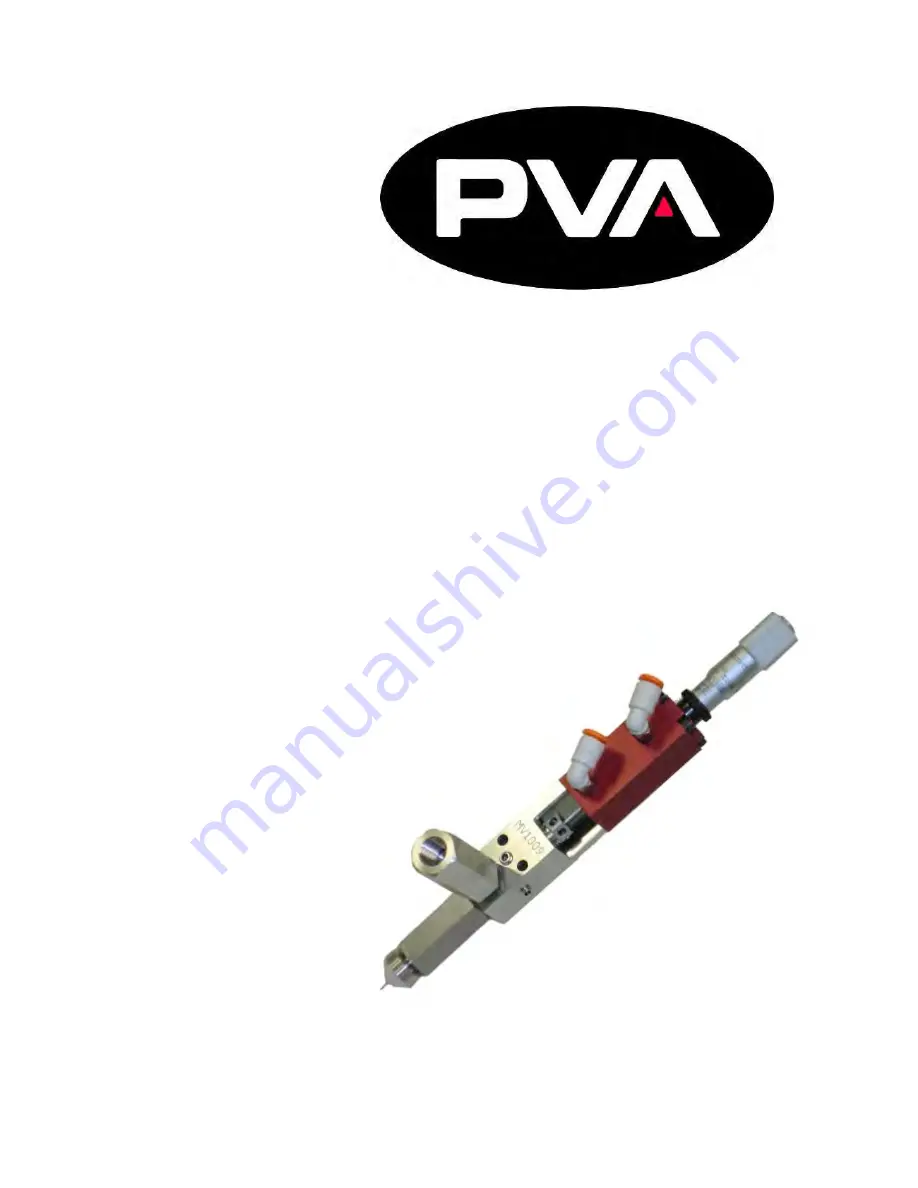
MV250
POSITIVE DISPLACEMENT VALVE
Version: B12-3822
Operation Manual
Revision: A
January 2013
Страница 1: ...i MV250 POSITIVE DISPLACEMENT VALVE Version B12 3822 Operation Manual Revision A January 2013 ...
Страница 2: ...nges subsequently made Precision Valve Automation Inc makes no representation or warranty expressed implied or statutory with respect to and assumes no responsibility for the accuracy completeness sufficiency or usefulness of the information contained herein No warranties of merchantability or fitness for purpose shall apply This document including the information contained herein is the property ...
Страница 3: ...roblems arise do not hesitate to contact PVA s Valve Service Department for support This department can be reached at PVA headquarters via telephone or e mail Again thank you for your purchase and we look forward to assisting you in the future as you continue to improve your dispensing processes PVA Contact Information Main Office Technical Support Sales Support PVA Six Corporate Drive Halfmoon NY...
Страница 4: ...nd Disassembly 8 Assembly Instructions 10 General 10 Air Section 10 Fluid Section 10 Assemble Sections 11 Setting Micrometer to Zero 11 Micrometer Adjustment Breakdown 12 Spare Parts 13 Bill of Materials for MV250 16 Troubleshooting 17 PVA Warranty Policy 18 Table of Figures Figure 1 Solenoid Valve 6 Figure 2 Tool Kit Contents 6 Figure 3 Micrometer Adjustment Breakdown 12 Figure 4 Micrometer Secti...
Страница 5: ... up the metering chamber The metering chamber fills as the needle retracts away from the seat then dispenses as the needle moves back toward the seat Such fluids may include but are not limited to solvents epoxies UV adhesives silicones RTV grease etc The outlet adapter of the MV250 is designed to fit PVA s Micro Dispense Nozzles Wetted parts on the MV250 include 303 304 stainless steel Teflon Kal...
Страница 6: ...ure 2 Tool Kit Contents Qty Part Number Description 2 0266244 8 Adjustable Wrench 2 26563 3 32 Hex Key 1 26561 5 64 Hex Key 1 26559 1 16 Hex Key 1 5516A18 Tweezers 1 B62 0752 Mineral Oil Lubrication Kit 2 5cc 1 B62 2048 Silicone Lubricant for O ring 2 5cc 1 9570K71 Hook and Pick Set 1 0266255 Pliers 2 53085A61 Soft Plastic Covers for Pliers 1 PB135 2 Screw Driver for Micrometer 1 PT17184 Micromete...
Страница 7: ...les have been bled tighten the set screw 19 and wipe the valve clean Open the stroke on the valve to full by turning the micrometer adjustment 10 counter clockwise until it reaches its furthest point about 3 on the dial D If possible turn the valve vertical so the dispense tip is pointing up in the air Note Hold a cloth over the dispense tip to catch fluid flow from the tip Cycle the valve several...
Страница 8: ...ill decrease the volume of material in each shot and turning it counter clockwise will increase the volume of material in each shot Note If the micrometer adjustment is turned all the way down it will not allow fluid to be dispensed Once the micrometer adjustment 10 setting is determined the collar E can be turned clockwise to lock the setting in place Note Refer to Troubleshooting section for any...
Страница 9: ...set screws 19 from the fluid section 7 Submerge the inlet and outlet check valve housings 6 8 in solvent Clean all other wetted parts thoroughly with an appropriate solvent On the air section use a standard 3 32 Hex Key to evenly remove the final two machine screws 16 that thread into the end cap 20 Note During removal that the spring 11 will force the air section apart Separate the upper air body...
Страница 10: ...ew 18 using an adjustable wrench and 5 64 Hex key to tighten Mount the other 014 Buna O ring 28 onto the piston 22 Apply a small amount of silicone grease to the inside of the lower air body 21 then drop in the piston and needle assembly Mount the 004 Buna O ring 23 on the end of the needle 1 and slide it down into the groove in the end of the lower air body 21 Slide the end cap 20 onto the needle...
Страница 11: ...ghten the packing nut 4 Setting Micrometer to Zero When assembling the valve it will be necessary to re calibrate the micrometer adjust back to the zero position Using the wrench A insert the inside tip of the small end into the orifice of the midsection D and rotate it clockwise until the numbered centerline is on a side that can most easily be viewed by the operator Note Valves are supplied from...
Страница 12: ...justment Breakdown Figure 3 Micrometer Adjustment Breakdown Reference Letter Section Description A Micrometer Wrench B Top Screw C Dial D Micrometer Midsection E Collar F Micrometer End Figure 4 Micrometer Section Key ...
Страница 13: ...rts kit for this valve product number MV25 SP includes the following components MV25 SP Includes Figure 5 Spare Parts Kit Contents Qty Part Number Description 1 114 4750 Needle 1 214 6507 Seat 1 214 3441 Packing w o ring groove 1 VLV 004B 004 Buna O ring 1 VLV 004K 004 Kalrez O ring 1 VLV 006K 006 Kalrez O ring 1 VLV 007B 007 Buna O ring 1 VLV 007K 007 Kalrez O ring 2 VLV 014B 014 Buna O ring ...
Страница 14: ...14 Figure 6 Drawing 112 5826_1 ...
Страница 15: ...15 Figure 7 Drawing 112 5826_2 ...
Страница 16: ...r Adjustment 1 11 01344 Spring 1 12 01469 Set Screw 1 13 02367 Check Valve Inlet 1 14 02368 Check Valve Outlet 1 15 TBD Micro Dispense Nozzle 1 16 SH5 40x1 75 Socket Head Cap Screw 2 17 SH5 40x2 0 Socket Head Cap Screw 2 18 V001 Set Screw 1 19 V007 Bleeder Plug 2 20 V200 End Cap 1 21 V201 Lower Air body 1 22 V202 Piston 1 23 VLV 004B 004 Buna O ring 1 24 VLV 004K 004 Kalrez O ring 1 25 VLV 006K 00...
Страница 17: ...alve leaks from mid section Packing nut is loose Packing is worn O Ring is worn Tighten packing nut until snug Replace packing Replace o Ring Valve does not dispense anything Air trapped in fluid body needle adapter or dispense needle Valve is not cycling Fluid pressure is too low Material cured in fluid section Micrometer adjustment set too low Flip valve upside down and cycle until air bubbles a...
Страница 18: ...ties extend only to the original purchaser Third party warranty claims will not be honored at any time Prior to returning a product for a warranty claim a return authorization must be obtained from PVA s customer service department Authorization will be issued either via the telephone facsimile or in writing upon your request To qualify as a valid warranty claim the defective product must be retur...