42
6.12. How to recognize problematic areas
Each time you slice an object, inspect it carefully in the Preview window. Never start a print
without checking the model layer-by-layer first. The Preview mode will help you to discover
problematic areas that could lead to a failed print. These are usually parts that aren’t properly
supported, broken model files, incorrectly placed holes (with the hollowing method) and similar
issues.
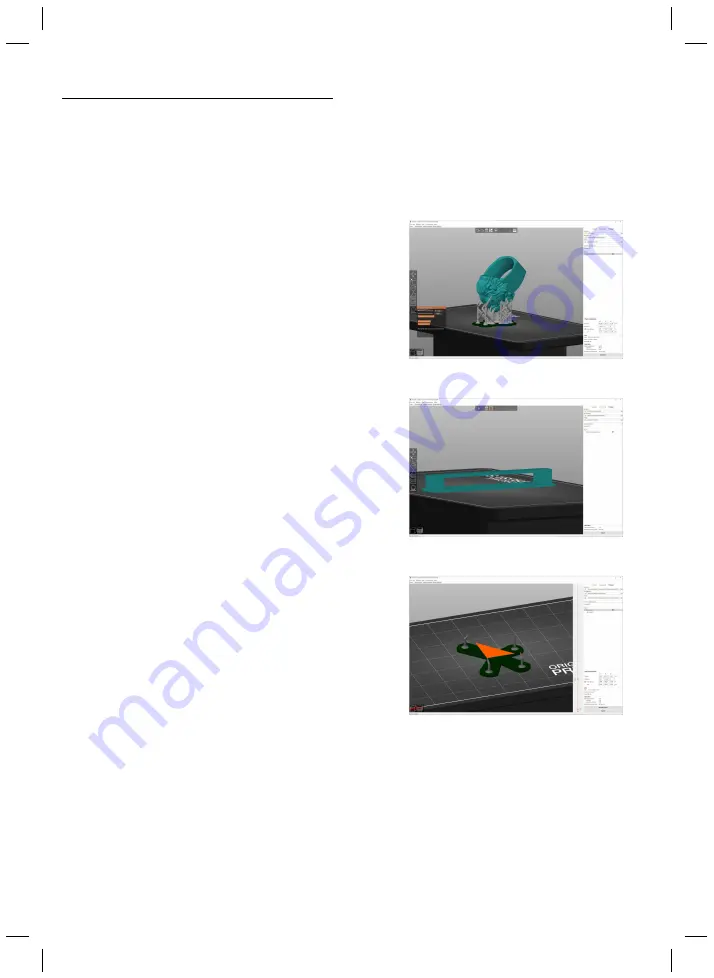
Incorrectly rotated object
-
the SL1S will print it without
issue, however, removing the supports may leave small
marks on the detailed (and most important) part of the
object.
Bridging doesn’t work the same way as with FFF/FDM
3D printers.
The SL1S cures a single layer at a time,
which in this case would most likely lead to layer
separation due to peeling forces. Tilt the object by 45°
and generate supports to print this object without issues.
Insufficient amount of supports
-
the orange colour
shows a single layer that the printer is going to cure and
then attempt to separate from the bottom of the tank. The
single support can’t withstand the peeling forces. This
usually happens if you set the support density to
extremely low numbers.
Содержание PRUSA CW1S
Страница 1: ...V1 06 ENG 3DPRINTING HANDBOOK USER MANUAL FOR THE ORIGINAL PRUSA SL1S SPEED ORIGINAL INSTRUCTIONS ...
Страница 13: ...13 ...
Страница 69: ......


