29
6. Printing your own models
Once the printer is fully calibrated (see the previous chapter) and the sample models are looking
good, you will probably want to
print your own model.
There are various ways how to do that.
Slicing procedure overview in 6 steps
1. Import an object into Slicer, then position the object. 2. Configure printing parameters and
slice the object. 3. check the preview and adjust slicing parameters (e.g. supports) if needed. 4.
Export the SL1S file onto a USB drive and insert it into the printer. 5. Open the Print menu and
select the object for printing. 6. Confirm the settings and start the print
6.1. Obtaining a printable model
The easiest way how to get started with your own 3D printing is to
find models on the internet
-
they are usually in .3mf, .stl or .obj formats. Fortunately, 3D printing has many fans, so there are
sites from which you can download a large variety of ready-made 3D models for free. These range
from a simple playing dice to a detailed figure from a favorite movie, game or TV series. Be sure to
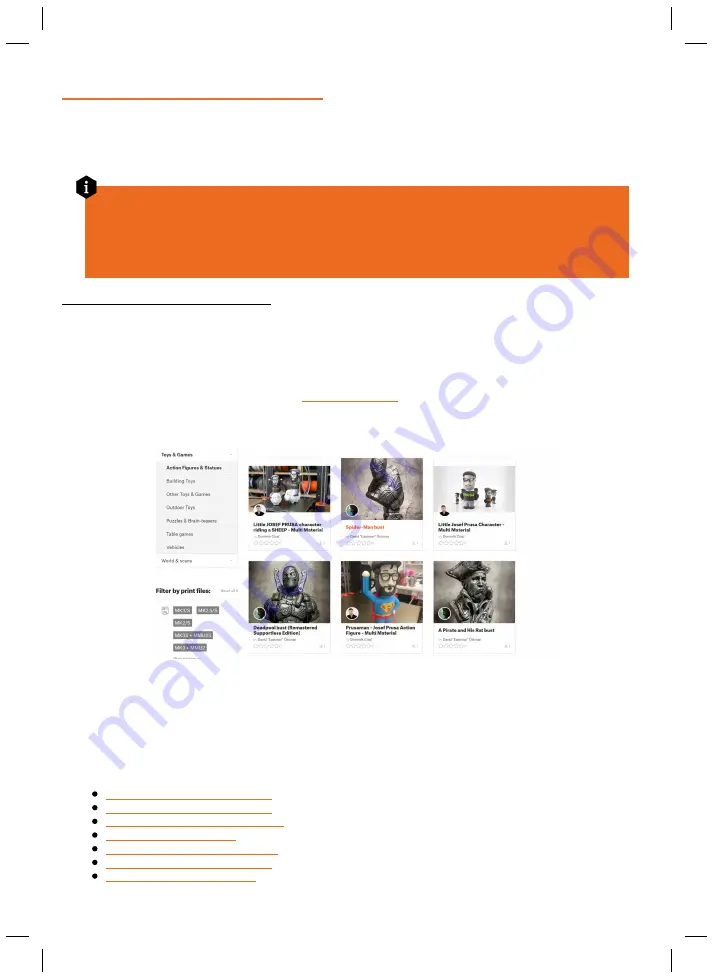
check out our own community website
- it’s an ever-expanding community hub
for all Prusa 3D printer owners! It has a ton of cool features and
plenty of amazing models
for you
to print.
PrusaPrinters.org
However, models in .stl, .obj or similar formats
cannot be 3D printed directly.
First, they need to
be
“sliced” (converted)
into a SL1S file, which is then placed onto a
USB drive.
Connect the USB
drive with a sliced project into the printer and select the model to print from the Print menu.
Please see the chapters
6.3 What are SL1S files?
and
6.4 PrusaSlicer
for more information.
http://www.prusaprinters.org
http://www.thingiverse.com/
http://www.myminifactory.com
https://pinshape.com/
https://www.youmagine.com/
http://www.shapeways.com/
http://www.gambody.com
Содержание PRUSA CW1S
Страница 1: ...V1 06 ENG 3DPRINTING HANDBOOK USER MANUAL FOR THE ORIGINAL PRUSA SL1S SPEED ORIGINAL INSTRUCTIONS ...
Страница 13: ...13 ...
Страница 69: ......


