22
4.9. Starting the First print
One last check before you start the first print:
Is the printer updated to the latest firmware version?
Did you calibrate the printer using the wizard?
Have you checked the FEP film in the tank?
Have you poured the correct amount of resin into the tank?
Have you degreased the print platform with IPA?
Is the lid closed?
Go to
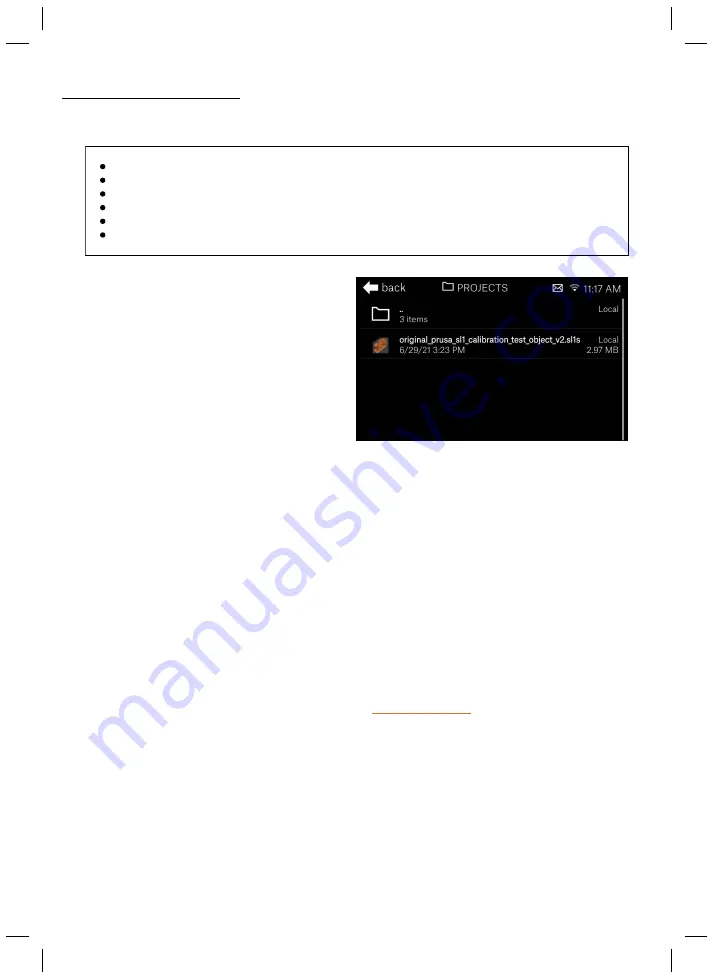
Main Menu - Print - Examples.
A list of
available print files will show up on the screen.
Swipe the screen up and down
to scroll
through multiple entries. Start with a sample
model - these models are ideal for the first print
because they will show clearly, whether the
printer has been
calibrated correctly.
Tap the
model to select one of them and then confirm
the selection by pressing
Continue.
If
"Examples" aren't available in the Print menu, go
to
Main Menu - Settings - Support - Download
Examples
and download them (internet
connection required).
Once you select an object to print, you will be presented with a
preview.
You can check the
thumbnail to
make sure you selected the correct file to print.
Swipe to the left to enter the print
setup screen. Here, you can either
start the print
or go to Print Settings and adjust the exposure
for normal layers, for first layers and also switch between two print profile modes. The faster print
mode is the default one. If you encounter issues during the print, especially if the printed object
detaches from the print platform, consider using the slower profile. If you're printing a sample
object, everything is already pre-configured. Press
Print.
The printer will
perform a quick self-test
and start printing. Keep the lid closed and do not
interrupt the print. Since the print platform is
submerged in the resin,
you can’t see whether the
first layer attached correctly. Try listening for the
typical noise
that comes with the layer
separation - it sounds a bit similar to the sound of a sticky tape being removed. Don’t panic if you
don’t hear it clearly, though.
Even if the first layer won’t stick to the print platform correctly, there will be no permanent
damage to the printer.
The SL1S runs several pre-print checks in parallel. You can see the progress on the screen. In case
any of the checks fails, a warning is displayed on the screen along with a QR code which you can
scan with your phone to display a relevant troubleshooting article. Please refer to the last chapters
of this handbook for troubleshooting guides, or visit
Содержание PRUSA CW1S
Страница 1: ...V1 06 ENG 3DPRINTING HANDBOOK USER MANUAL FOR THE ORIGINAL PRUSA SL1S SPEED ORIGINAL INSTRUCTIONS ...
Страница 13: ...13 ...
Страница 69: ......


