3-7
VIBXPER
T II 05.2012
Measurement - Route
Notes about routes
A route can contain the following information:
- Alarm and warning thresholds
- Reference results that define the good machine condition.
- Historic measurement results
- Frequency marks
- Master data of the route (name, user, version, ...)
To display the master data, highlight the route in the route list (see
below), press the MENU button and click on ‘Info’.
Typical workflow of a route
This section explains how to process a route if all the preparations
have already been made (see P. 3-1). The menu options that are avail-
able to you are described in one of the following sections. The evalua-
tion of the results on the device* is described in Chapter 4.
Start Route
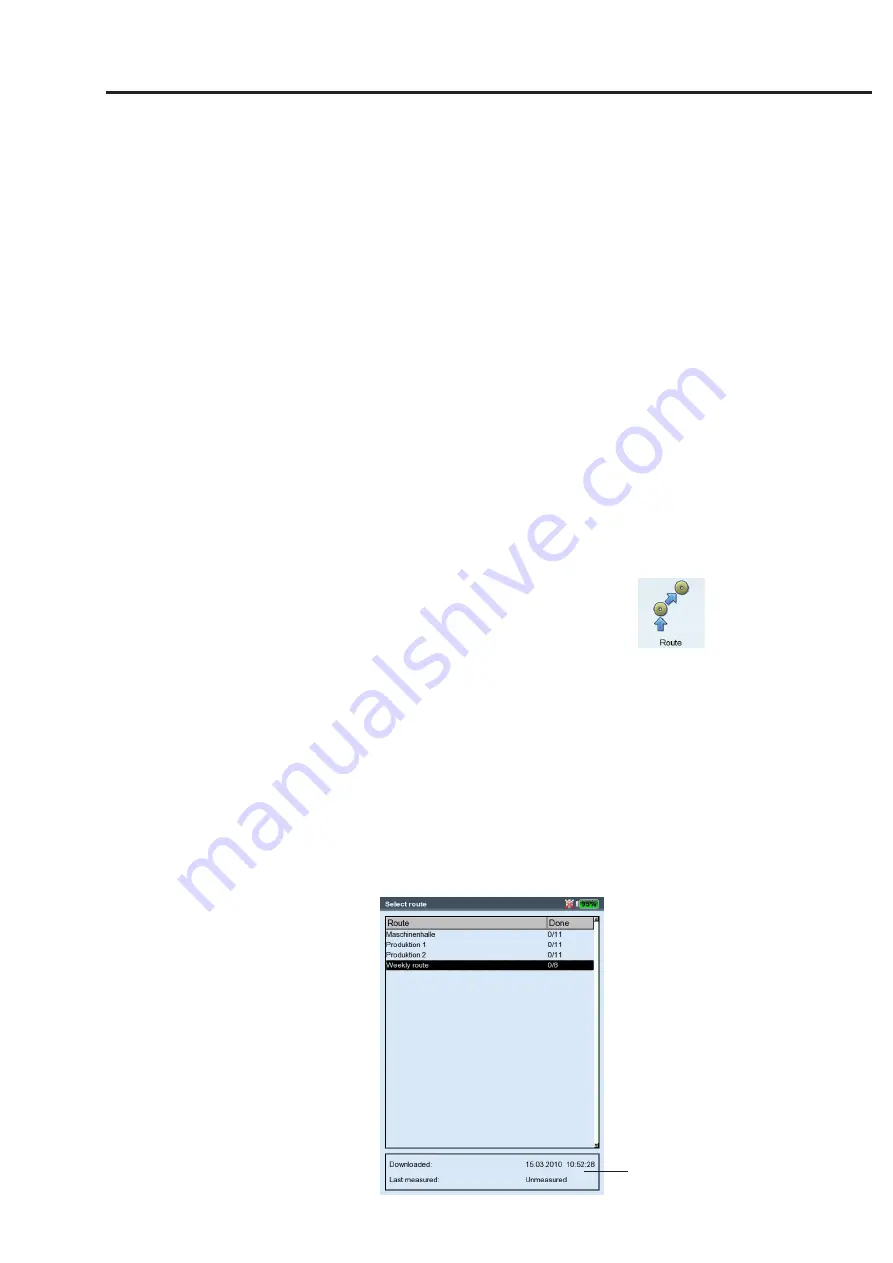
• Click on the 'Route' icon in the start screen.
All routes available in the data collector are displayed in the route
list (see below). The right column ('Completed') specifies the num-
ber of measured locations / total measurement locations for each
route.
The lower info field shows for the selected route the date and time
when it was loaded into the data collector and when it was mea-
sured last.
• Click on the route you wish to measure.
The route is displayed either as a list or tree - depending on what
display mode is set (see p. 2-15).
• Navigate to the measurement location where you would like make
a measurement and click on it. The measurement task selection
screen appears (s. next page).
• Select the measurement task (see below), and connect the sensor
specified in the info field.
• Press 'Enter' to start the measure-
ment.
• Select the next measurement task
and start the measurement.
If all measurement tasks have been
completed, the message 'Route is fin-
ished!' appears.
* Route measurements are usually
evaluated in OMNITREND.
Route list
Info field
Содержание VIBXPERT II
Страница 175: ......


