background image

Symbols Used in this Guide ... 3

Safety Precautions ................. 4

Your DP5800 Projector ........... 6
Installation .............................. 8

Using the Projector ................. 9

Projector Messages and

Indicators ....................  11

Using the Menus .................. 12

Connecting to a Video

Source ......................... 17

Connecting to an

RGB Signal ................. 17

Connecting to a Control

Signal .......................... 20

System Setup ....................... 25
Cleaning the Air Filter ........... 26

Lamp Replacement .............. 26

Troubleshooting .................... 27

Specifications ......................  28

Warranty and Servicing

.....................  Back cover

Contents

Page

DP5800 Features

High brightness

Highly efficient optical system with a metal halide lamp
ensures high brightness.

High resolution

Three separate high-definition liquid crystal panels are
used to provide sharp, clear pictures.

Compact size and light weight for

portability

RGB output terminal

RS232C communication

Mouse emulation

Power zoom and power focus

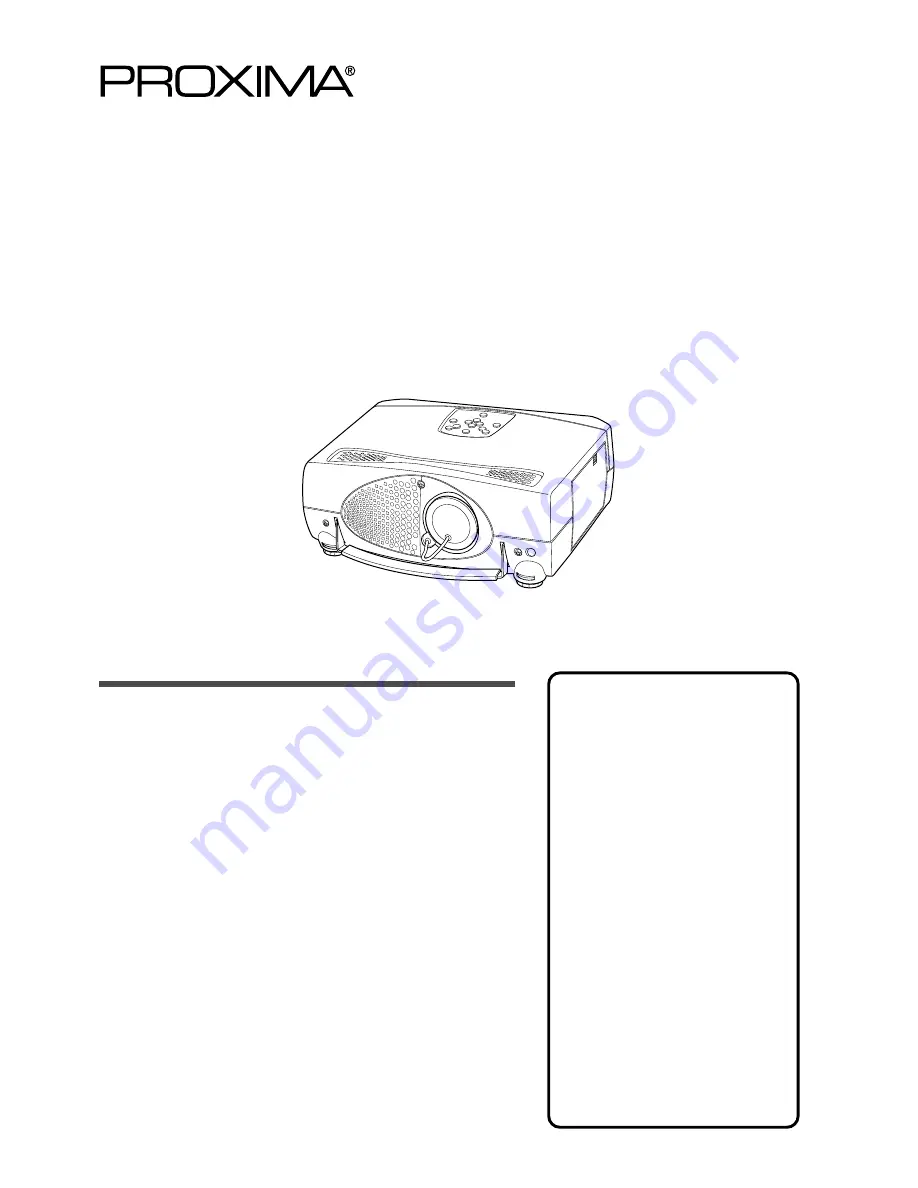
Liquid Crystal Projector

M o d e l

D P 5 8 0 0

USER’S GUIDE

Please read this user’s guide for fast setup and use of your new projector.  After reading this guide,
keep it in a safe place for future reference.

Содержание DP5800

Страница 1: ...rvicing Back cover Contents Page DP5800 Features High brightness Highly efficient optical system with a metal halide lamp ensures high brightness High resolution Three separate high definition liquid crystal panels are used to provide sharp clear pictures Compact size and light weight for portability RGB output terminal RS232C communication Mouse emulation Power zoom and power focus Liquid Crystal...

Страница 2: ...t your dealer Should it be necessary to change the mains plugs this must be carried out by a competent person preferably a qualified electrician If there is no alternative to cutting off the mains plug ensure that you dispose of it immediately having first removed the fuse to avoid a possible shock hazard by inadvertent connection to the mains supply WARNING THIS EQUIPMENT MUST BE EARTH GROUNDED I...

Страница 3: ...bles are used the cables must be enclosed in metal pipes or in a similar way to reduce interference noise radiation 2 Power cord Shielded power cord must be used The outer shield must be connected to the ground 3 Video inputs The input signal amplitude must not exceed the specified level The mark indicates a Warning or Caution The details of the warning the left diagram shows the caution for an el...

Страница 4: ...e case turn the power switch off and disconnect the power plug from the power outlet and contact your dealer If you use as it is it may cause a fire electric shock etc Be especially careful if children could touch the unit Do not apply any shock If you drop this unit or if the cabinet is broken turn off the power switch disconnect the power plug and contact your dealer If you use it as it is it ma...

Страница 5: ...t cloth Do not step on this unit or place a heavy object on it Do not step on this unit Pay special attention if children are present If you do the unit may fall over or may be broken causing an injury Do not put a heavy object on this unit If you do the unit may fall due to its imbalance or it may drop causing an injury Do not block the ventilation holes If the ventilation holes are blocked heat ...

Страница 6: ...ndicator Blinks in Standby mode Glows in operation mode See page 11 VIDEO input terminal on video equipped models only S VIDEO input terminal Mini DIN 4pin connector VIDEO input terminal RCA Jack AUDIO L R input terminal RCA Jack MAIN POWER switch Main power ON OFF switch RGB input terminal RGB input terminal D sub 15 pin RGB output terminal RGB output terminal D sub 15 pin CONTROL terminal D sub ...

Страница 7: ...attery or liquid leakage When inserting batteries pay attention to the direction of the and polarity indications and insert the batteries correctly If the polarities are not correct it may cause injury or damage near the unit due to a battery explosion or liquid leakage MENU STICK SWITCH Selects or adjusts the menu items in Menu mode Works as the mouse in Play mode RESET RIGHT button Resets menu i...

Страница 8: ... 336 448 b inches 3 4 5 1 6 9 8 6 10 3 12 9 17 2 Adjust the projection position using the foot adjusters at the bottom of the projector Top view b a Side view Screen Lens center a Distance from the projector to the screen b Length from the center of the lens to the bottom of the picture Front view Foot adjuster In unlock Out lock Side view Viewing angle can be changed from 1 7 Caution Do not unloc...

Страница 9: ...splay shown on the right appears 2 Press the Focus buttons until the picture is clear 6 Turn on all connected equipment See pages 17 19 for the correct sequence for turning on various equipment 7 Press the INPUT button or the INPUT SELECT VIDEO or RGB button to select the source of the projected signal The selected signal input source is displayed at the bottom right of the screen NOTE Video 1 2 w...

Страница 10: ...ge NOTE If you press the STANDBY ON button for less than 1 second the projector will not switch to Standby mode 2 Turn the MAIN POWER switch of the projector off OFF 3 Replace the lens cap 1 2 1 3 Caution Do not turn off the projector s MAIN POWER switch before pressing the STANDBY ON button After the STANDBY ON button is pressed the fan will run for about 1 minute to cool the projector RIGHT STAN...

Страница 11: ...LAMP indicator and TEMP indicator will light or blink in the following cases The LAMP indicator will light when the lamp becomes too hot 1 Turn off the power and let the projector cool for 20 minutes 2 Turn the projector back on If the LAMP indicator still glows red contact your dealer Message NO SIGNAL IS DETECTED SYNC IS OUT OF RANGE CHANGE THE LAMP Action Check the input signal connection The h...

Страница 12: ...reen is selected 3 Select the item to be adjusted using the MENU buttons or MENU STICK SWITCH The item displayed in green can be adjusted 4 The changes take effect To return to the initial settings Select the menu item to restore to the initial setting using the menu buttons or menu stick switch Press the RESET button Select DEFAULT Select the item to restore to the initial setting Press the RESET...

Страница 13: ...T BRIGHTNESS CONTRAST SHARPNESS COLOR TINT V POSIT V POSITION H POSIT H POSITION H PHASE H SIZE Range Decrease Increase Dark Bright Lower Higher Soft Sharp Less More Red Green Moves the picture up or down Moves the picture left or right Decreases the picture flicker Widens or narrows the horizontal size of picture NOTE TINT cannot be adjusted with PAL SECAM video signal input video models only TIN...

Страница 14: ...l Selects the VIDEO 1 terminal Selects the VIDEO 2 terminal Selects the TEST PATTERN Start up screen Selects the video signal systems IMAGE Menu The IMAGE menu controls picture inversion Size Reveal and Blanking S E T U P I N P U T I M A G E O P T MIRROR BLANK REVEAL DISP SIZE MESSAGE S E T U P I N P U T I M A G E O P T WHITE BLUE BLACK B L A N K S E T U P I N P U T I M A G E O P T NORMAL H INVERT...

Страница 15: ...is displayed Selects the speed of revealing the image display Use the menu stick switch to reveal the image NORMAL Displayed clock is same as signal source LARGE Displayed clock is mach as signal source picture is wider NOTE For XGA signals NORMAL mode will compress the image and some lines may be missing LARGE mode will fill the window Turn off the on screen system messages FOCUS selected source ...

Страница 16: ...stment Item COM SPEED COM BITS TIMER LANGUAGE AUTO OFF Details of adjustment Select speed of data transmission Select the data format 7N1 7 data bits No parity 1 stop bit 8N1 8 data bits No parity 1 stop bit Sets the on screen timer Selects a language for the on screen menu English Francais Deutsch Espanol Italiano Norsk Nederlands Set the amount of time before the power will turn off if the input...

Страница 17: ... 1k Ω 2 Signal input output terminal pin out 1 2 3 4 5 6 7 8 Video signal Red Video signal Green Video signal Blue N C N C Ground for R Ground for G Ground for B Luminance signal 1 0Vp p 75 Ω termination Chrominance signal 0 286Vp p burst signal 75 Ω termination 1 0Vp p 75 Ω termination 200mVrms 20 kΩ below MAX 3 0Vp p 0 200mVrms 1k Ω 9 10 11 12 13 14 15 N C Ground Ground N C Horizontal Composite ...

Страница 18: ...tive V Negative H V separate H Negative V Negative H V separate H Negative V Negative H V separate H Positive V Positive H V separate H Positive V Positive H V separate H Positive V Positive H V separate H Negative V Negative H V separate H Positive V Positive Note 1 SW 1 ON SW 2 ON 1 SW 2 ON SW 4 ON Interlaced Non interlaced Interlaced Non interlaced Non interlaced Non interlaced Non interlaced N...

Страница 19: ...20 5 20 0 16 0 14 5 16 0 12 8 d 63 6 31 8 31 8 31 8 28 6 26 7 26 4 20 8 20 1 20 4 16 6 Computer Signal sorce Horizontal Timing µs 15kHz RGB VGA 1 VGA 2 VGA 3 Mac 13inch mode VESA 72Hz SVGA 60Hz SVGA 72Hz Mac 16inch mode XGA 60Hz XGA 75Hz DATA VSYNC a c d b a 19 5 62 37 35 42 31 27 29 42 48 44 c 3 2 2 2 3 3 4 6 4 8 3 b 240 350 400 480 480 480 600 600 624 768 768 d 262 5 449 449 525 525 520 628 666 ...

Страница 20: ...nd computer off 2 Connect the projector and the mouse terminal of computer using an appropriate cable 3 Turn on the projector 4 Turn on the computer 5 Start mouse emulation mode If you cannot start mouse emulation reset the computer with a soft reset or by pressing the reset switch NOTE For some Notebook computers with internal pointing devices mouse emulation will not work without disabling the i...

Страница 21: ...tor 6 3 4 2 1 Mini Din 6pin PS 2 cable 5V 5 1 2 3 4 5 6 7 8 9 10 11 12 13 14 15 SDATA SEL1 SEL0 GND 1 2 3 4 ADB 5V GND Computer Projector 3 4 2 1 Mini Din 4pin ADB cable 5V POWER ON Serial mouse 1 2 3 4 5 6 7 8 9 10 11 12 13 14 15 GND 1 2 3 4 5 6 7 8 9 CD RD TD DTR GND DSR RTS CTS RI Computer Projector 1 2 3 4 5 6 7 8 9 D sub 9pin Serial cable option TDM SELO SEL1 READY ...

Страница 22: ...h 34h 3 13h 35h 3 13h 37h 3 14h 38h 4 14h 36h 4 14h 3Ah 4 11h 41h 1 11h 42h 1 Ask code 1st 2nd 20h 05h 20h 06h 20h 11h 20h 14h 20h 21h 20h 22h 20h 23h 20h 24h 20h 31h 20h 32h 20h 33h 20h 34h 20h 35h 20h 37h 20h 38h 20h 36h 20h 3Ah 20h 41h 20h 42h Computer Projector Set code 1st 2nd data 31h 05h 1 31h 06h 1 31h 11h 1 31h 12h 1 31h 13h 1 31h 14h 1 31h 21h 1 32h 22h 2 31h 23h 1 31h 24h 1 33h 31h 3 33...

Страница 23: ... 00h 00h 00h lower 00h 00h 7Fh higher 00h 00h 00h less 00h 00h 7Fh more 00h 00h 00h red 00h 00h 7Fh green 00h 00h 00h soft 00h 00h 7Fh sharp 00h 00h 00h 00h 00h 1Fh 00h 00h 00h 00h left 00h 00h 7Fh 01h right 00h 00h 02h 06h narrow 00h 00h 1Eh 08h wide 00h 00h 00h 00h up 00h 00h 7Fh 01h down 0Xh Blank off 1Xh Blank on bit0 0 Blue off 1 Blue on bit1 0 Green off 1 Green on bit2 0 red off 1 Red on bit...

Страница 24: ... the projector sends a 4Dh before the command code the computer will ignore the 4Dh Sample of command error 1 The computer sends the command 2xH 3xH or 4xH yyH data bytes 2 The projector doesn t understand this code 3 The projector replies with the command 00H yyH Sample of data error 1 The computer sends the command 2xH 3xH or 4xH yyH data bytes 2 The projector doesn t understand these data bytes...

Страница 25: ...tion Turn power off to all devices before connecting Refer to the instruction manual for each device before connecting AC Outlet VCR with S VHS out video models only VCR etc video models only CRT Display Computer Notebook type Computer Desktop type ...

Страница 26: ...l turn the projector power off Lamp Replacement The estimated operating time of the lamp is approximately 700 hours The following symptoms indicate that the lamp should be replaced A dark picture CHANGE THE LAMP on screen message LAMP indicator glows red Contact your dealer for replacement lamps Cleaning the air filter Clean the air filter about every 100 hours of operation 1 Turn off the MAIN POW...

Страница 27: ...been adjusted incorrectly The brightness and contrast have been adjusted incorrectly The lamp has not been adjusted Focus is not correct Trouble with the lamp Inside of the projector is too hot Air filter is detached Action Turn the MAIN POWER switch on Insert the power cord into an AC socket Set the correct input using the input select button of the projector or the remote control Connect the cab...

Страница 28: ... pixels Zoom lens F 2 3 3 0 f 48 1 72 1mm Metal halide lamp 250W 2W AC100 120V 5A AC220 240V 2A 350W 32 F 95 F 0 C 35 C 16 3 W 6 2 H 12 5 D 414 mm W x 157 mm H x 317 5 mm D 19 lbs 8 5 kg S VIDEO Mini DIN4 pin terminal VIDEO RCA Jack terminal AUDIO RCA Jack terminal RGB signal D sub 15 pin terminal Female AUDIO Stereo mini jack D sub 15 pin shrink terminal Male Remote control 1 POWER cord 1 BATTERI...

Страница 29: ...a Corporation 7 97 Part Number 710 00519 1 Printed in USA Proxima Corporation Main Office Proxima Europe LTD 9440 Carroll Park Drive St Thomas House San Diego CA 92121 2298 28 32 Spittal Street U S A Marlow Bucks SL7 1DB Phone 619 457 5500 United Kingdom Fax 619 457 9647 Phone 44 0 1628 481 555 http www proxima com Fax 44 0 1628 487 744 ...

Отзывы: