PRO-CHARGE
6 STAGE SWITCHMODE
BATTERY CHARGER
P/No.s PC400, PC800, PC1600, PC2100
Страница 1: ...PRO CHARGE 6 STAGE SWITCHMODE BATTERY CHARGER P No s PC400 PC800 PC1600 PC2100...
Страница 2: ...s is to be in accordance with National wiring rules Do not attempt to charge non rechargeable batteries Never charge a frozen battery If the AC cord is damaged do not attempt to use It must be replace...
Страница 3: ...ll proceed to Soft Start SOFT START This is a preliminary charge process that gently introduces power to the battery protecting the battery and increasing battery life BULK CONSTANT CURRENT The Bulk s...
Страница 4: ...easing battery life and performance ADJUSTABLE CHARGE RATE The charger s output can be adjusted to suit the size of the battery for optimum charging SWITCHMODE TECHNOLOGY Using the latest technology i...
Страница 5: ...supplied screws as illustrated1 The charger should then be mounted to a suitable horizontal or vertical panel2 with at least 10cm clearance around the charger to provide adequate ventilation for the...
Страница 6: ...oat Bulk Flashing Solid On Solid On Solid On Blue Full Flashing Flashing Solid On Green Rejuvenation Flashing Flashing Amber Fault Red Fault See Faults Errors page 12 LED Signals PC1600 PC2100 LED LED...
Страница 7: ...rrect level and refit the vent caps STEP 2 CONNECT TO BATTERY There are three options for connecting to a battery Step 2A Connecting to a battery that is out of the vehicle Step 2B Connecting to a bat...
Страница 8: ...BATTERY IN VEHICLE Determine if the vehicle is Positively or Negatively earthed Negatively earthed vehicles have a cable usually black from the Negative battery terminal to the vehicle s chassis Nega...
Страница 9: ...he BLACK Negative wire 3 Connect an inline fuse to the RED Positive wire 4 Connect a ring terminal to the other end of the inline fuse 5 Connect the RED lead with inline fuse and ring terminal to the...
Страница 10: ...60 160 360 1000 500 1300 7 24 12 Amp 80 240 480 1440 660 2000 7 24 16 Amp 110 320 660 1900 930 2700 7 24 21 Amp 150 420 900 2500 1200 3500 7 24 STEP 5 SET BATTERY TYPE The battery type should be set...
Страница 11: ...te by breaking down sulphation and revitalising the battery cells A rejuvenation charge should be performed periodically to optimise the battery s health and performance STEP 1 Follow STEPS 1 to 6 of...
Страница 12: ...e faulty and may need to be replaced Bulk charging has timed out and stopped after 24 hours Battery may be faulty Move charger to a cooler location OR Check fan is working properly Over temperature Ch...
Страница 13: ...CIUM until current drops to the following set points 1 Amp setting 0 15A 2 Amp setting 0 3A 2 Amp setting 0 3A 2 Amp setting 0 3A 2 Amp setting 0 3A 4 Amp setting 0 6A 4 Amp setting 0 6A 6 Amp setting...
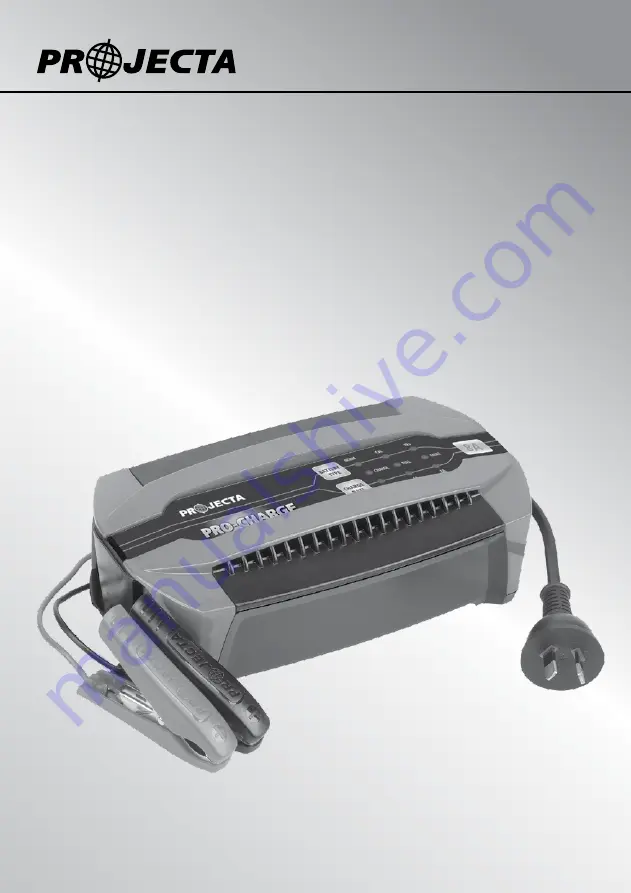
Страница 14: ...e PRODUCT OVERVIEW PC800 PC1600 PC2100 PC400 Adjustable Output High Performance Cooling Vents Normal Calcium Charge Modes Polarity Protected Moulded Spark Free Clips 104 118 137 66 66 86 167 216 229 S...
Страница 15: ...ts the charger from being used as a Power Supply Q How can I tell what stage the battery charger is in A Coloured LEDs indicate the various stages of charging Refer to LED Charge Indicators section of...
Страница 16: ...noxfield Victoria 3180 Telephone 03 9730 6000 Facsimile 03 9730 6050 National Toll Free 1800 113 443 NEW ZEALAND Narva New Zealand Ltd 22 24 Olive Road PO Box 12556 Penrose Auckland New Zealand Teleph...