X
T
9
0
-
N
2
3
r
e
a
d
m
i
l
S
v
c
M
n
u
All manuals and user guides at all-guides.com
all-guides.com
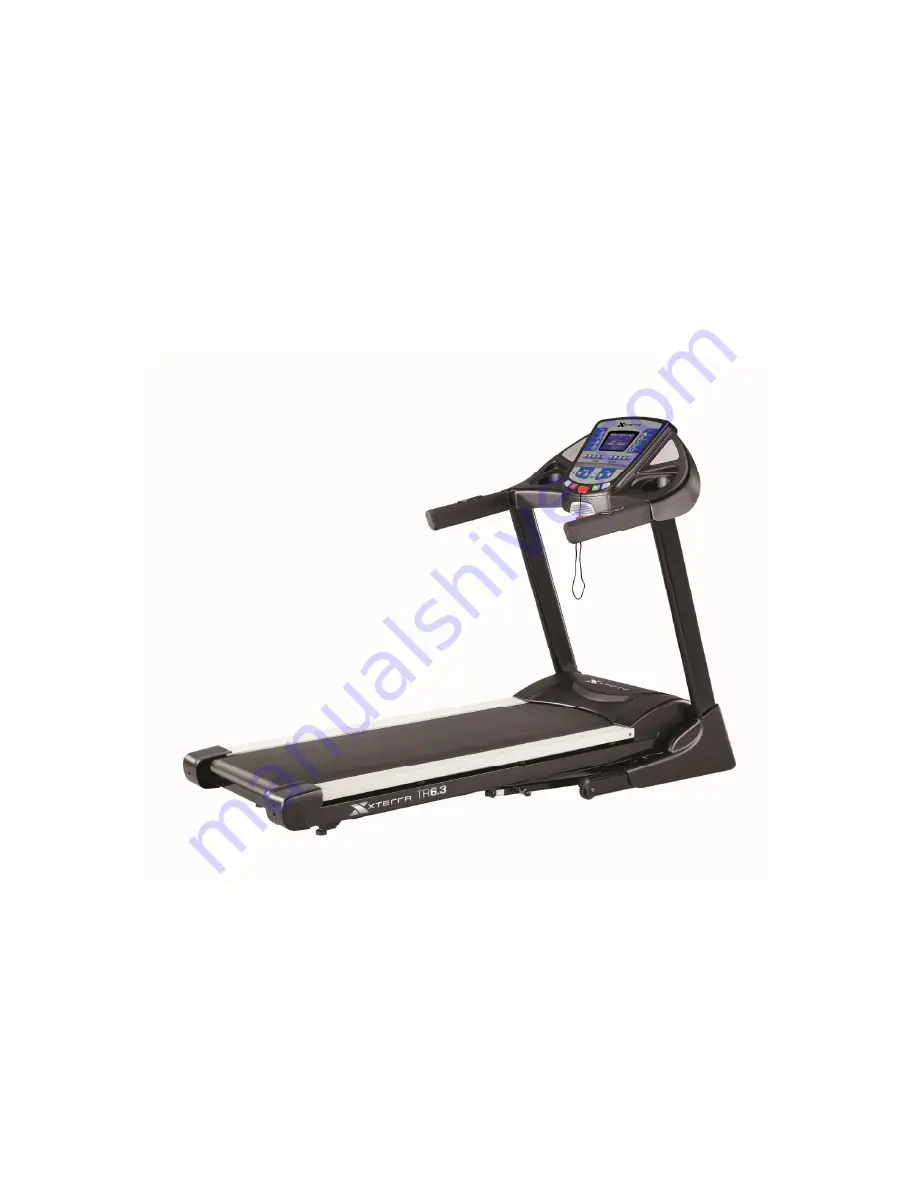
Страница 1: ...X XT T9 90 0 N NT T2 23 3 T Tr re ea ad dm mi il ll l S Se er rv vi ic ce e M Ma an nu ua al l All manuals and user guides at all guides com a l l g u i d e s c o m...
Страница 2: ...WARNING ALWAYS UNPLUG THE TREADMILL FROM THE ELECTRICAL OUTLET BEFORE SERVICING THE UNIT All manuals and user guides at all guides com...
Страница 3: ...nsole 5 2 Main controller 5 3 Treadmill motor 5 4 Incline motor 5 Operation 7 A WINDOW DISPLAY MODE 7 1 DISPLAY Mode 7 2 READY Mode 7 3 RUN Mode 7 B FUNCTION 8 1 SPEED 8 2 Incline 8 3 TIME 8 4 LAPS 9...
Страница 4: ...nt te en nt ts s 2 2 Diagrams and Schematics 23 APPENDIX A 26 1 TREADBELT ADJUSTMENT 26 APPENDIX B 28 1 TREADMILL LUBRICATION 28 APPENDIX C 29 1 RESET SWITCH RESETTING 29 APPENDIX D 30 1 FUSE REPLACE...
Страница 5: ...anical Layout 23 Figure 4 Main Controller information voltages 24 Figure 5 Function JK1 connector on Main Controller 24 Figure 6 Wiring Diagram 25 Figure 7 Schematic Diagram Figure 8 If Treadbelt slip...
Страница 6: ...e that controls all functions of the treadmill c Main controller The circuit board consist of the DC power supply for console incline driver and DC motor driver link the console to output appropriate...
Страница 7: ...the Red wire M the treadmill motor will turn clockwise d If there is DC voltage on the Black wire M the treadmill motor will turn counter clockwise e The higher the voltage the faster the motor turns...
Страница 8: ...S Se er rv vi ic ce e M Ma an nu ua al l D De es sc cr ri ip pt ti io on n D De es sc cr ri ip pt ti io on n 6 6 Figure 1 Operational Flowchart All manuals and user guides at all guides com...
Страница 9: ...l enters the DISPLAY Mode 2 READY MODE a When the treadmill is ON and SAFETY KEY is inserted in console the message window will show PRESS START FOR QUICK START OR ENTER FOR SETUP b Press START button...
Страница 10: ...is 0 to 999 c WORK range is 0 to 15 d INCLINE preset value is 0 to 15 e Press UP or DOWN to adjust incline each increment and decrement is 0 5 3 TIME a TIME is either COUNT UP or COUNT DOWN System pr...
Страница 11: ...c WORK range is 0 00 to 99 99 6 CALORIES a Displays the cumulative calories burned at any given time during your workout b DISPLAY range is 0 0 to 999 0 c WORK range is 0 0 to 999 7 PULSE a Displays...
Страница 12: ...g time and speed Heart Rate Control 1 2 can set time age and the value of heart rate User Program 1 2 can set time speed and incline e PROGRAM button Press PROGRAM button to select manual preset progr...
Страница 13: ...ncrease your speed and each increase is 0 1mph If button is pressed continuously then speed increases to MAX SPEED quickly h SLOW button Press the button to decrease your speed and each decrease is 0...
Страница 14: ...ove setting and enter next section of setting mode g Set Min speed Press FAST or SLOW button to adjust SPEED window to 0 5 h Press ENTER button to memorize above setting and enter next section of sett...
Страница 15: ...UG THE TREADMILL FROM THE ELECTRICAL OUTLET BEFORE SERVICING THE UNIT 1 GENERAL a Do a visual check of all wiring and connections looking for chafed wires or lose connections b Make sure any wiring is...
Страница 16: ...unit 3 Check the voltage of outlet 4 Replace power cord 5 Replace power cord 6 Check if wire is disconnected connect it again 7 Press the small red button to return to original status 8 Replace break...
Страница 17: ...tic component beside safe key When press START treadmill doesn t start 1 Motor M or M wire isn t connected into right position 2 Controller is broken No power to motor 3 Motor is broken 4 Treadmill co...
Страница 18: ...onds 1 Controller experienced unusual shut down the S_D light will be always bright Controller debugging form 2 Motor wires red black aren t plugged into controller 3 Computer cables not connected pro...
Страница 19: ...rple wires got damage replace the wires 8 Replace console SPEED windows display is not 1 0 to 18 0 km Monitor is not calibrated Calibrate the console INCLINE windows display is not 0 to 15 1 Console i...
Страница 20: ...t belt in use around treadmill 2 Other magnetic field disturbance 3 Receiver is broken 1 Check for other chest belt use around treadmill 2 Change the position or direction of treadmill 3 Replace with...
Страница 21: ...6 Replace with new cable UP DOWN button of INCLINE ADJUSTMENT SWITCH can t be used Incline button just can press UP can t press DOWN Incline button just can press DOWN can t press UP 1 The connector o...
Страница 22: ...le 4 Hand pulse board is broken 1 Two hands hold the hand pulse 2 Connect the cable again 3 Replace with new cable 4 Replace console or Hand pulse board Wireless lost its function No pulse displayed o...
Страница 23: ...A Black particles collecting under treadmill Drive belt is breaking in Vacuum under treadmill periodically Noise under motor cover 1 Worn brushes or bearings on motor 2 Front roller bearings are defe...
Страница 24: ...xceed 15A the LCD will turn on If LIMIT light is bright for 3 to 5 seconds the S_D light will turn on Loading is too high on belt Operation is not correct motor lock Check mechanical drive system is n...
Страница 25: ...g gr ra am ms s a an nd d S Sc ch he em ma at ti ic cs s D Di ia ag gr ra am ms s a an nd d S Sc ch he em ma at ti ic cs s 2 23 3 DIAGRAMS AND SCHEMATICS Figure 2 Console Layout Figure 3 Mechanical La...
Страница 26: ...ma at ti ic cs s 2 24 4 Figure 4 Main Controller information voltages Figure 5 Function JK1 connector on Main Controller M TO MOTOR RED WIRE M TO MOTOR BLACK WIRE SPEED SENSOR INCLINE UP RED WIRE INCL...
Страница 27: ...a an nu ua al l D Di ia ag gr ra am ms s a an nd d S Sc ch he em ma at ti ic cs s D Di ia ag gr ra am ms s a an nd d S Sc ch he em ma at ti ic cs s 2 25 5 Figure 6 Wiring Diagram All manuals and user...
Страница 28: ...too loose Tighten both rear roller adjusting bolts 1 4 turn clockwise using allen wrench 1 4 TURN Figure 9 If tread belt shifts too far to the Right a Set the treadmill speed to 3 5 mph 5 6 km b Tigh...
Страница 29: ...ft adjusting bolt a 1 4 turn clockwise using allen wrench c Wait 15 seconds if no change turn the right adjusting bolt a 1 4 turn counter clockwise using allen wrench d Repeat steps b and c until belt...
Страница 30: ...he surface is dry to the touch apply one packet of lubricant HOW TO APPLY LUBRICANT 1 Lift one side of treadbelt 2 Pour one half of the lubricant bottle under the center of the treadbelt on the top su...
Страница 31: ...ting Reset switch 1 RESET SWITCH RESETTING a If the red button of reset switch is tripped it will protrude out from the face of the switch b Press in the red button of the switch c If the red button o...
Страница 32: ...PLACEMENT If your treadmill loses power or will not start check the fuse located on the motor controller DANGER Turn the power switch off and unplug the treadmill to reduce the risk of an electric sho...
Страница 33: ...sor and magnet may be misaligned Follow these steps to check and realign Remove the motor cover Check the spacing and alignment between the magnet on the right side of the front roller and the speed s...