background image

1

PRESTIGIO SIGNORE 152

User Manual

Preface

This computer combines high-performance, versatility, power management features and multimedia capabilities with a
unique style and ergonomic design. Work with unmatched productivity and reliability with your new power computing
partner.

Connecting the Computer

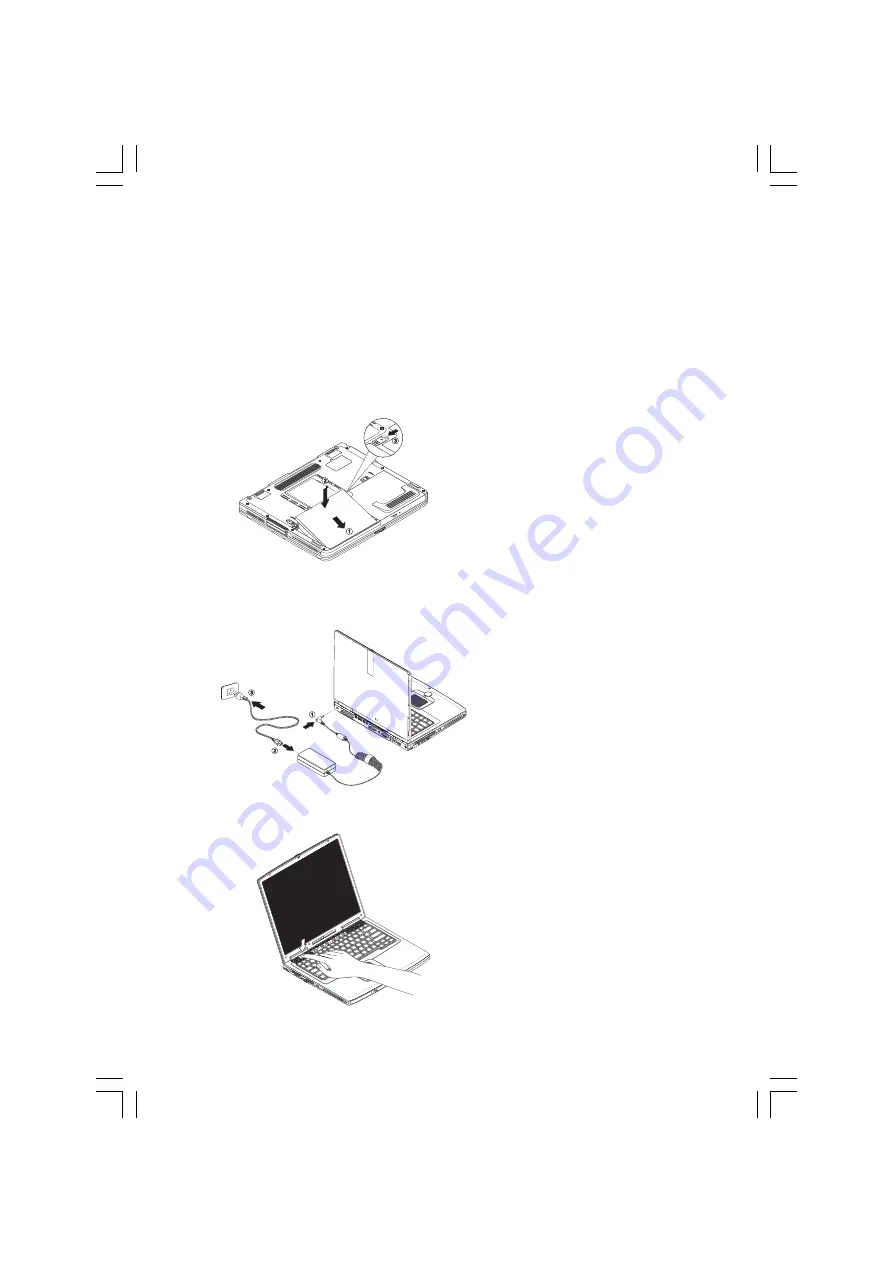
1. Inserting the battery

Insert the battery pack into the battery bay.
Note: When using a battery pack for the first time, fully
recharge the battery, then disconnect the adapter to
use up the battery before recharging again.
Perform this action twice to condition the battery pack.

2.Connecting the adapter

Connect the adapter to the computer as it is shown.
Slide the display cover latch to the right to open the
display, and tilt the display screen to a desired viewing
angle. Then press the power switch to turn on the com-
puter.
The POST (power-on self-test) routine executes and
Windows begins loading.

3.Turning the computer on

Slide the display cover latch to the right to open the
display, and tilt the display screen to a desired viewing
angle. Then press the power switch to turn on the com-
puter.

Содержание Signore 152C

Страница 1: ...ully rechargethebattery thendisconnecttheadapterto useupthebatterybeforerechargingagain Performthisactiontwicetoconditionthebatterypack 2 Connecting the adapter Connecttheadaptertothecomputerasitisshown Slidethedisplaycoverlatchtotherighttoopenthe display andtiltthedisplayscreentoadesiredviewing angle Thenpressthepowerswitchtoturnonthecom puter ThePOST power onself test routineexecutesand Windowsb...

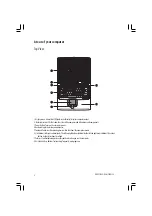
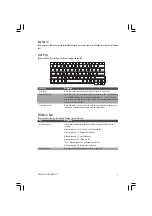
Страница 2: ...werbutton Turnsonthecomputerpower 4 Keyboard Inputsdataintoyourcomputer 5 Touchpad Touch sensitivepointingdevicewhichfunctionslikeacomputermouse 6 Clickbuttons left rightandscrollpad Theleftandrightbuttonsfunctionliketheleftandrightmousebuttons Thecenter buttonisafour directionalscrollpad 7 Palmrest Comfortablesupportareaforyourhandswhenyouusethecomputer 8 EasyLaunchKeys Buttonsforlaunchingfrequen...

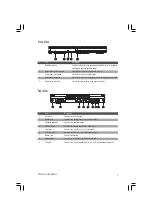
Страница 3: ...5 Display latch eject hole Slide to the right to unlatch and open the display RearView Item Description 1 DC in jack Connects to the AC adapter 2 Parallel port Connects to a parallel device e g parallel printer 3 External display port Connects to a display monitor 4 Video out port Connects to a display device with S video input 5 Serial port Connects to a serial device e g serial mouse 6 USB ports...

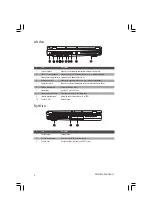
Страница 4: ... speakers headphones 5 Audio line in jack Connects an external microphone or an external audio line in device 6 Volume control knob Adjusts the volume level 7 Floppydrive Accepts a 3 5 inch diskette 8 Floppy drive eject button Ejects the diskette from the floppy drive 9 Infrared port optional Links with other infrared devices e g PDA 10 Speaker left Outputs sound RightView Item Description 1 Speak...

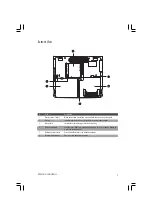
Страница 5: ... the battery bay a charged battery powers your computer 3 Battery lock Locks unlocks the battery pack in the battery bay 4 Media bay module Installed in the Media bay provides optical media access or secondary storage by way of removable modules 5 Media bay release latch Press and hold to release the Media bay module 6 Memory compartment Houses the computer s main memory ...

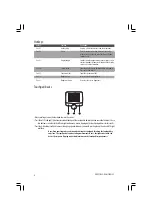
Страница 6: ...s on flashes when the battery is low on charge 3 Sleep Lights when the computer enters Sleep mode flashes when the computer is waking up from Sleep mode 4 Media activity Flashes when the hard disk or optical drive is accessed 5 Battery Lights when the battery is being charged 6 Caps lock Lights when Caps Lock is activated 7 Num lock Lights when Numeric Lock is activated ...

Страница 7: ...etter solution would be to connect an external keypad Scroll lock Fn F12 When Scroll Lock is on the screen moves one line up or down when you press or respectively Scroll Lock does not work with some applications Windows keys ThekeyboardhastwokeysthatperformWindows specificfunctions Key Description Windows logo key Start button Combinations with this key perform functions Below are a few examples ...

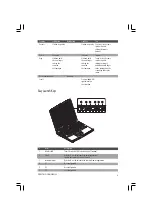
Страница 8: ...rns the speakers on off Fn Brightness up Increases the screen brightness Fn Brightness down Decreases the screen brightness Touchpad basics Moveyourfingeracrossthetouchpadtomovethecursor Presstheleft 1 andright 2 buttonslocatedontheedgeofthetouchpadtodoselectionandexecutionfunctions These twobuttonsaresimilartotheleftandrightbuttonsonamouse Tappingonthetouchpadproducessimilarresults Pressthe4 dire...

Страница 9: ...e mouse cursoron cursoron button and hold finger the touchpad the touchpad to the touchpad on the second tap to drag the cursor Access context menu Click once Scroll Click up down left right to scroll in that direction EasyLaunchKeys Item Description 1 Wireless LAN Turns the wireless LAN feature on and off option 2 Email By default is used to launch the email application lights when incoming email...

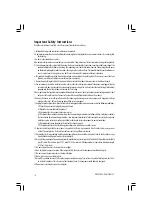
Страница 10: ...f asopeningorremovingcoversmayexposeyoutodangerousvoltage pointsorotherrisks Referallservicingtoqualifiedservicepersonnel 11 Unplugthisproductfromthewalloutletandreferservicingtoqualifiedservicepersonnelunderthefollowingconditions a Whenthepowercordorplugisdamagedorfrayed b Ifliquidhasbeenspilledintotheproduct c Iftheproducthasbeenexposedtorainorwater d Iftheproductdoesnotoperatenormallywhentheope...

Страница 11: ...TFTLCDdisplaying16 7millioncolorsat1400x1050SupereXtendedGraphicsArrayPlus SXGA or1600x1200Ultra eXtended Graphics Array UXGA or 1024x768 XGA resolution AGP 4X support ATI Mobility Radeon with 16 or 32 MB DDR Video RAM Simultaneous LCD and CRT display S video output Audio 16 bit stereo audio AC 97 Two built in stereo speakers Audio ports for external audio devices Keyboard and pointing device 84 8...

Страница 12: ...C 35 C Non operating 20 C 60 C Humidity non condensing Operating 20 80 RH Non operating 20 90 RH Altitude Operating 0 10 000 ft Non operating 0 40 000 ft Operating system Microsoft Windows XP Power Battery pack 5880 mAh Lithium Ion or 4500 mAh Nickel Metal Hydride AC adapter 70 Watt or 90 Watt Auto sensing 100 240Vac 50 60Hz Options 128 256 512 MB DDR SDRAM memory upgrade module Media bay modules ...

Отзывы: